Members, and Open Roles, are easy to Manage in the Planner Space. Below, we’ll explore how to effectively manage your team while working through Projects in the Planner Space.
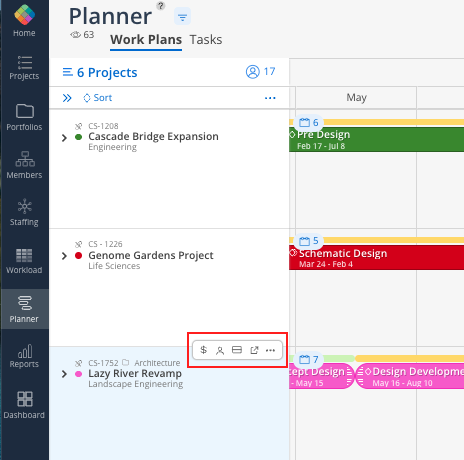
To view your members, hover over the Project Name row to bring forward the Project Action Bar.
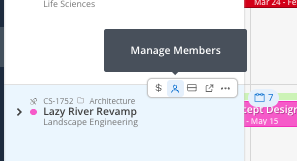
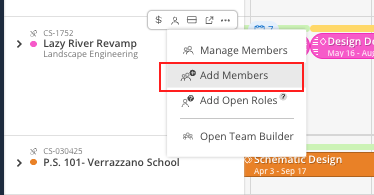
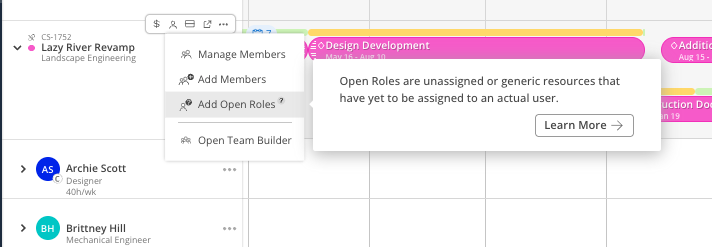
Select the Manage Member icon. Select Manage Members.
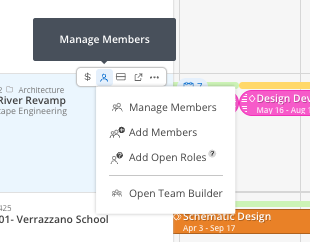
From here, you can select Manage Members, Add (additional) Members, Add Open Roles - or Open Team Builder. More on that below!
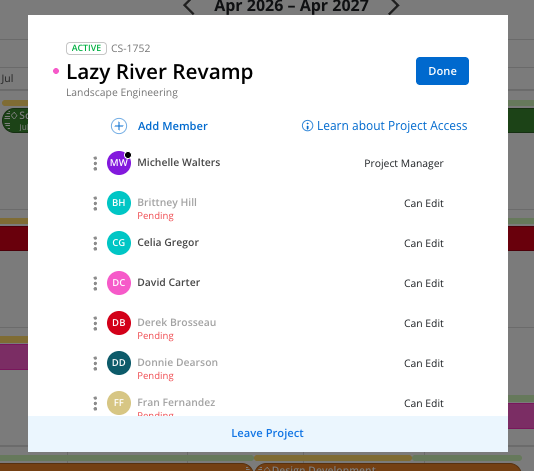
The first option, Manage Members, will open up a new modal. Here you’ll a list of all members associated to the project - as well as what Project-level access they have. Depending on your access in Mosaic, you may have the permission to adjust project access here (i.e. to Project Manager, Can Edit, View Only, or Remove Member from the Project). Learn more about the Manage Member Modal here.
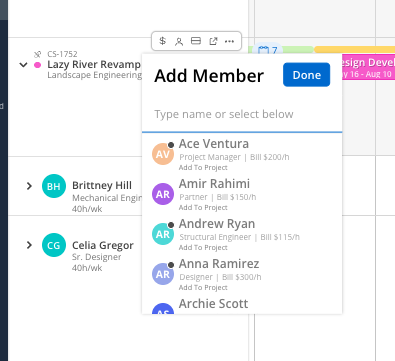
From the Member Menu, select Add Members.
A list of all Team Members will be displayed. Use the search bar to quickly locate the Member. If the Member has a default Role, Bill Rate, and Cost Rate (if applicable), this information will appear beneath the Member’s name for ease of reference.
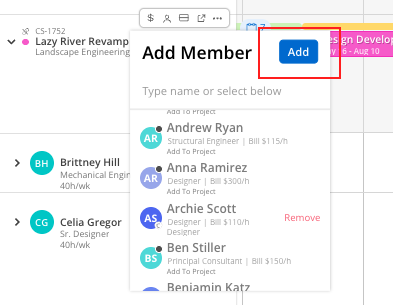
Select Members to add on the menu and select Add on the top.
From the Member Menu, select Add Open Roles
A list of your Organizations roles will appear. If you have Admin Access, you do have the ability to add or edit your Organizations roles by selecting the Manage Standard Roles option. Learn more about that process here.
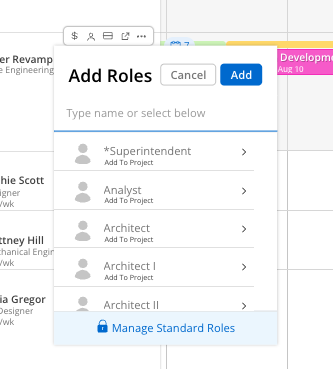
A quick reminder, you can have multiples of the same role on the same project if need be. To do so, simply select the role again. A count will appear next to the roles name displaying the total added to the Project.

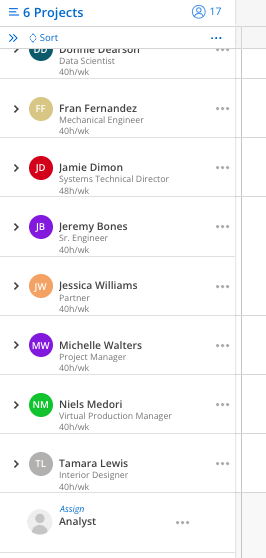
To view Open Roles, scroll down below the confirmed members (who will always appear first).
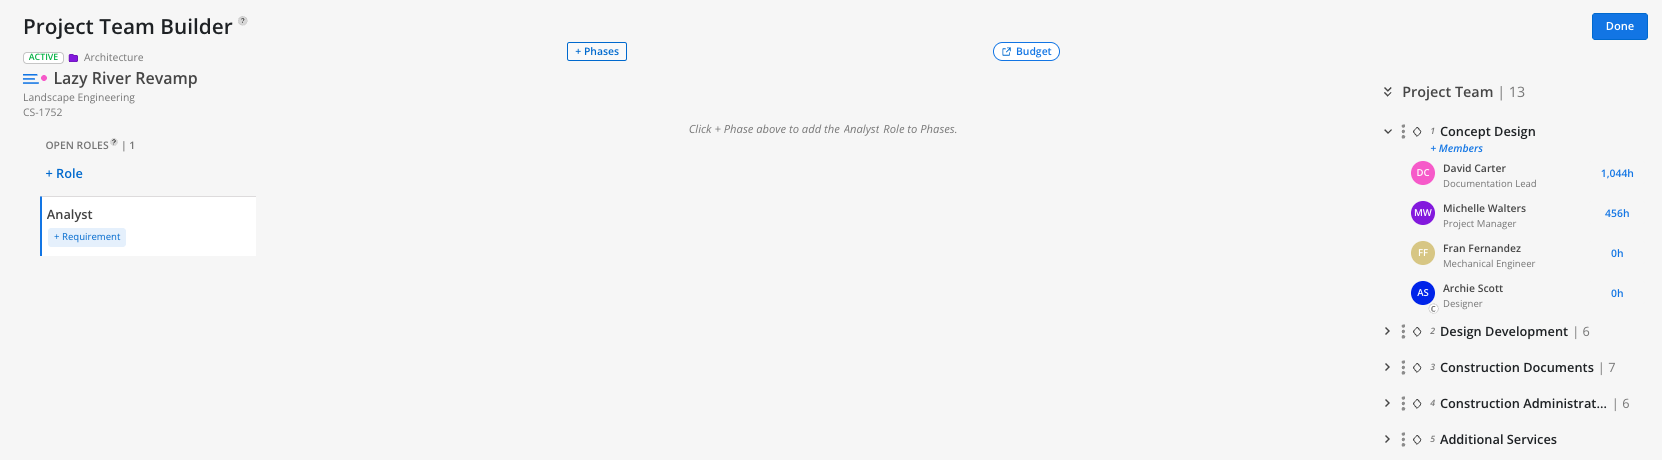
From the Member Menu, select the Open Team Builder option.
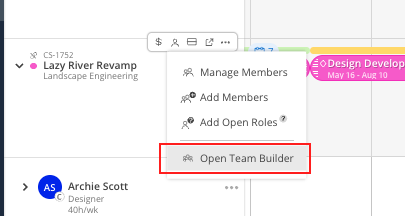
This will open up the Team Builder modal. Learn more about Team Builder here.