Below you’ll find a guide that walks you through the recommended steps to start using Budget effectively. Each step links to a detailed article if you want to go deeper.
The fastest way to open a project's budget is from the Planner space. Hover over any project and click the dollar sign icon in the menu bar above the project name. This opens the Budget modal directly.
You can also access the Budget from the Project space by clicking into a project, then selecting the Budget tab from the top navigation.
👉 For full details, see Time Tab
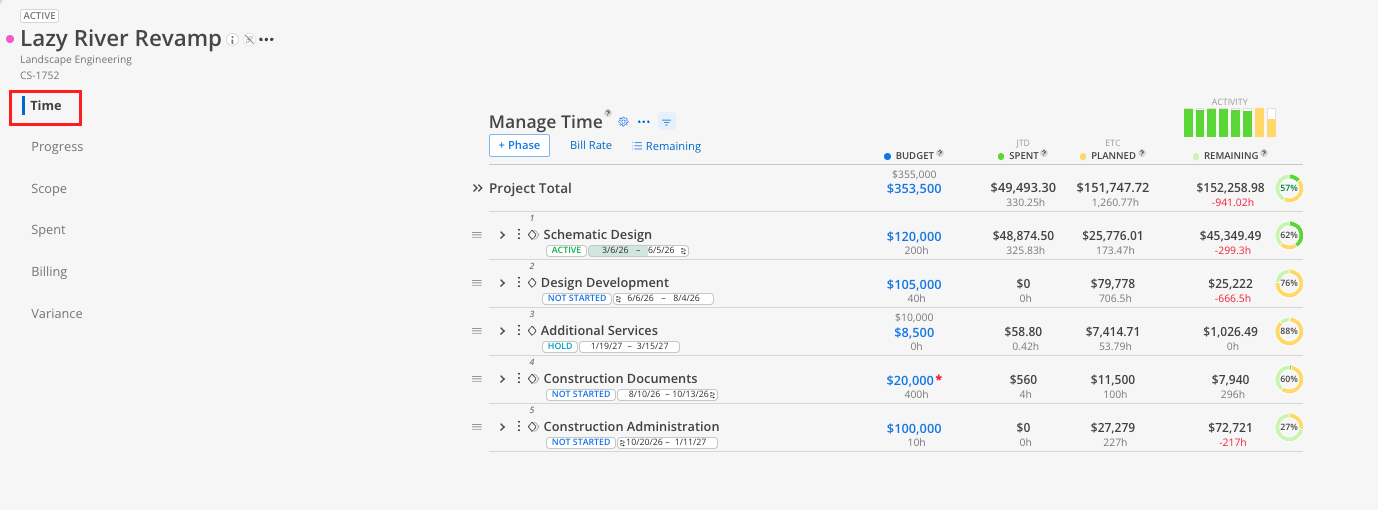
On the Time tab, check that the fee for each phase has synced correctly from your ERP. If you need to plan with a different amount, click the blue fee number and set a budget using a percentage of the fee or a manual override.
👉 For full details, see Time Tab
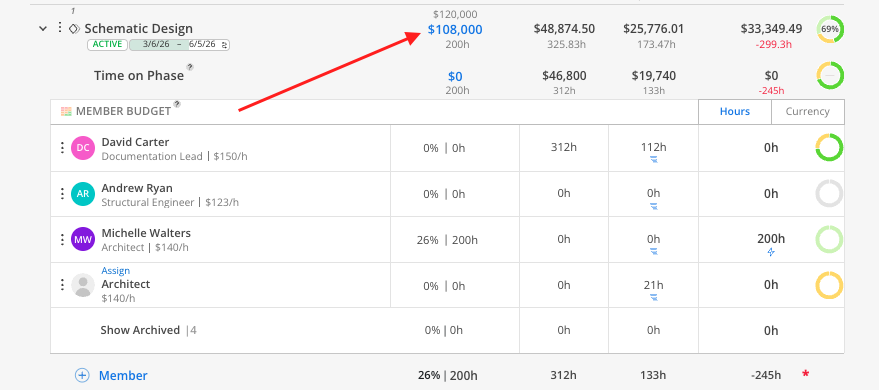
For each phase, expand the member list and enter the estimated hours (or dollars) each member should use. This does not create a hard cap — it sets a planning target. The remaining column will begin calculating automatically.
👉 For full details, see Time Tab
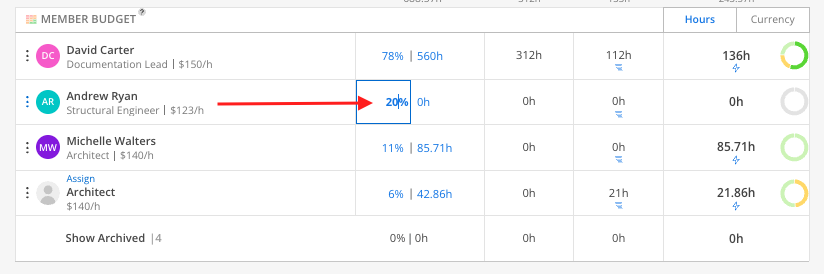
Once member budget estimates are set and there is a positive remaining amount, click the lightning bolt next to a member's name. Mosaic auto-creates a work plan using the remaining budgeted hours. Adjust dates and duration as needed, then save.
👉 For full details, see Time Tab

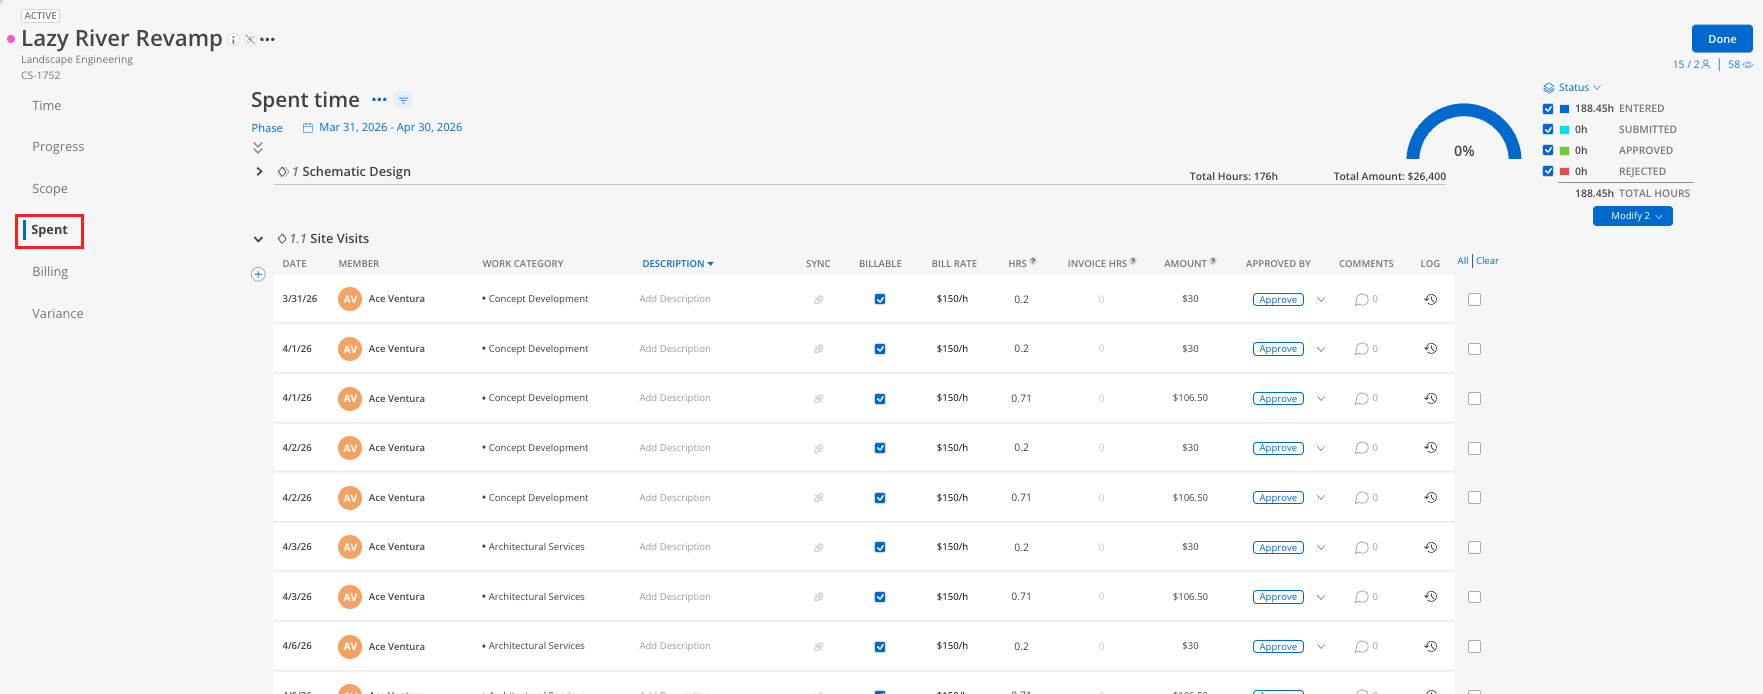
As team members log time in your ERP, entries sync to Mosaic. Check the Spent tab to verify rates and hours. The Time tab's Remaining column updates automatically.
👉 For full details, see Spent Tab
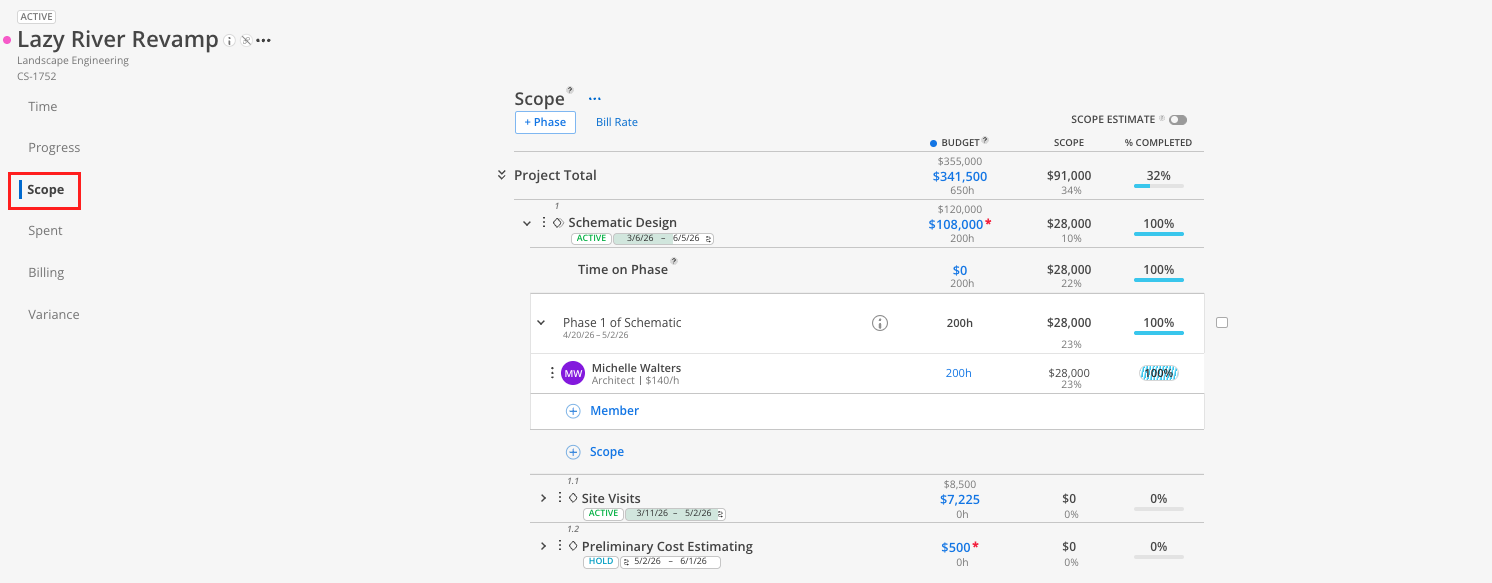
If a phase has a large fee that needs to be broken into work streams, use the Scope tab. Add scopes, assign members, and estimate hours. Toggle on Scope Estimate if you want the scope to drive your member budgets on the Time tab.
👉 For full details, see Scope Tab
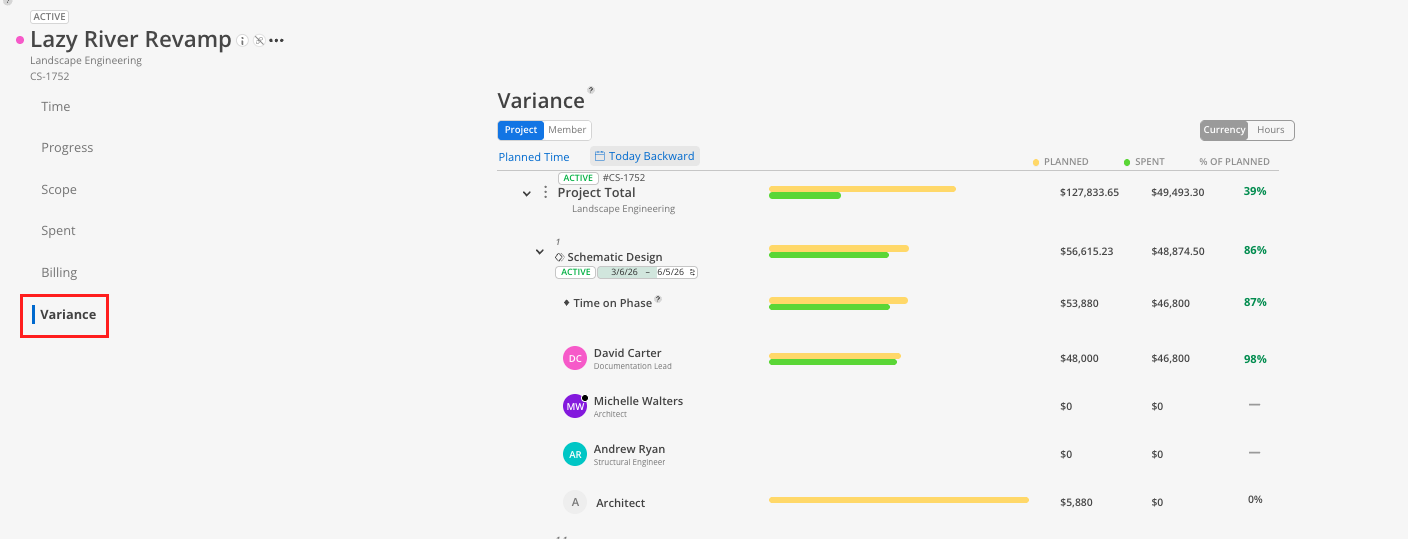
As the project proceeds, use the Progress tab to visualize trends and the Variance tab to compare actuals against your plan. Drill into phases or members to identify where adjustments are needed.
👉 For full details, see Progress Tab and Variance Tab
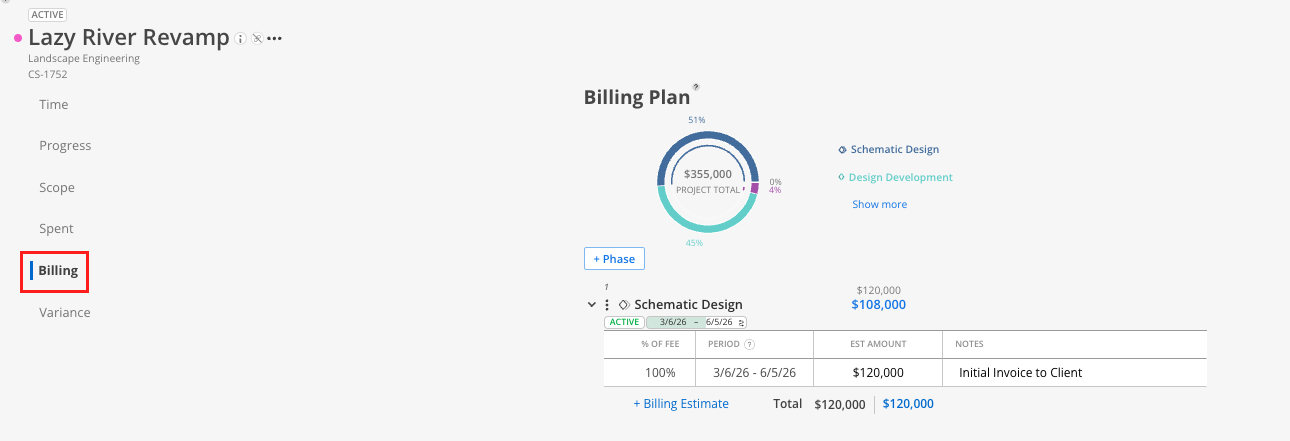
Once you are comfortable with the Budget space, explore the Reports space for cross-project financial analysis. Reports like Backlog and Role Demand use the same budget data to give you a portfolio-level view.
Explore the Reports space for cross-project financial insights
Set up portfolios to filter and group projects for faster budget reviews
Start with the Time tab: It is the most important part of the Budget space. Get comfortable here before exploring other tabs.
Use the Planner as your launchpad: Keep your projects visible in the Planner and use the dollar sign icon to quickly jump in and out of budgets.
Do not worry about mistakes: Nothing in Mosaic pushes back to your ERP. You can always adjust, undo, or ask your CSM for help.
Check remaining frequently: The remaining column is your best real-time indicator of budget health. Make it a habit to review it at least weekly.
