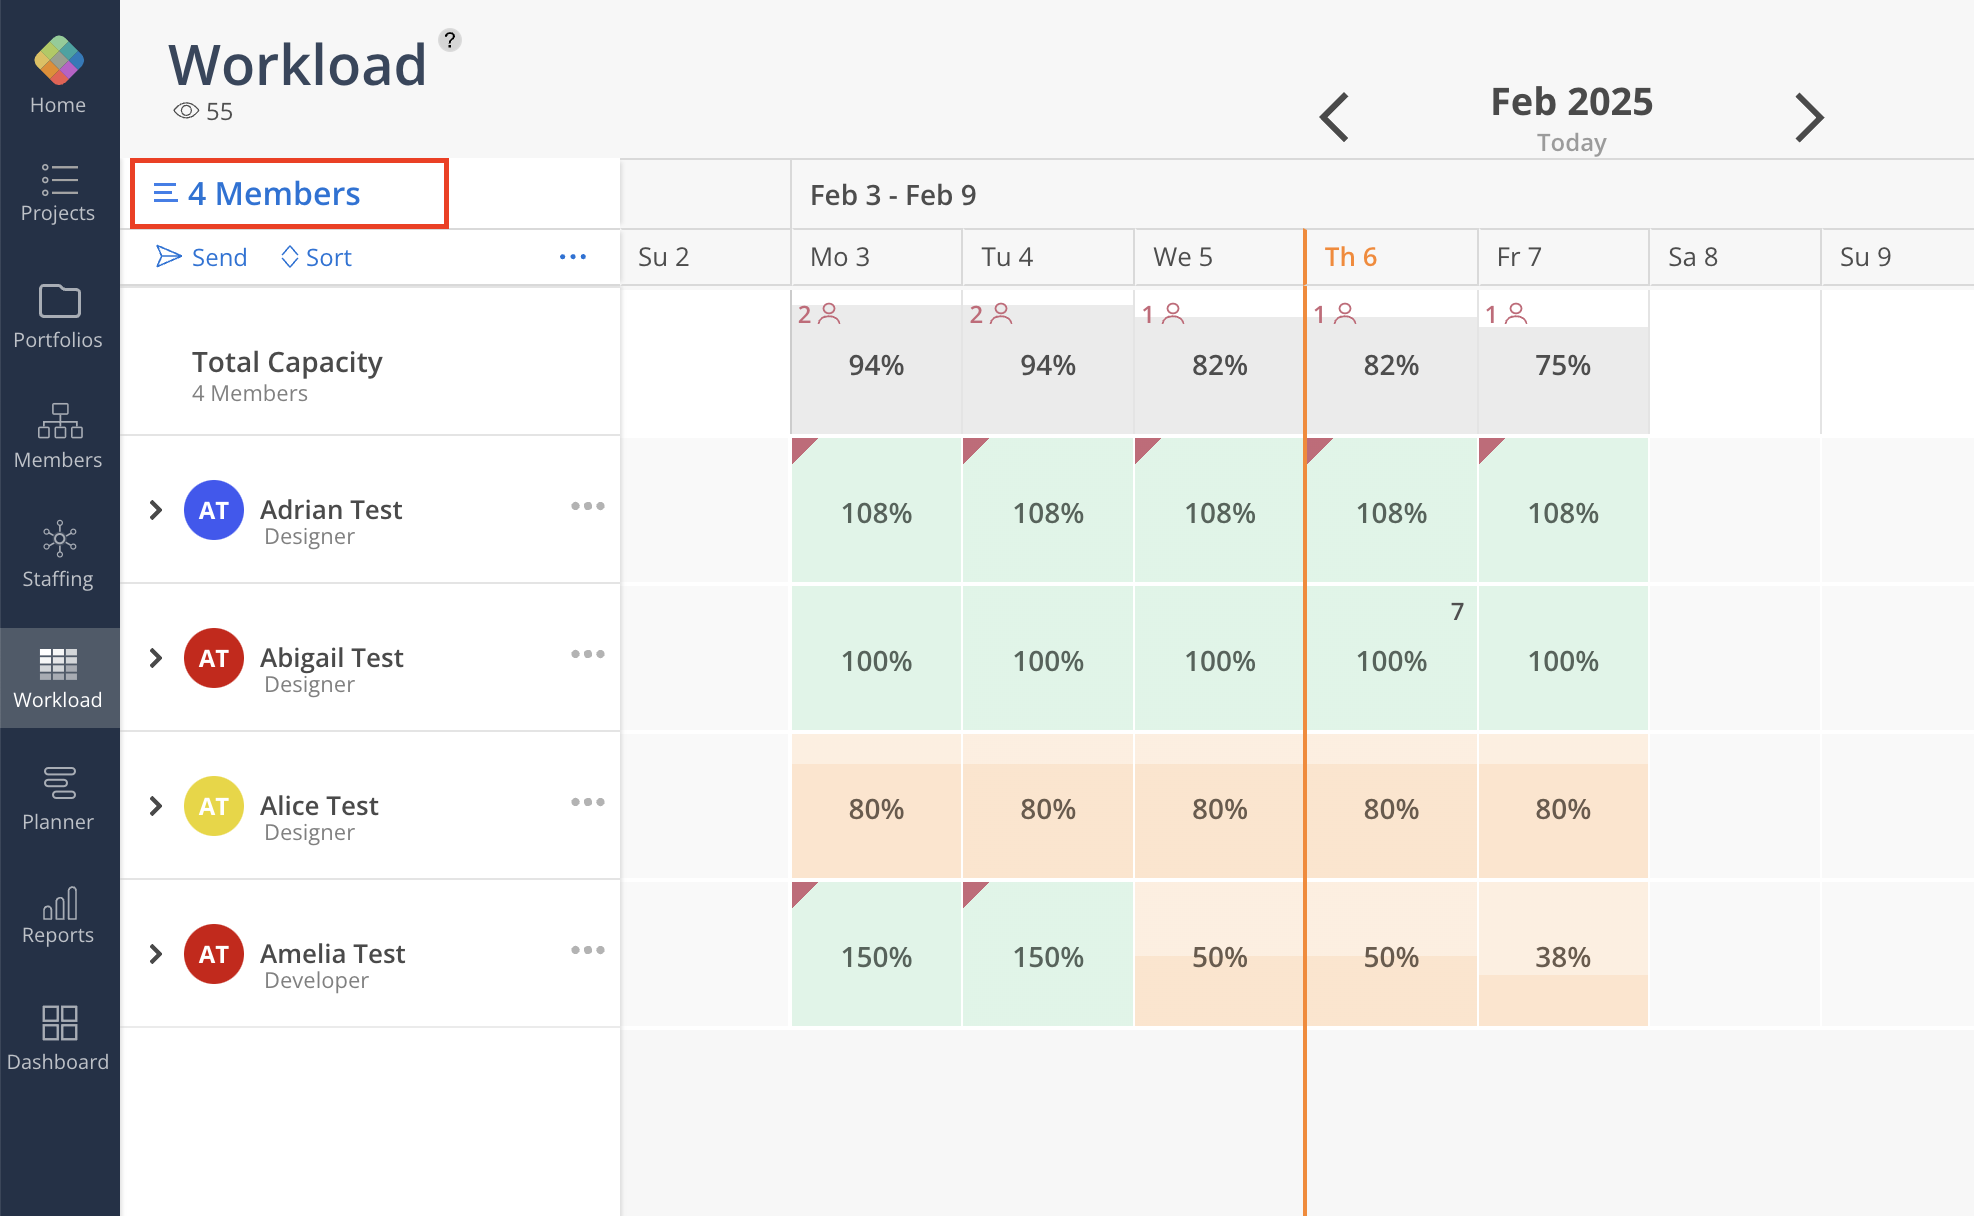
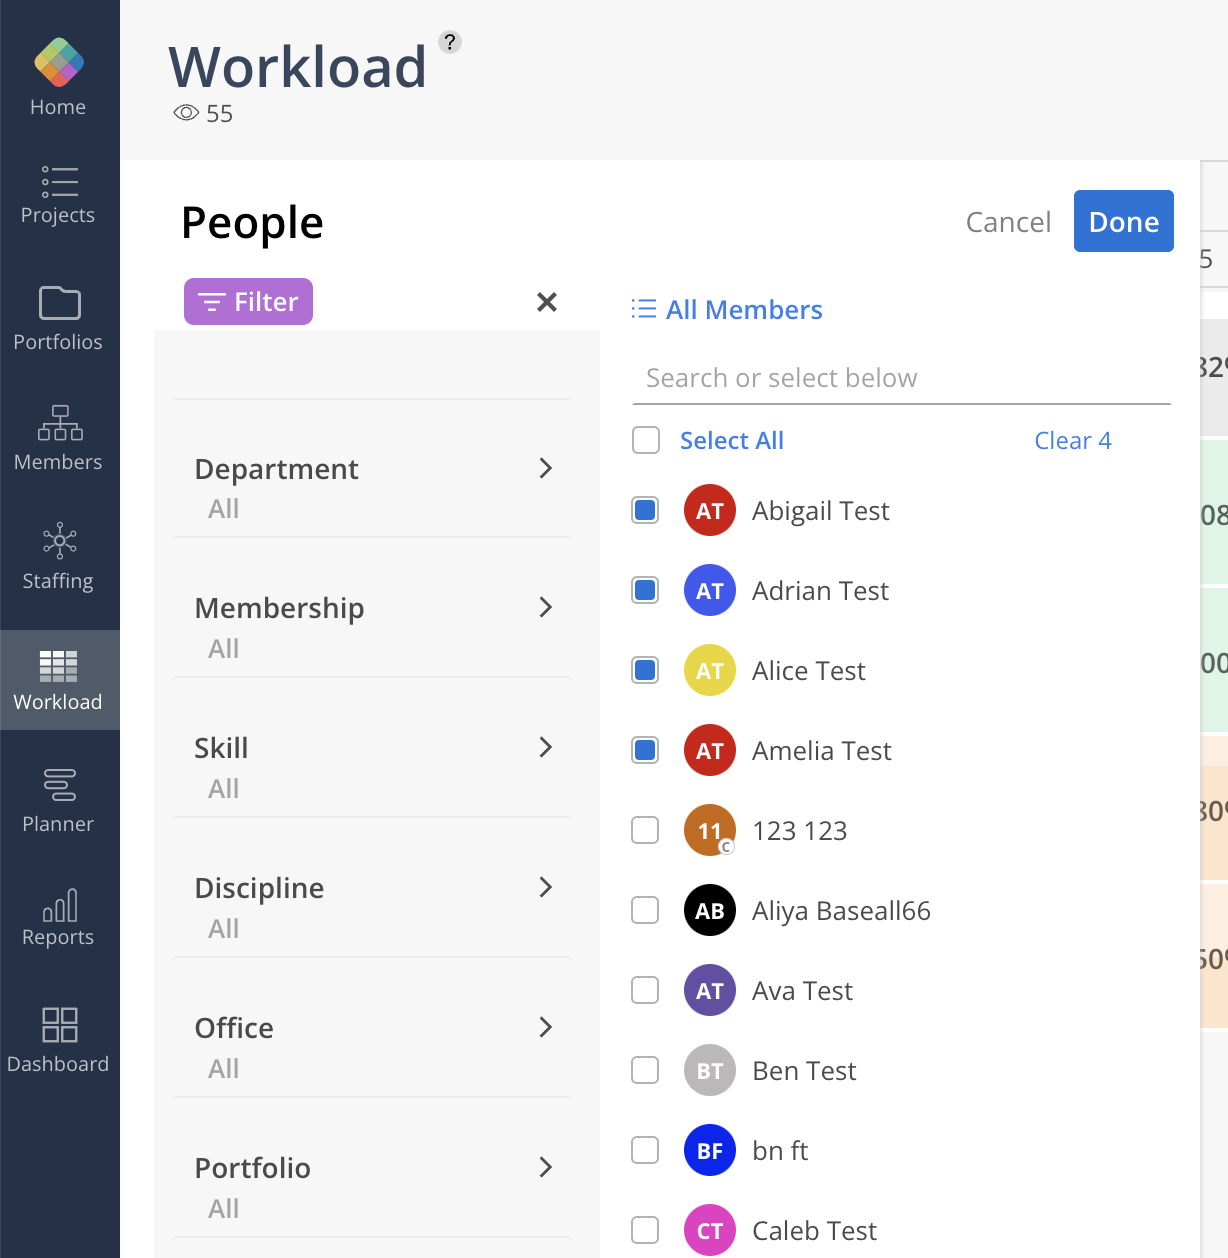
Click "Select Members" in the top left corner to populate members in your workload space.
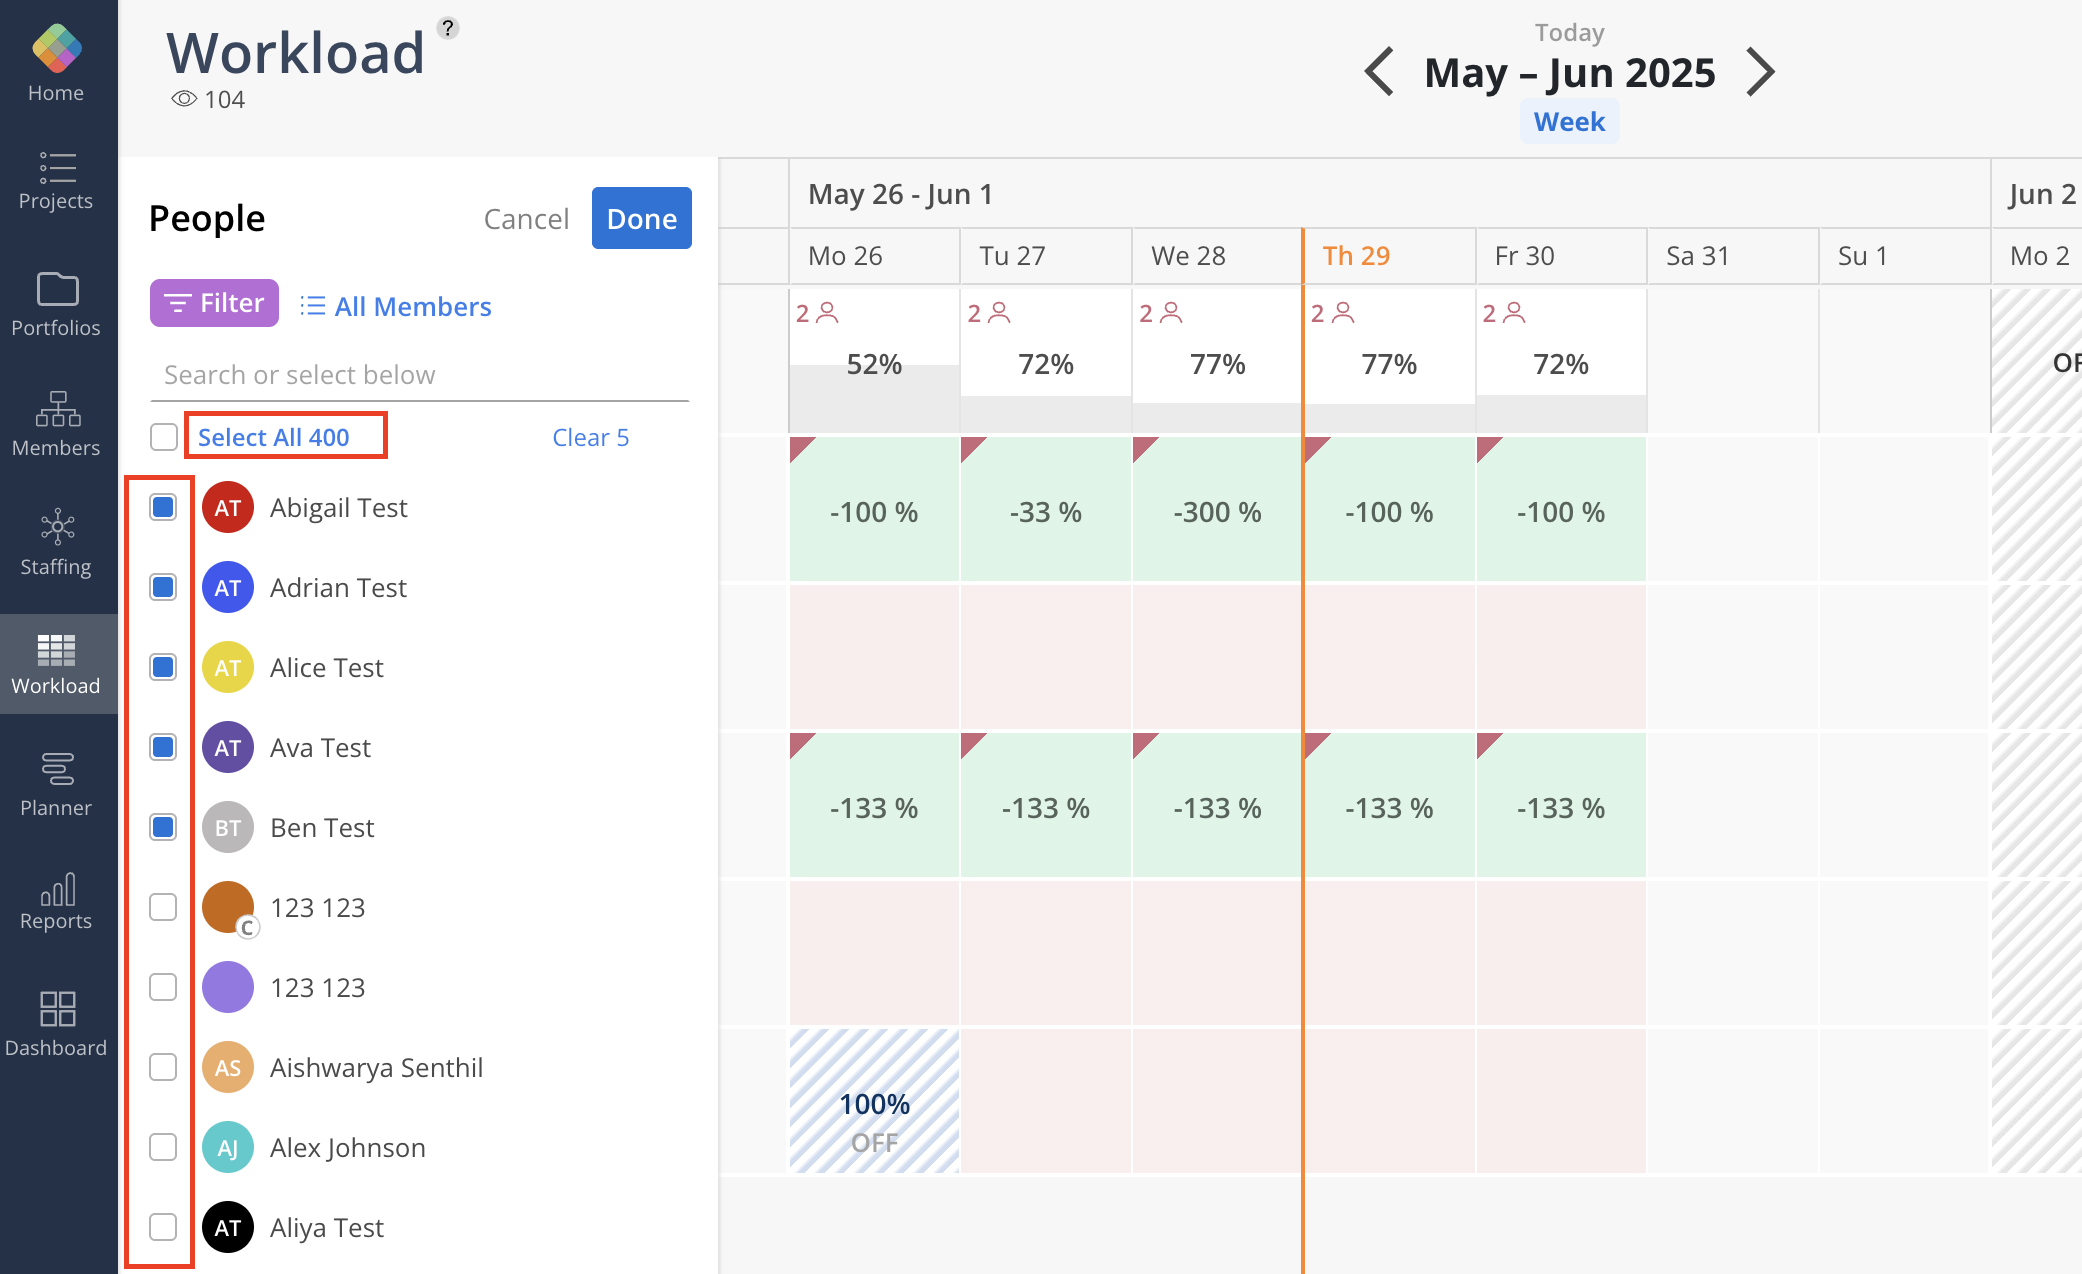
Use the checkboxes to select specific Members or click "Select All" to include all Members. The maximum number of Members that can be selected at a time is 400.
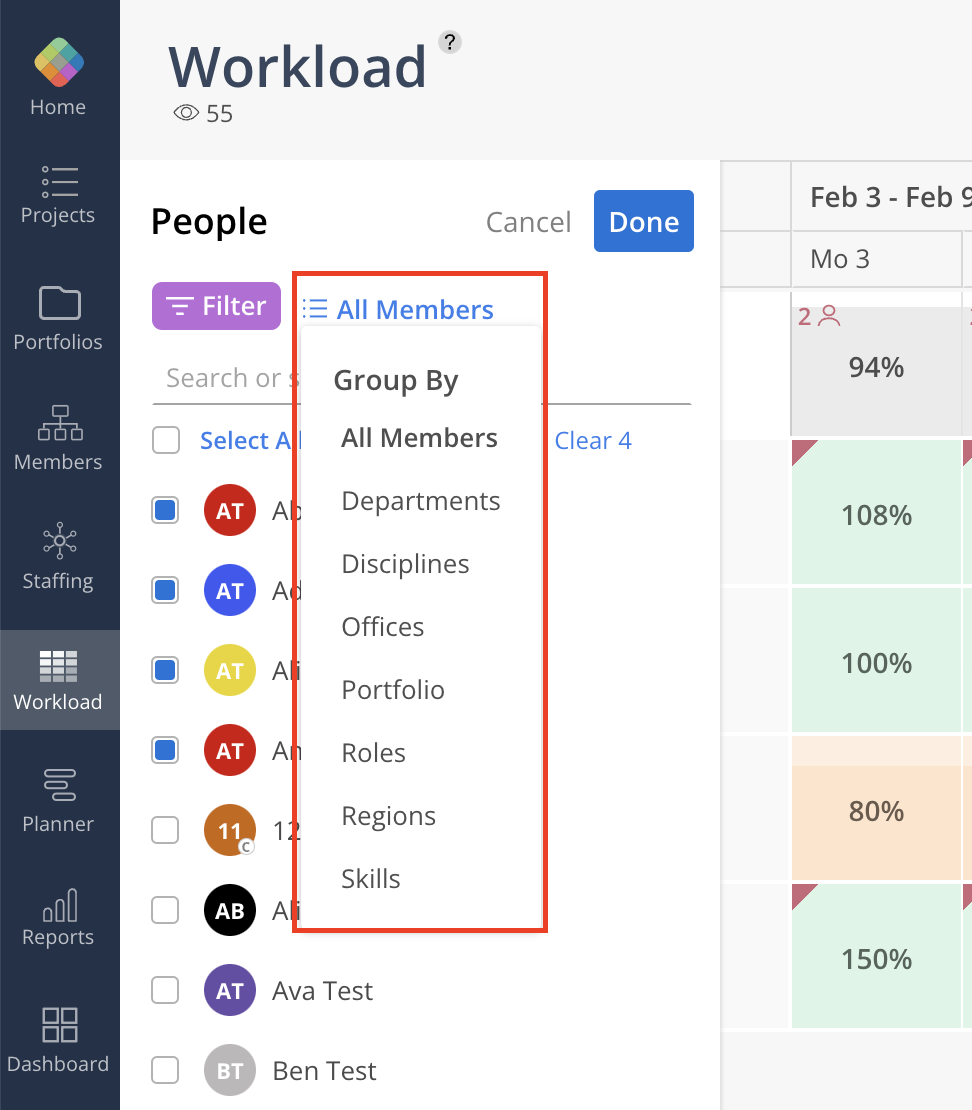
Group the members by Departments, Disciplines, Offices, Portfolios, Roles, Regions, or Skills by clicking the button on the top.
Members can be filtered by Departments, Portfolios, Roles, Disciplines, Offices, Regions, or Skills.
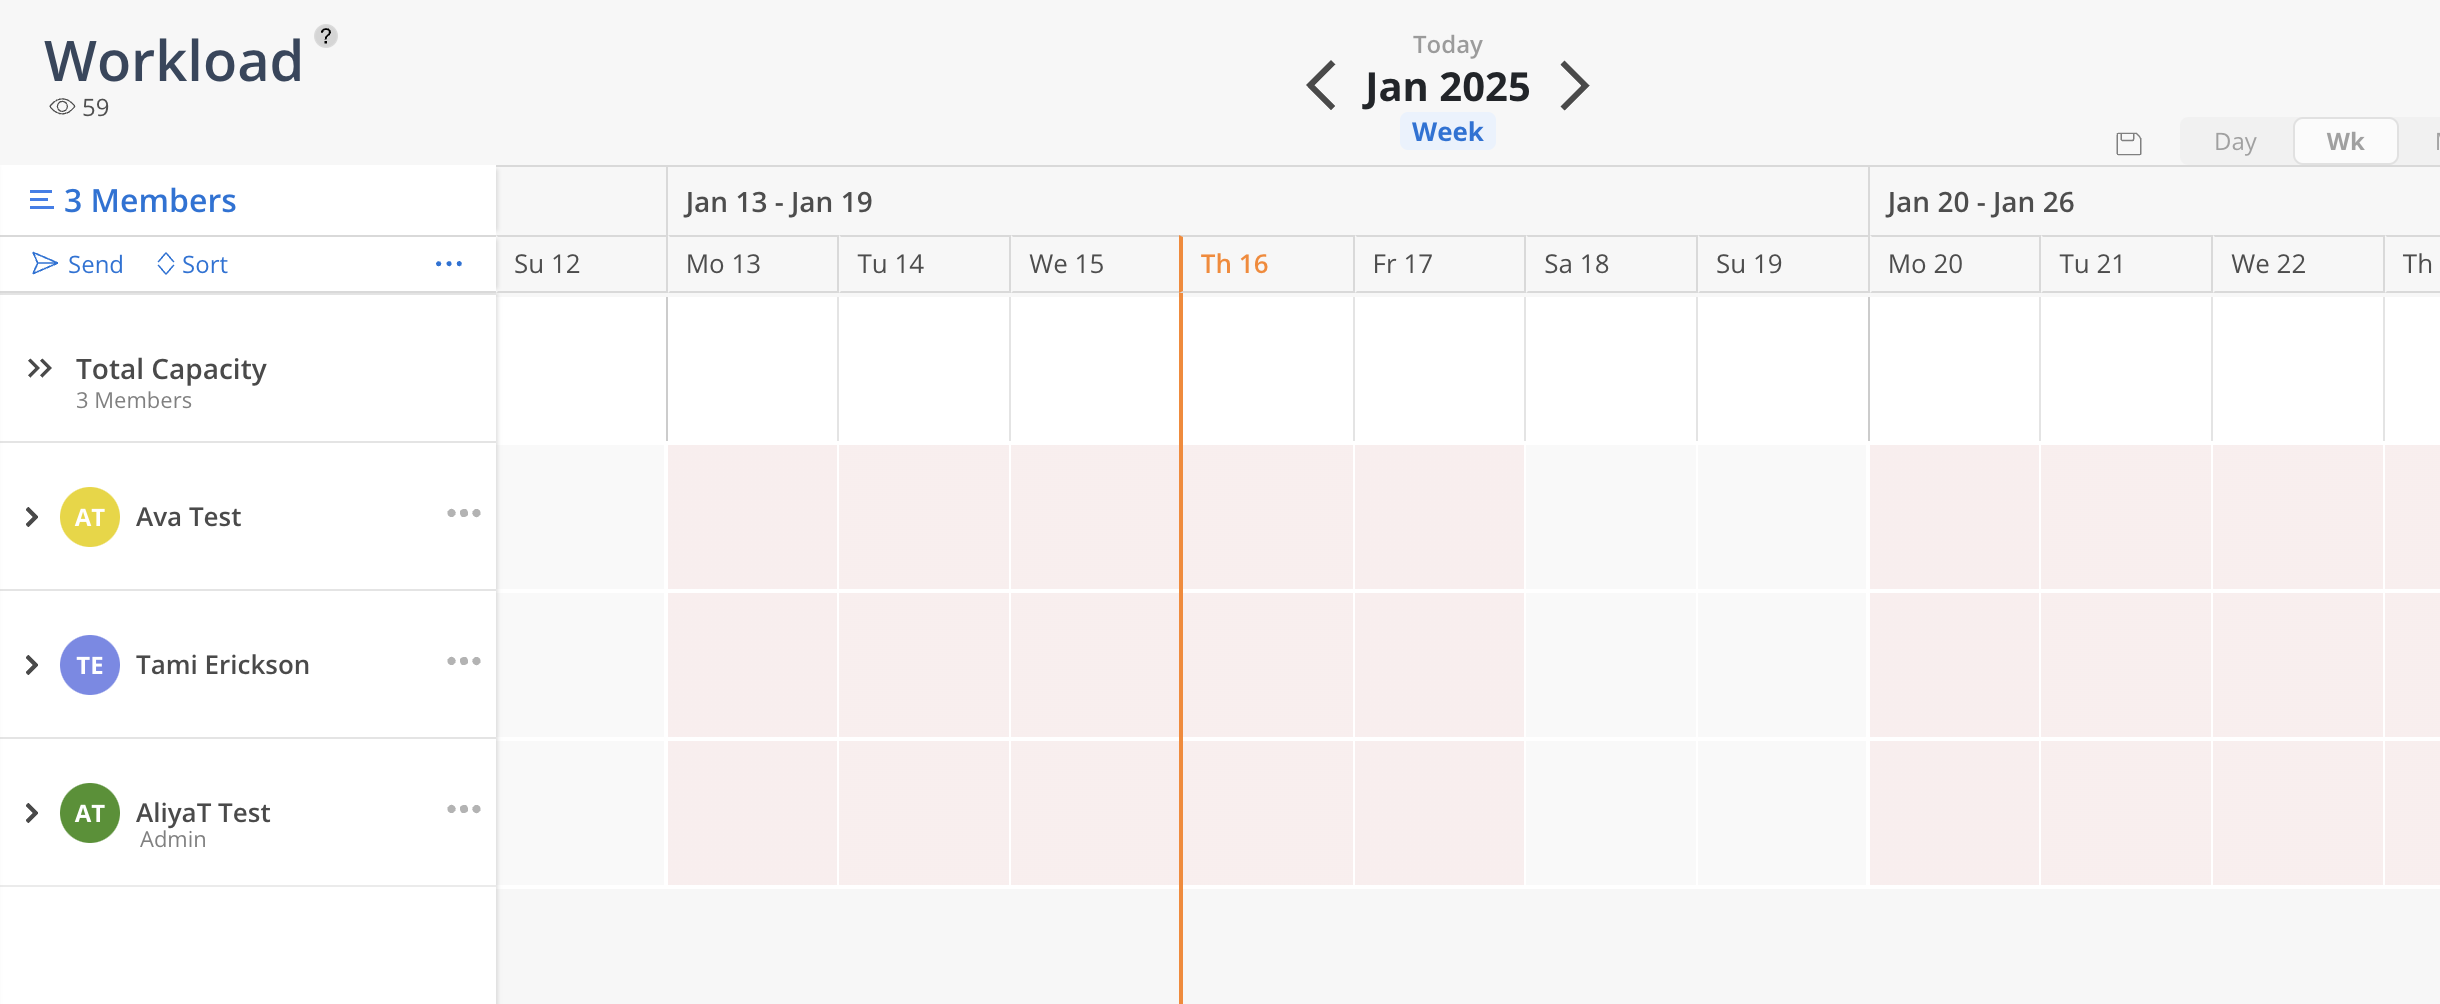
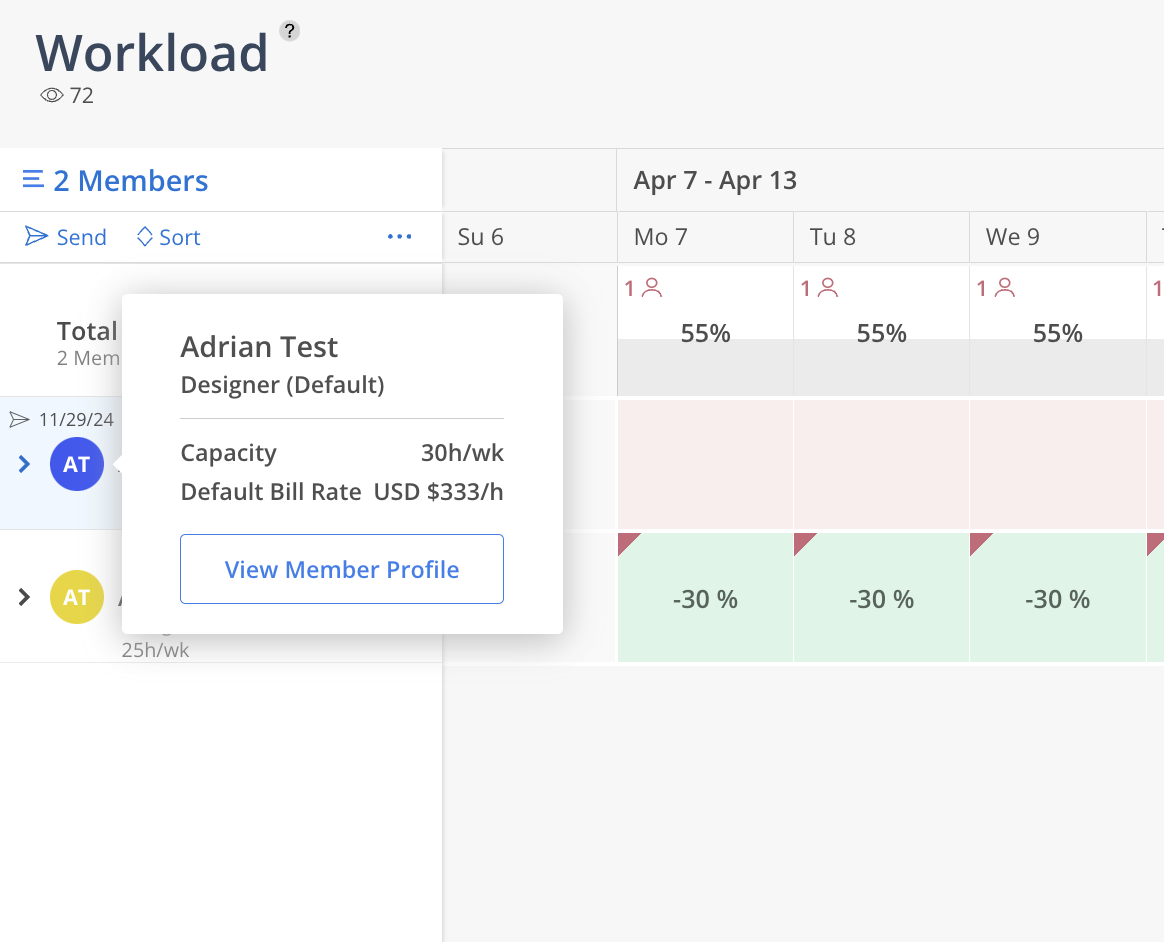
Once click done on the top, selected Members will show on the page. Hover on the Member avatar to see more information of the Member on the tooltip.
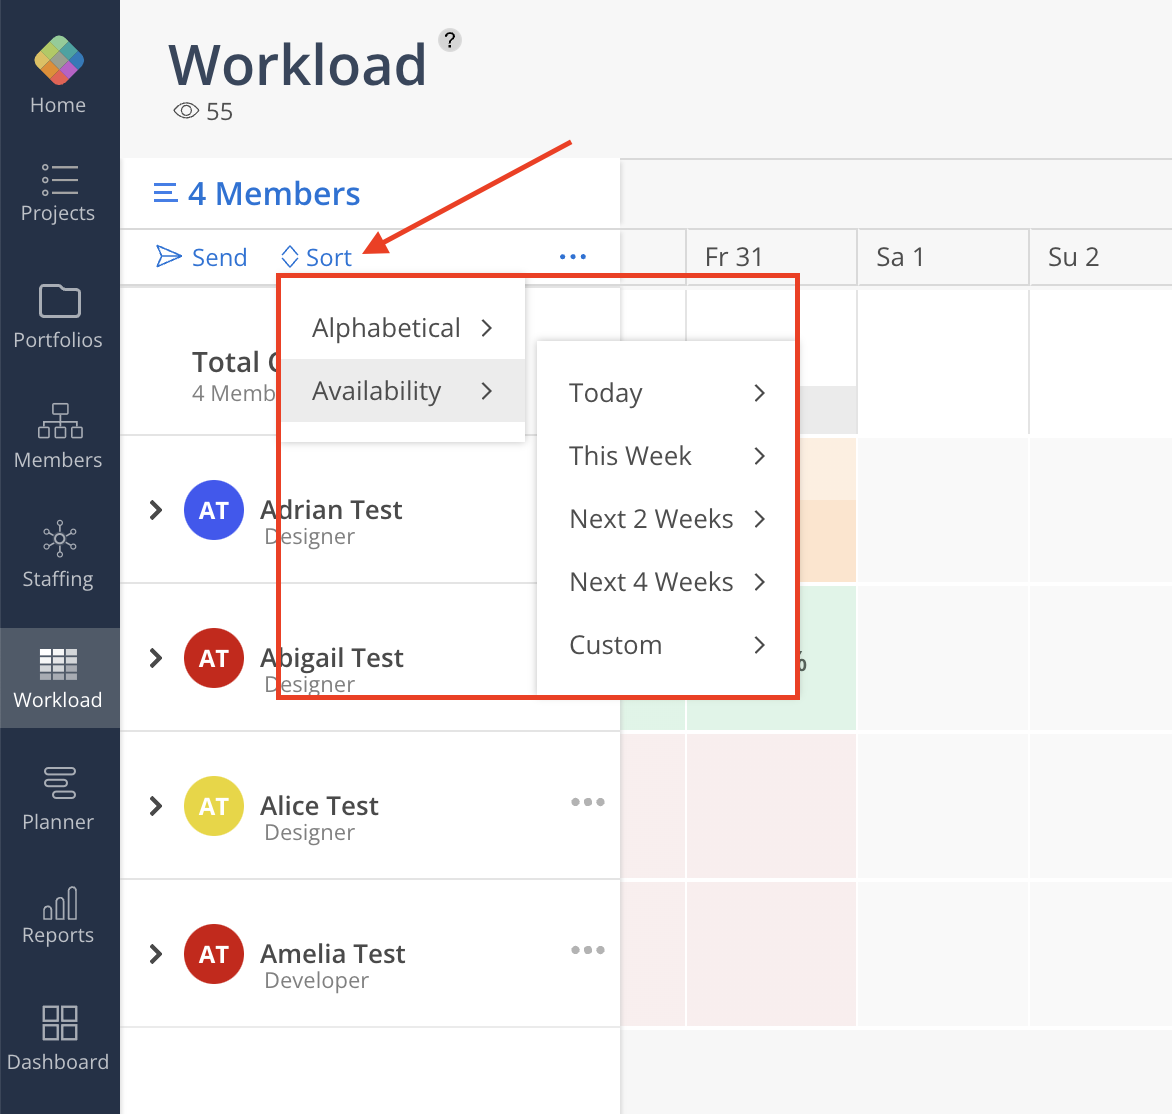
Once members are selected, you can sort them by first name alphabetically or by availability.
Alphabetical Sorting:
Members can be sorted alphabetically in either A to Z or Z to A order.
Availability Sorting:
Availability sorting is available for different time frames:
Today
This Week
Next 2 Weeks
Next 4 Weeks
Custom: able to select custom dates
For each time frame, Members can be sorted by Availability in either High to Low or Low to High order. If a Member is scheduled to work on weekends, that capacity is included in the sorting. This enables efficient organization of Members based on who has the most or least availability.
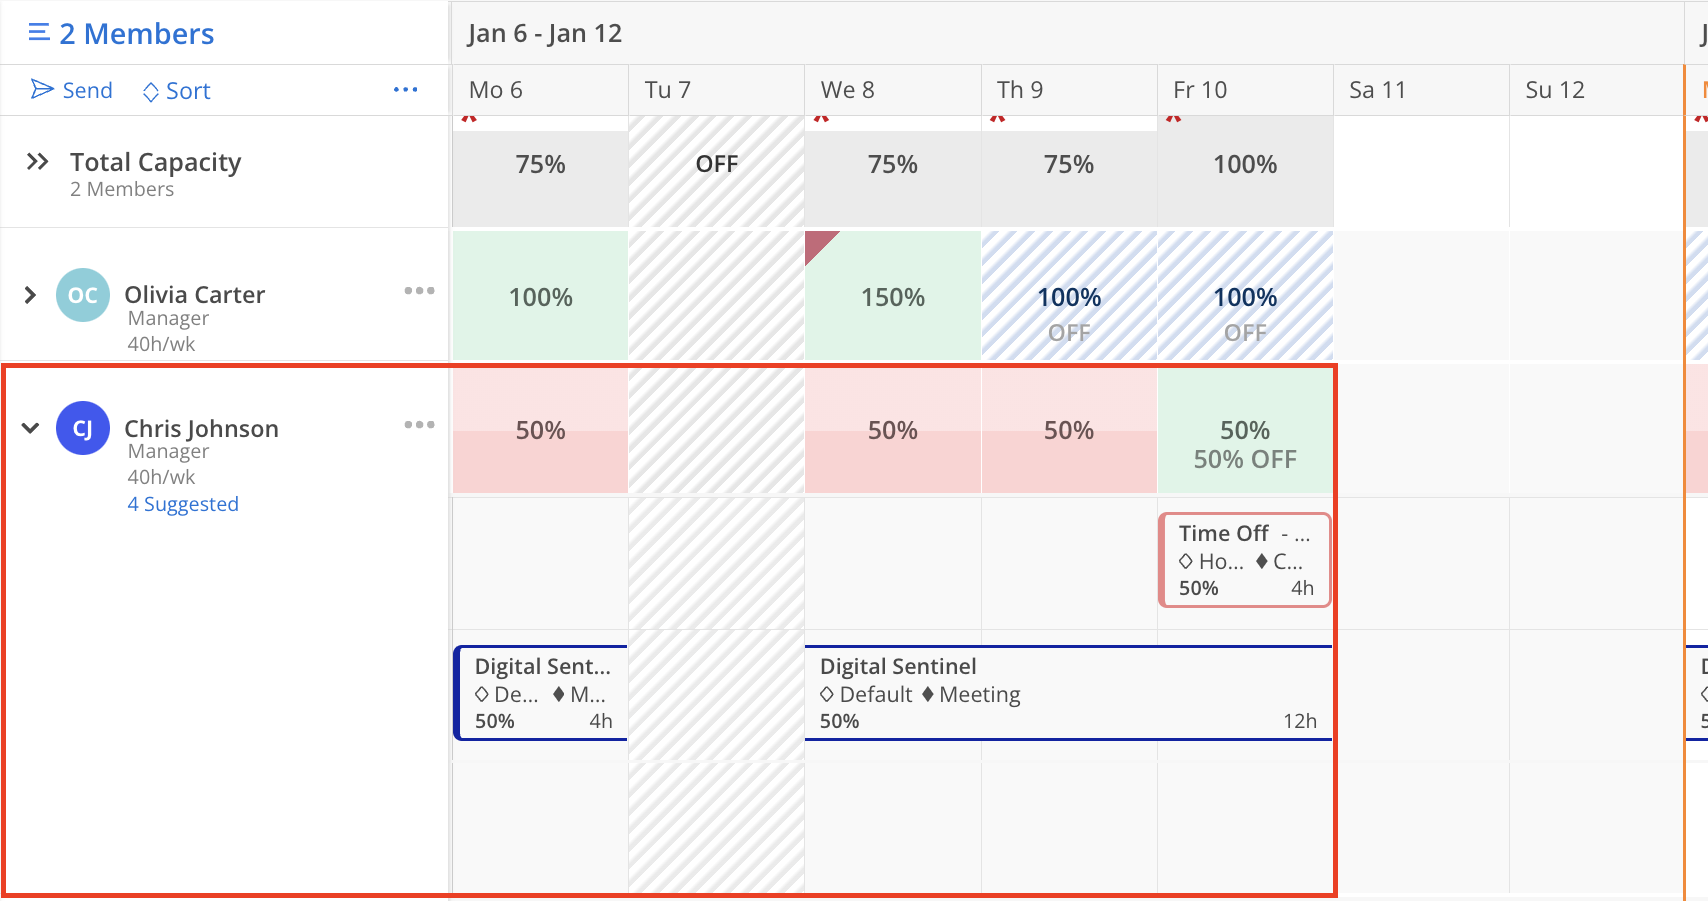
The heatmap can be customized to show the percentage or hours (planned or available).
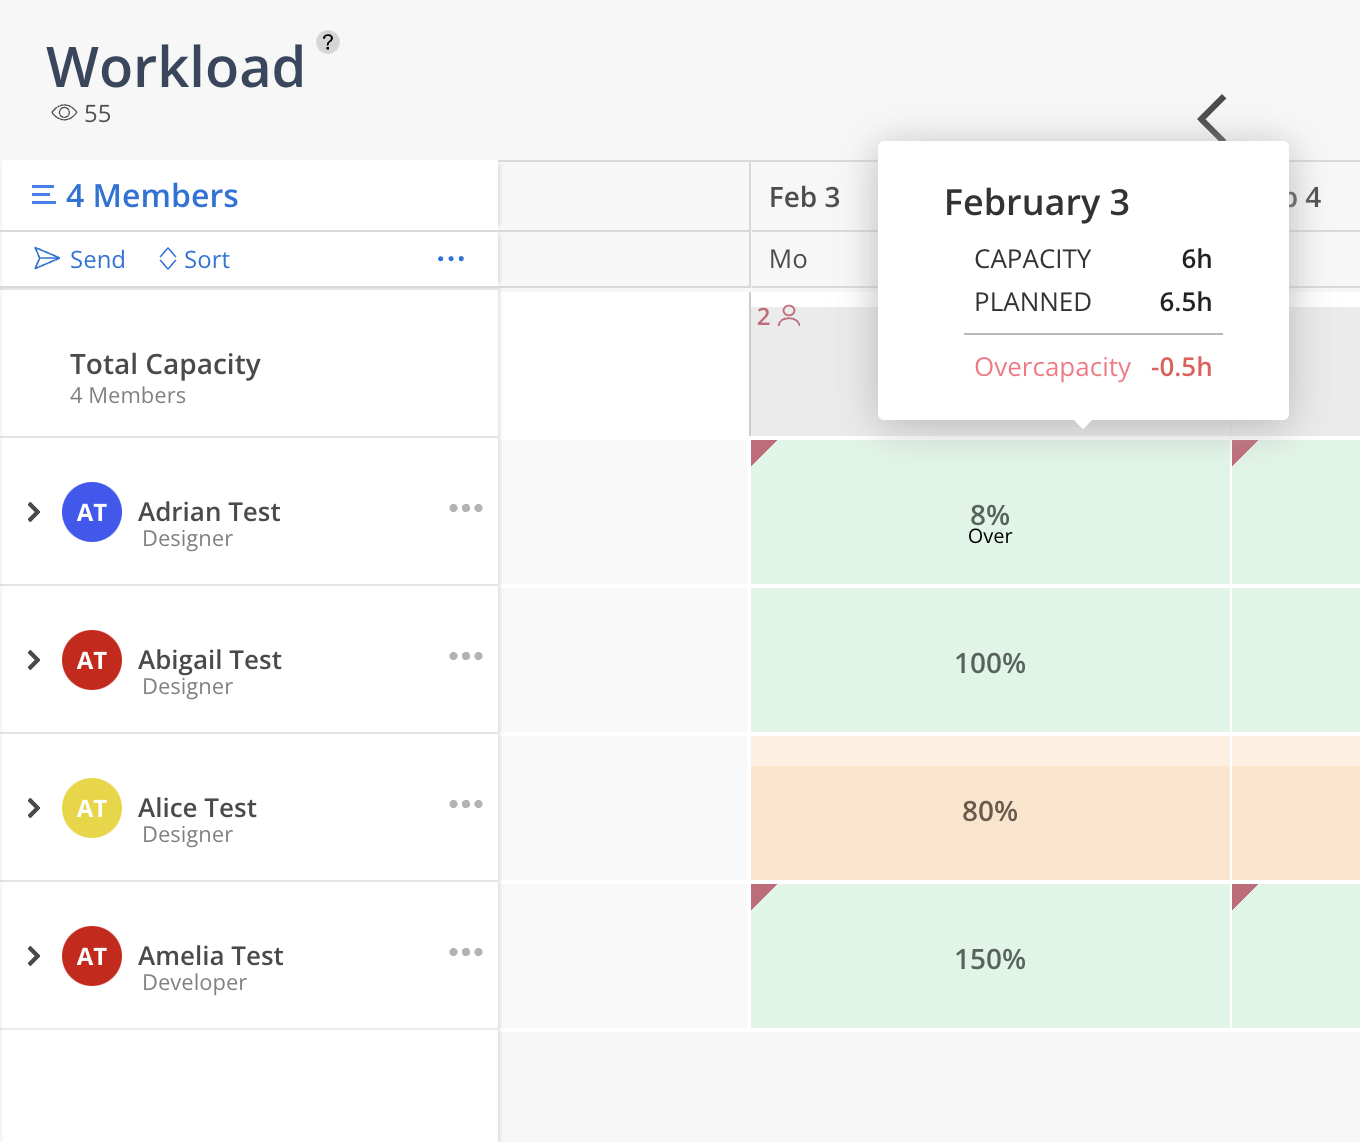
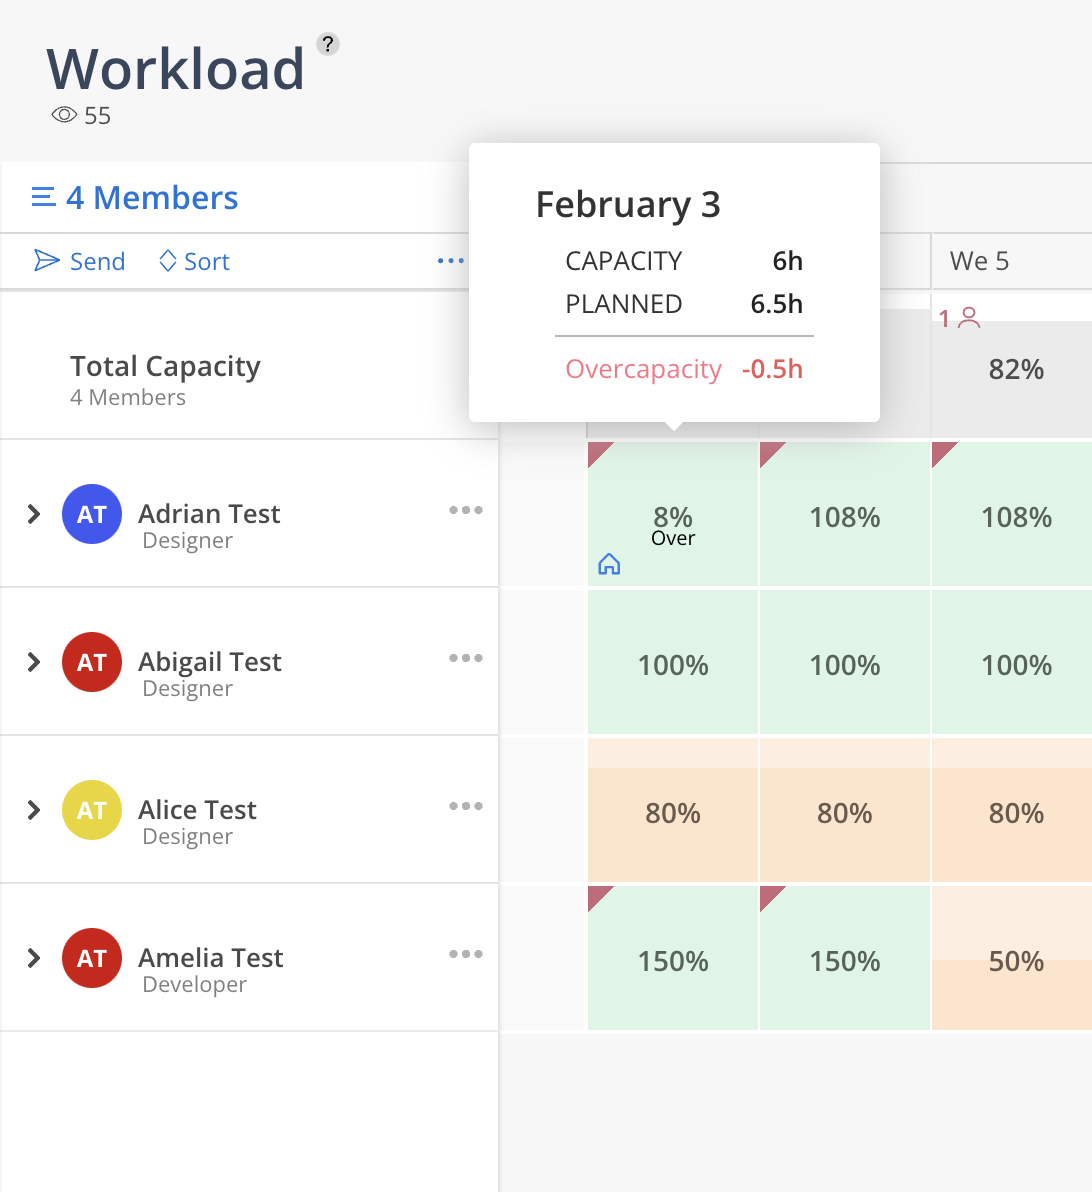
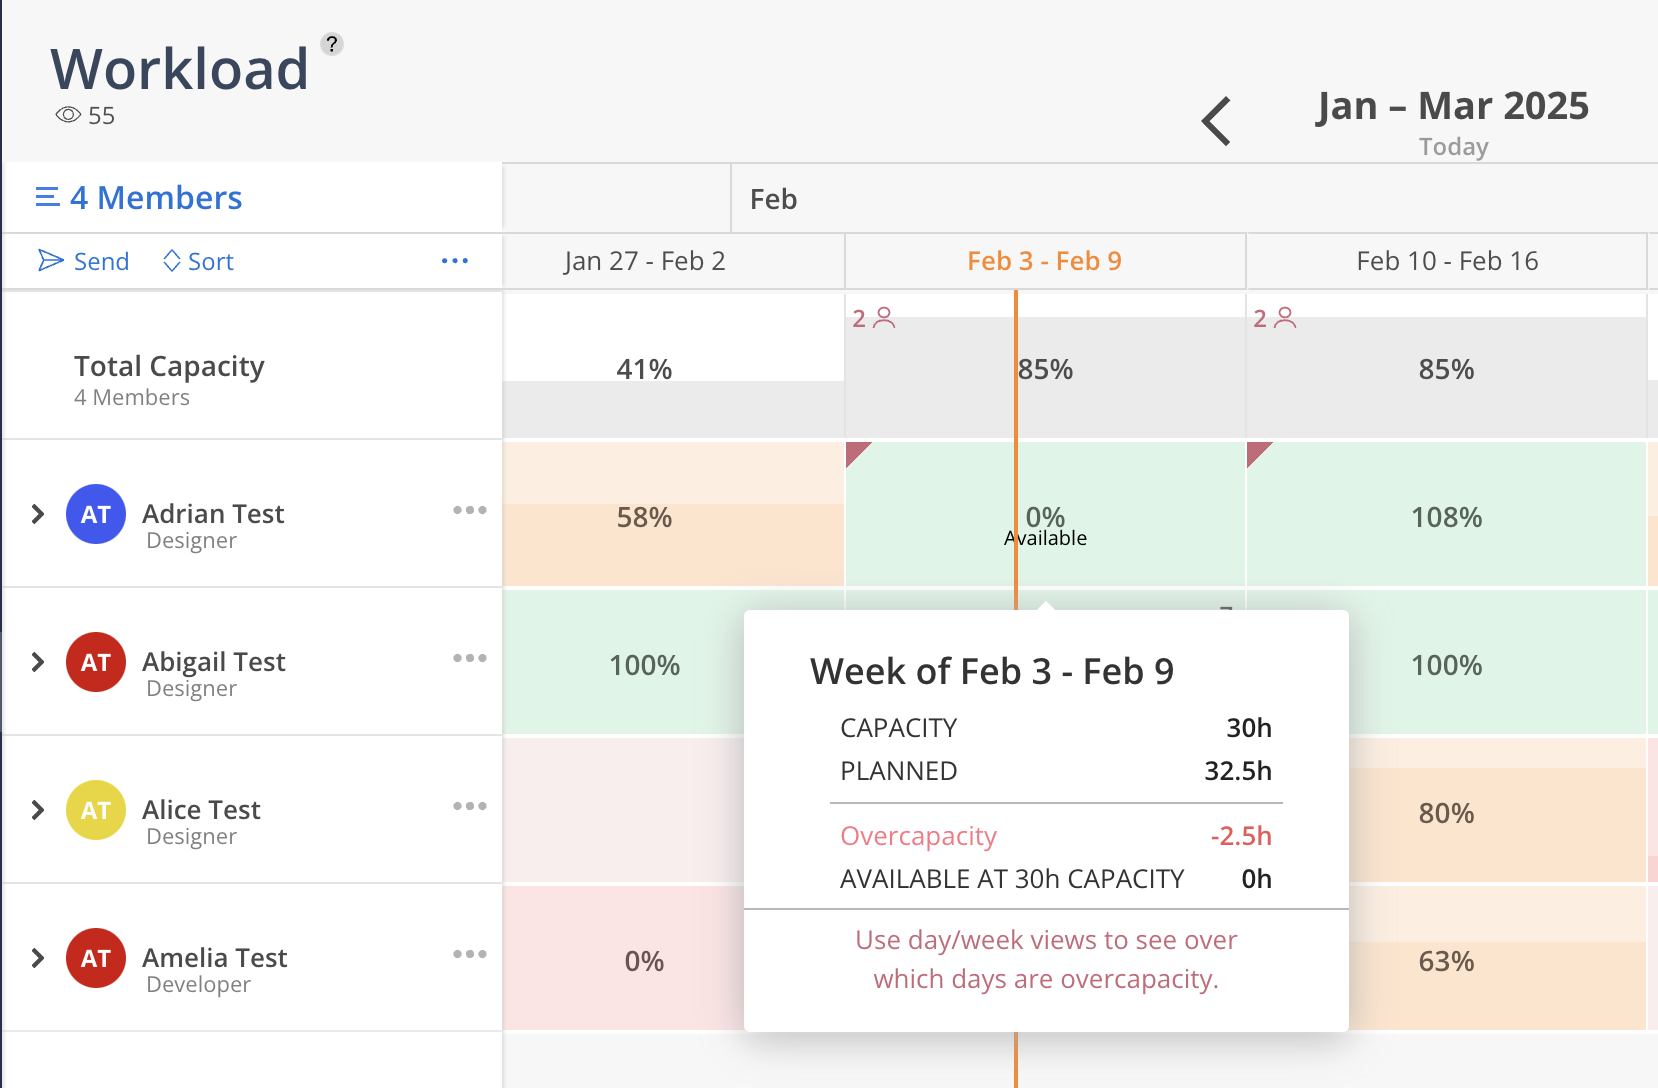
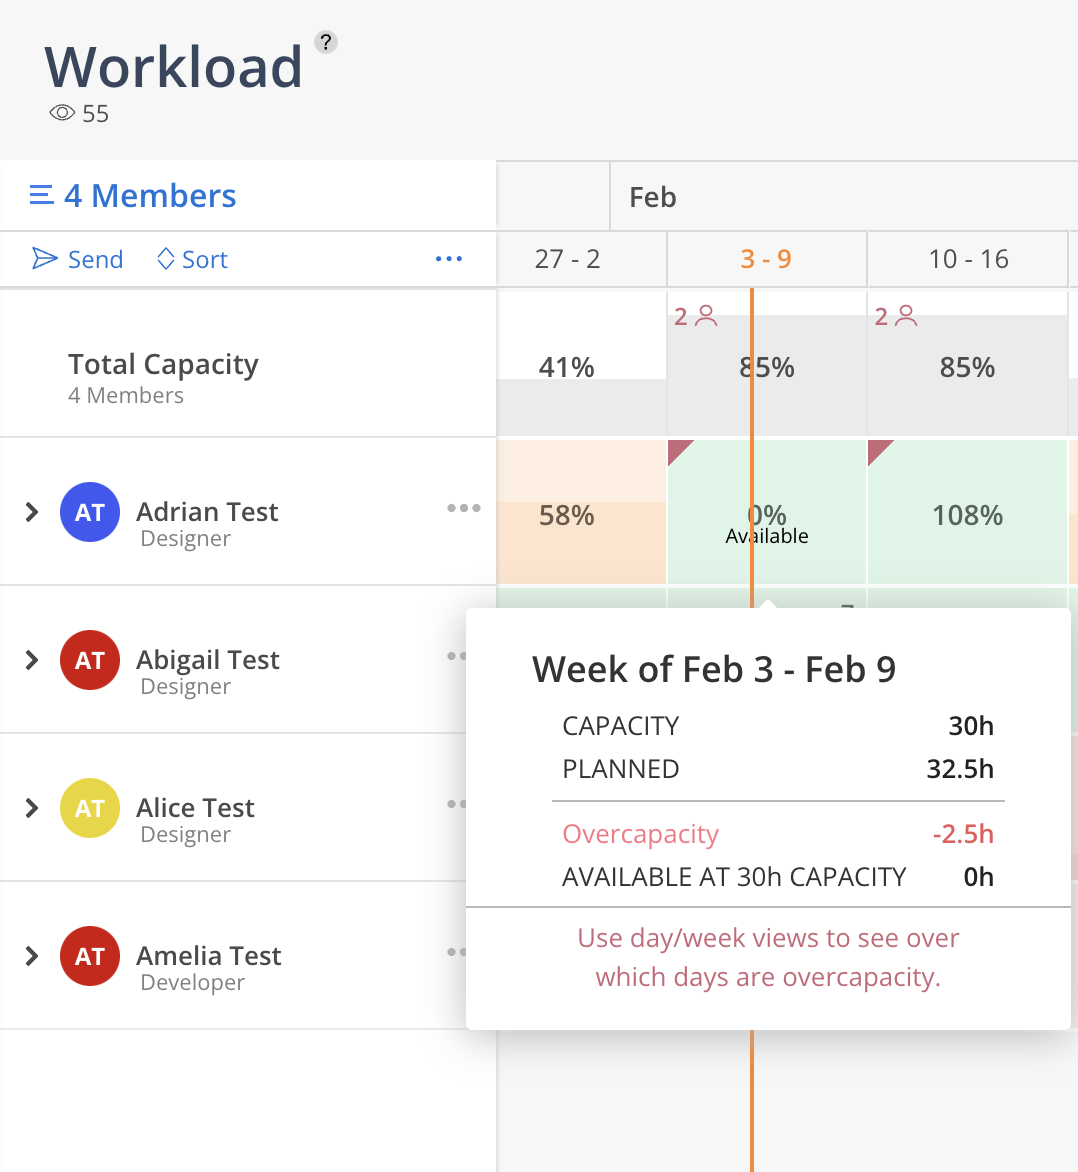
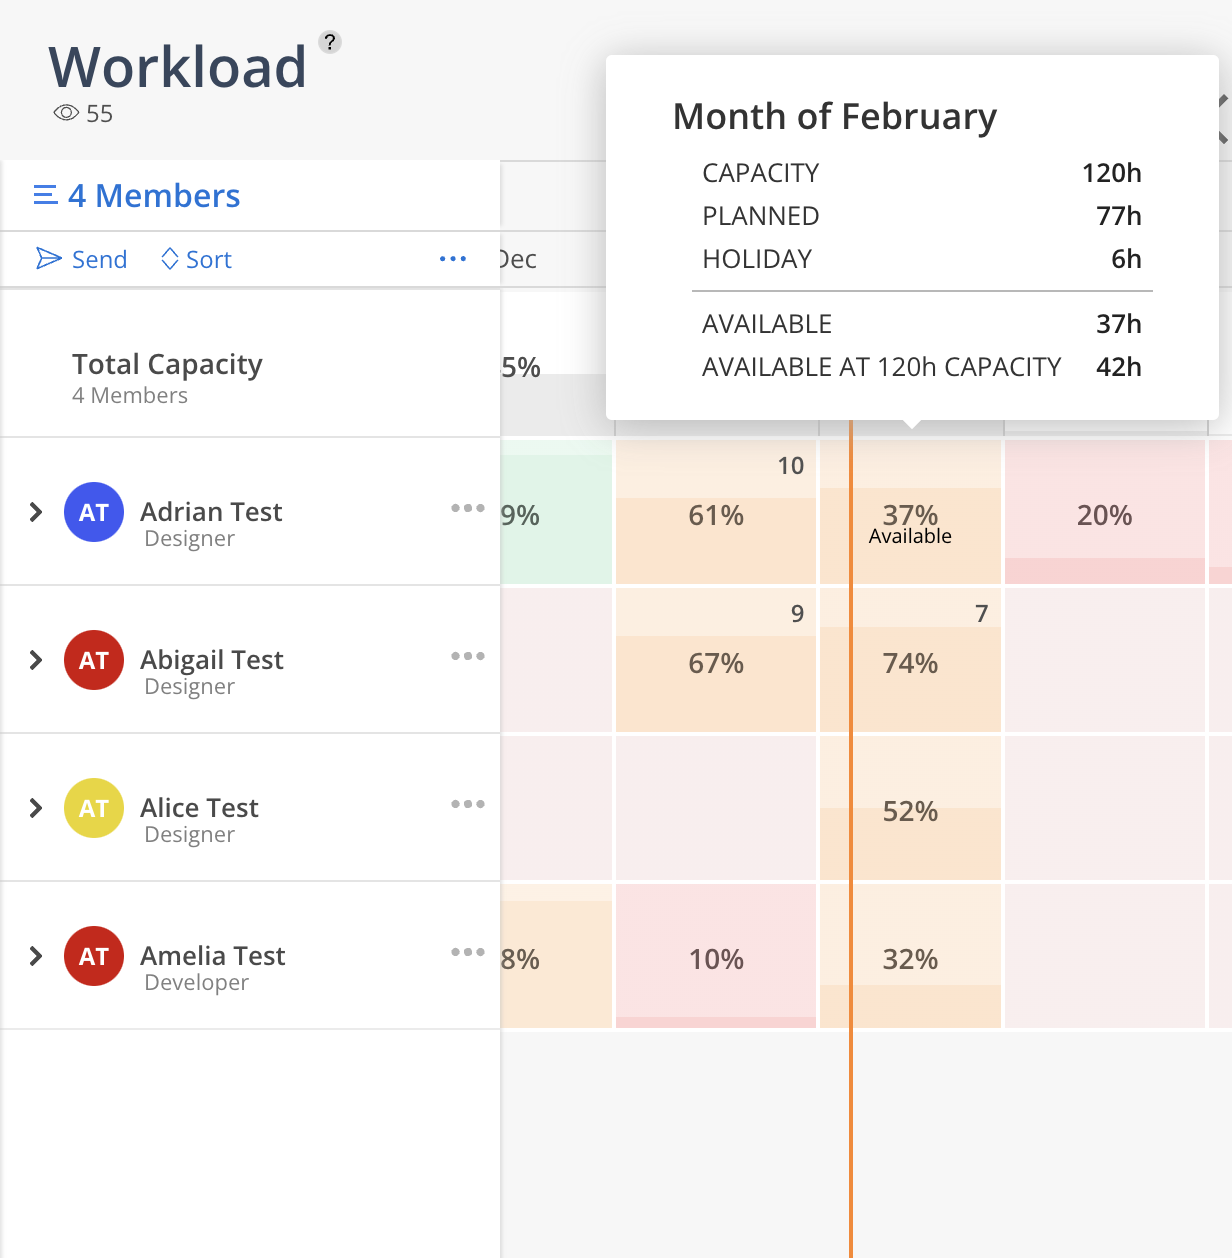
Hover on the heatmap the breakdown of hours for each category will be displayed. The tooltip will show different information when you view by different intervals.
Day View & Week View
The Member Capacity is not capped. When the planned hours are over the capacity, available hours will be negative.
Month, Quarter, & Year View
Available: Overall available hours. This will be negative if the member is over capacity.
Available at [X]h Capacity: On some days the member of this interval the member still have available time. You can switch to day view to see which days the member are over capacity and which days the member still have available hours.
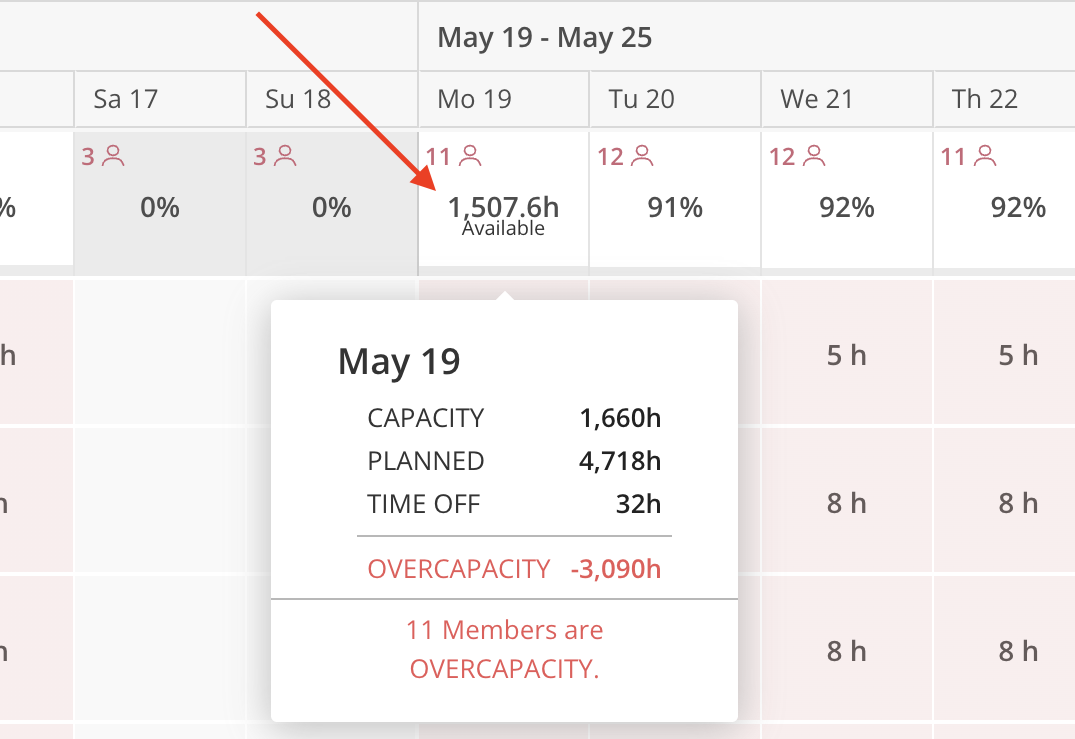
Summary row
The overcapacity Member count will show on the summary row and the tooltip. In Day View, a Member is considered overcapacity if the daily hours exceed their Daily Capacity. In Quarter View, a Member is considered overcapacity only when the total weekly hours exceed their Weekly Capacity.
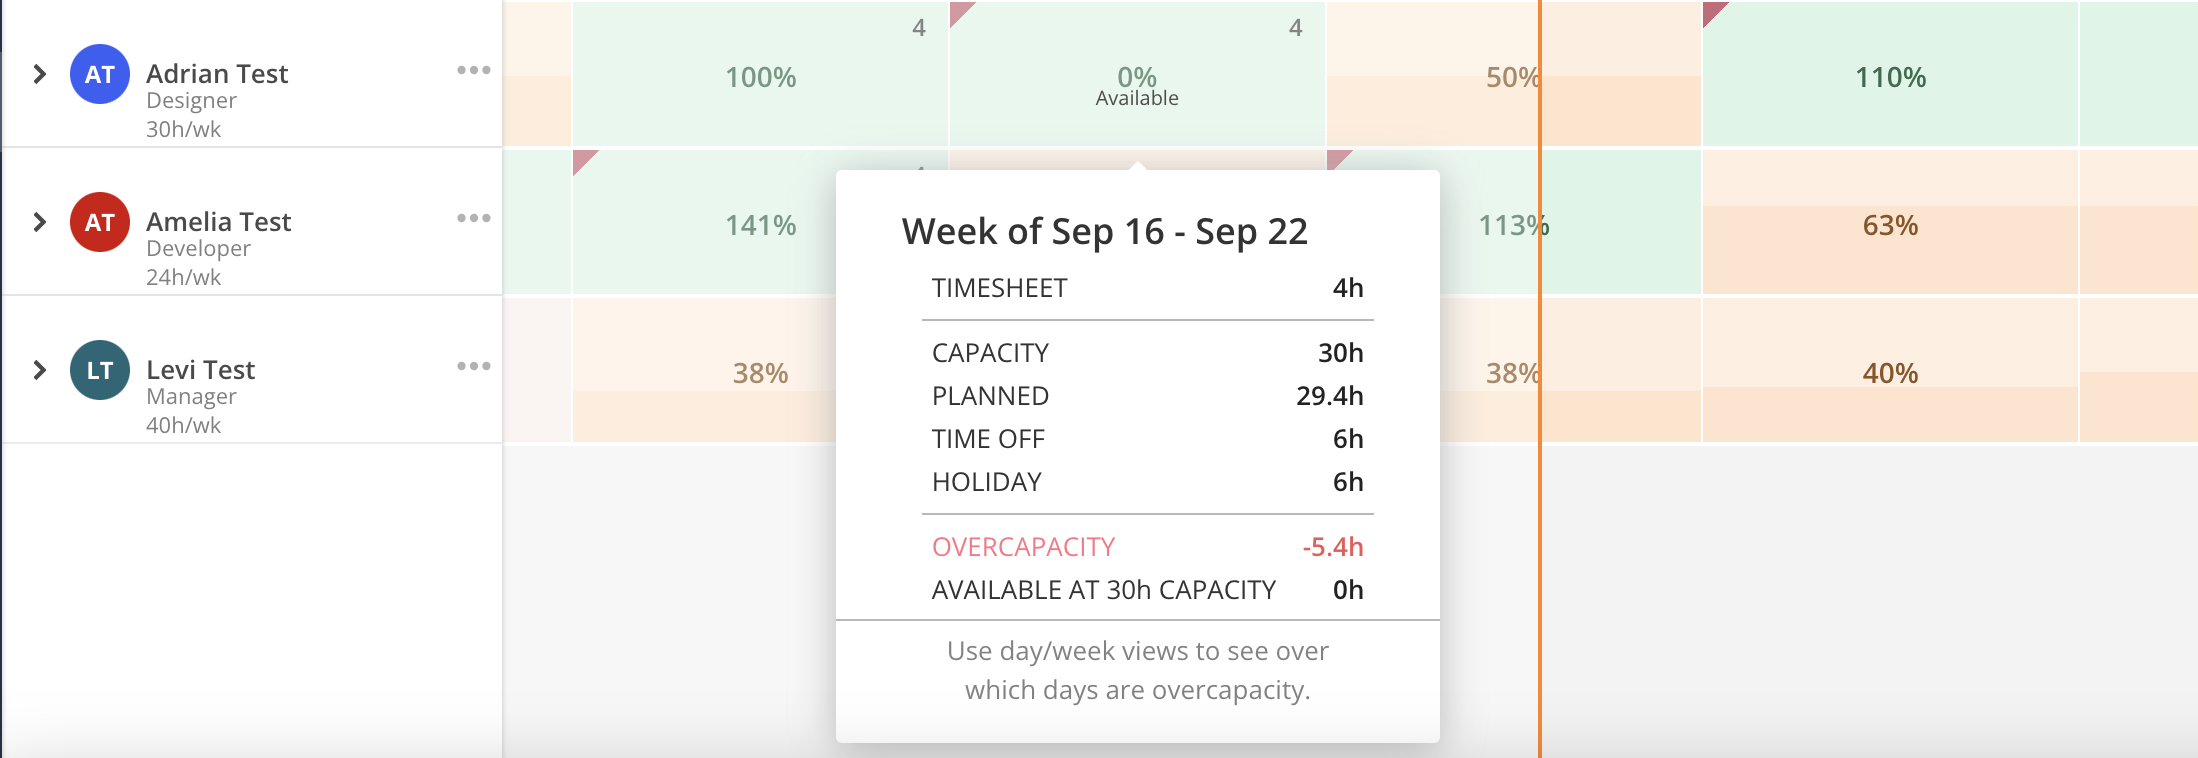
Holiday hours will be excluded from the calculation of a member's capacity percentage.
The member's capacity is 40-8 = 32 hours
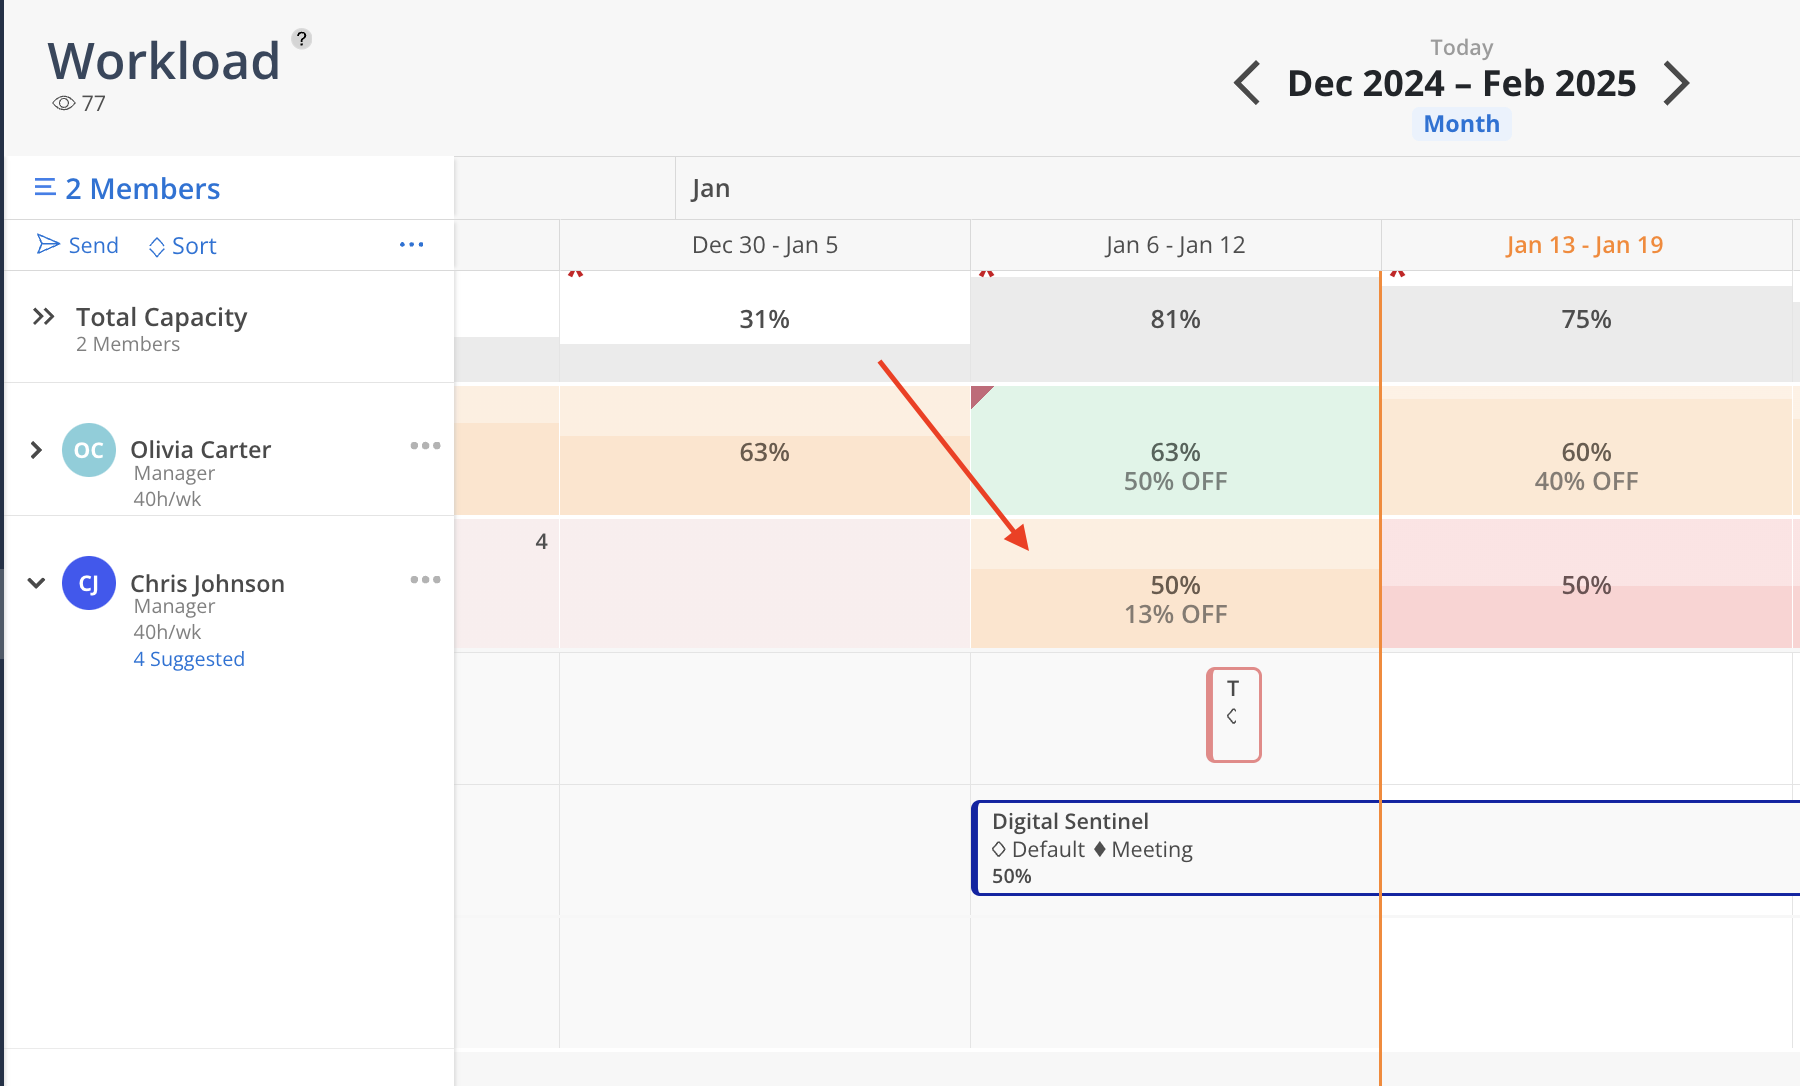
Planned hours include Project Work Plan and Time Off hours.
Time Off and remaining capacity percentage will be calculated separately.
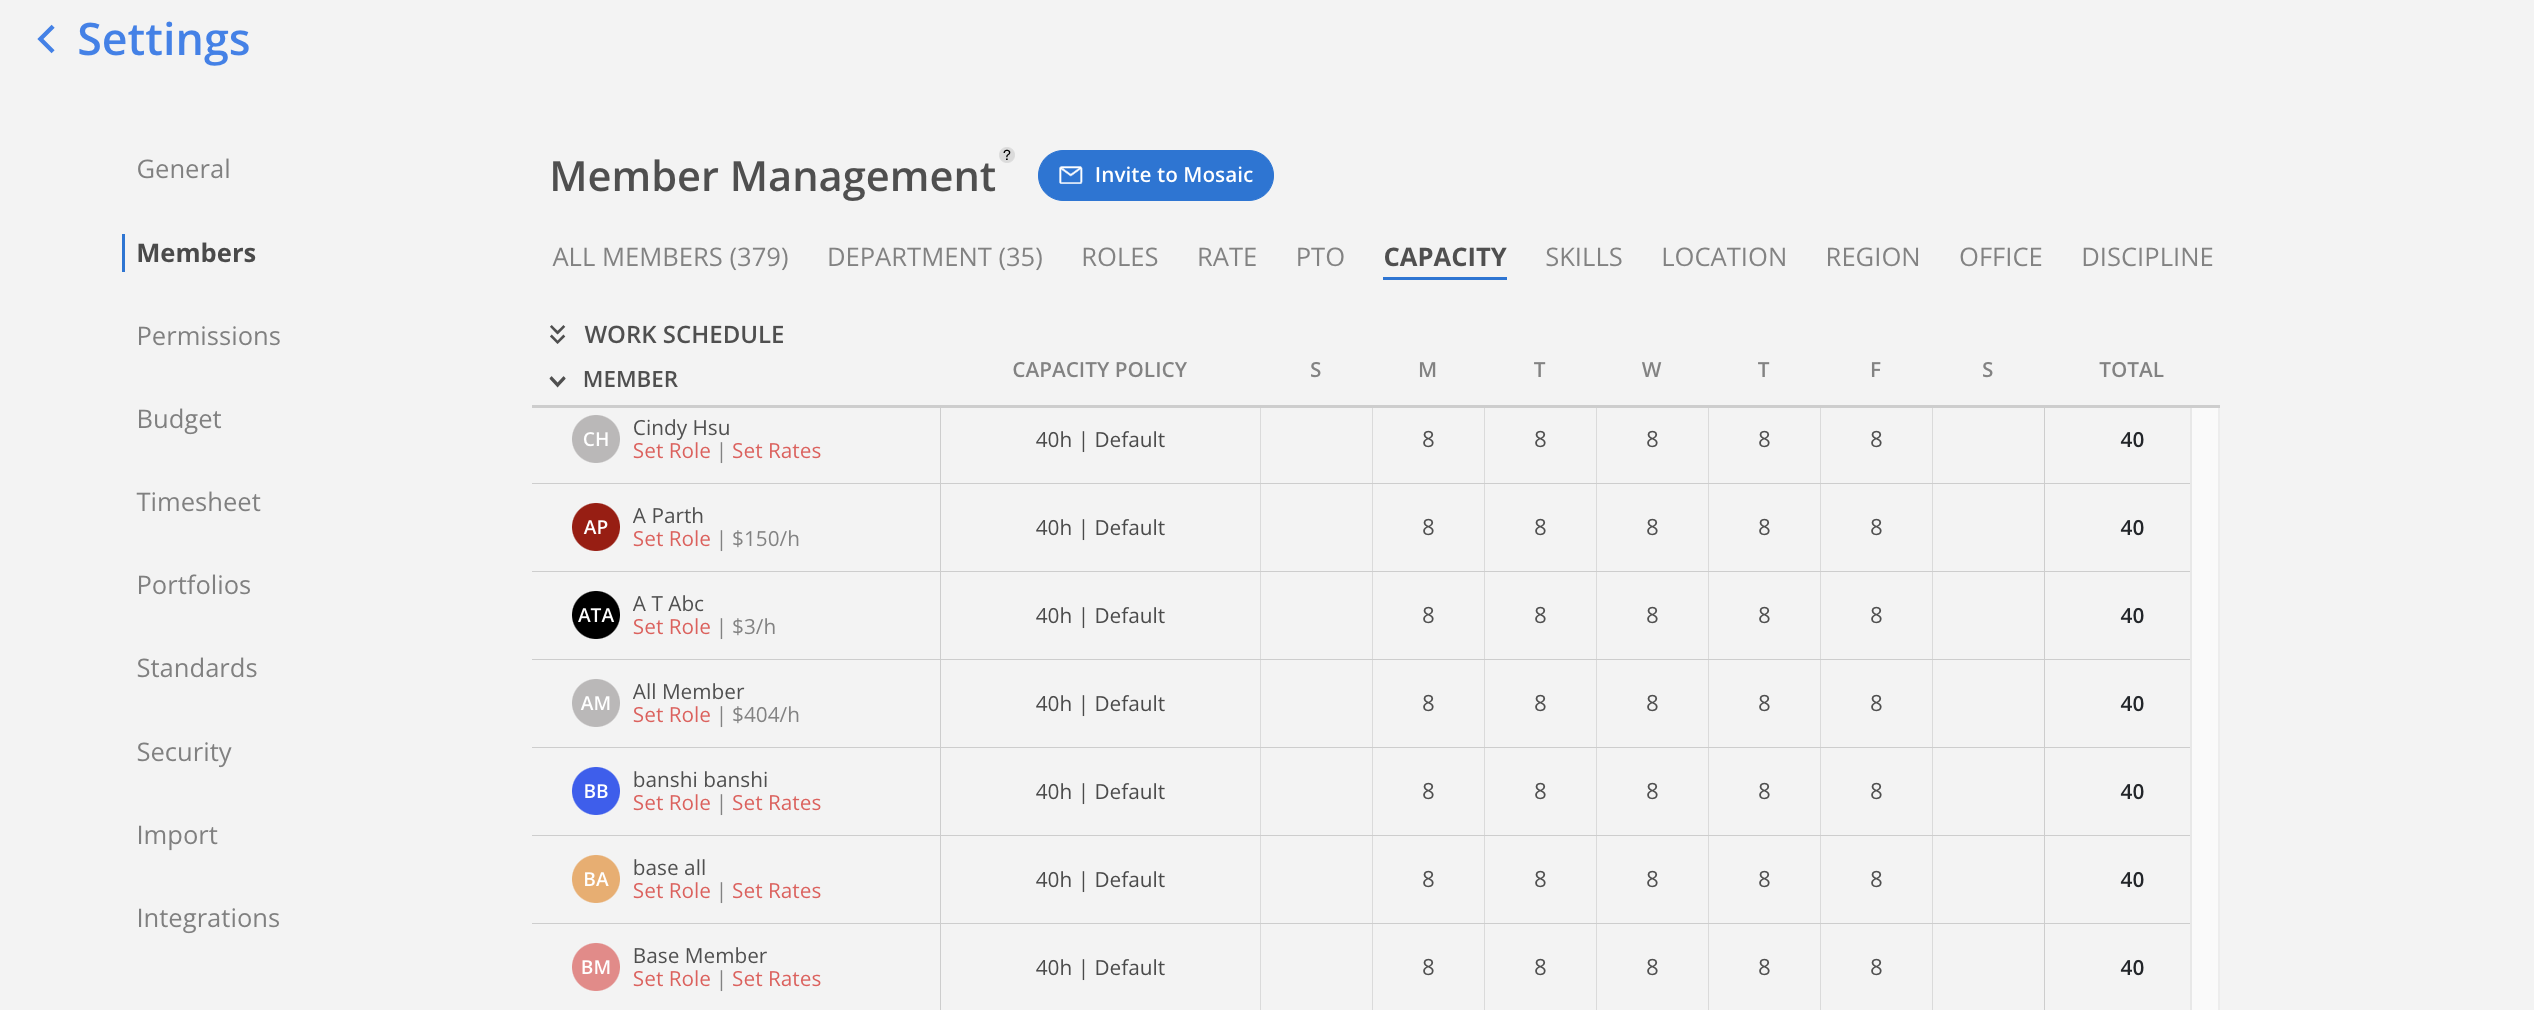
Right click on a member's heatmap cell. ClickEdit Work Capacity option.

A new tab will open to Organization settings > Members > Capacity
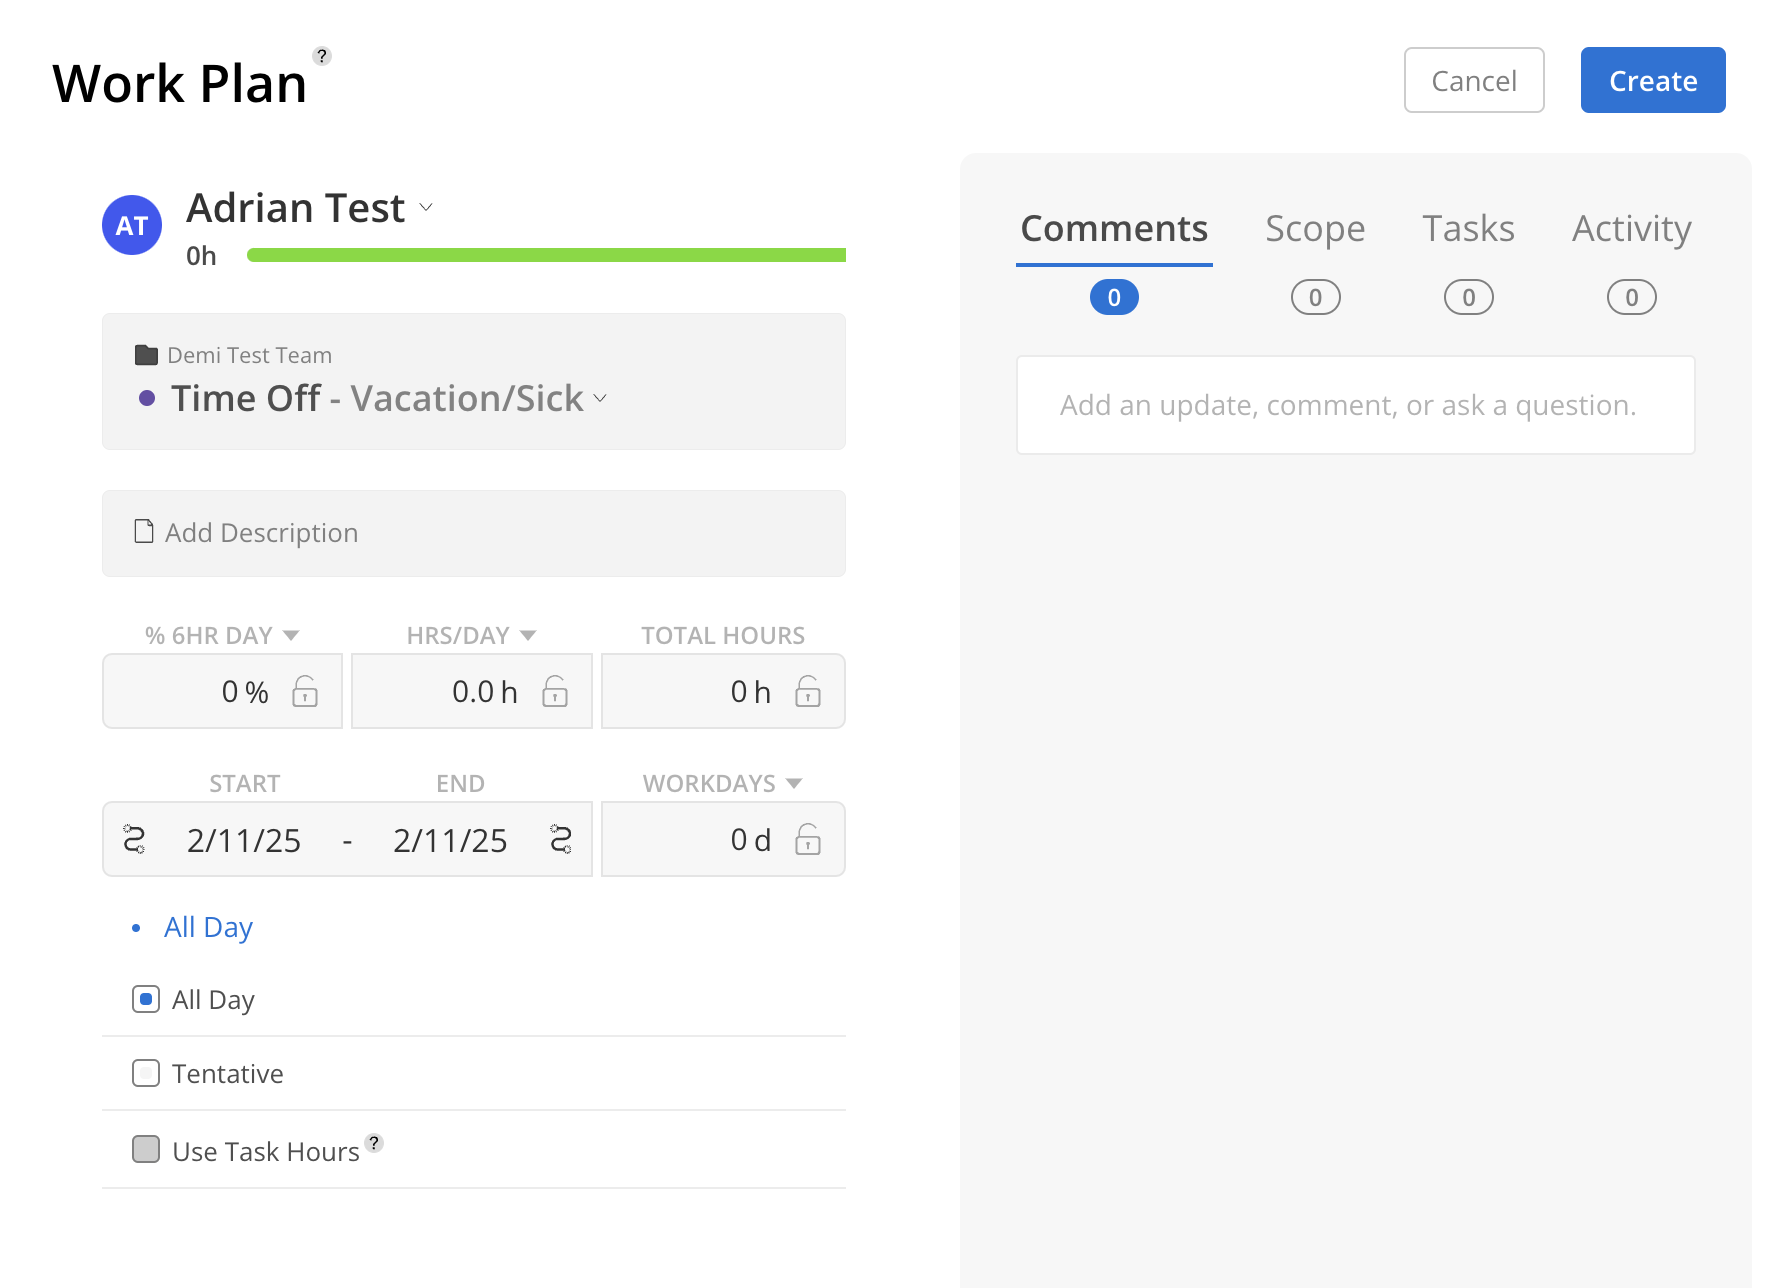
Right click on a member's heatmap cell. Click Out of Office All Day option.

A Work Plan Modal will open with the Time Off project selected. Fill out the information and click Create.
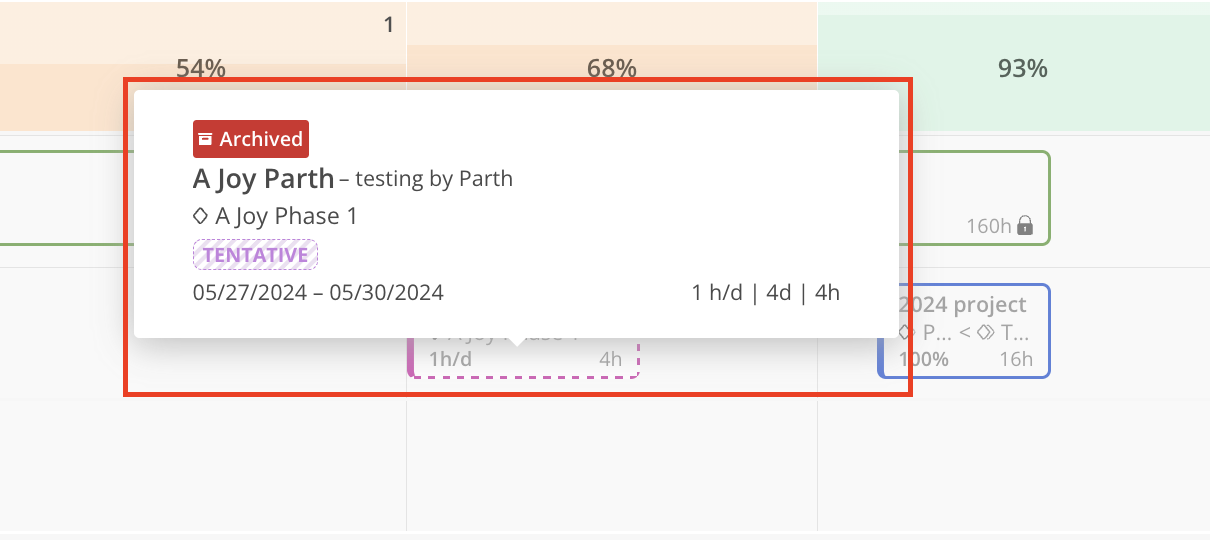
When a Project, Phase, Subphase, or Work Category is archived, the associated Work Plans are also archived. Archived Work Plans are indicated with a red archived icon, and hovering over the bar provides additional details about the archived item.

