Workload Space Display Controls allow you to configure and customize the Space to your preferences. These settings are personal — changing them only affects your view, not anyone else's. Some default values are set by your Account Admin, but each user can override them.
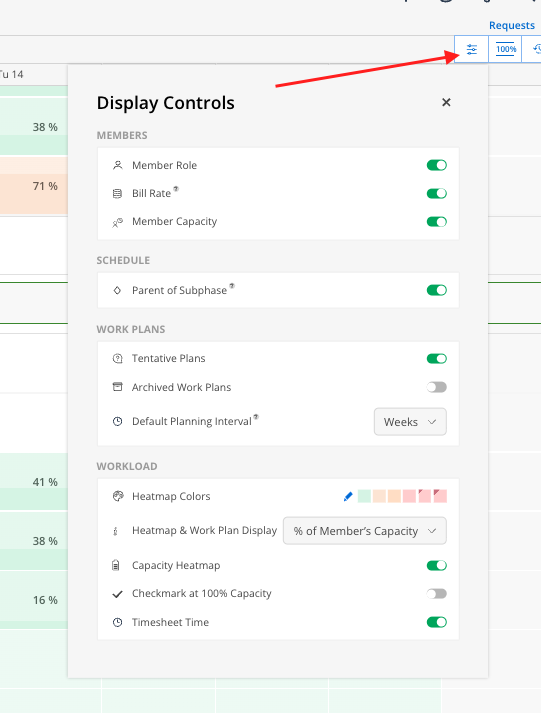
Controls are accessed from the three-dot icon on the top right of the Workload space. The settings panel includes:
Member Controls — Control what member information is shown
Schedule Controls — Show or Hide the Parent of the Subphase
Work Plan Controls — Set Default Planning Parameters
Workload Controls — Tweak the overall Space’s display
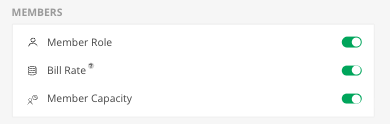
Member Role — Toggle the member's role underneath their name on or off
Bill Rate — Toggle the member's bill rate to appear. Restricted to Budget Managers and Admins. Requires an additional click to reveal the actual number under Members Name
Member Capacity — Toggle their weekly capacity (e.g., 40h/wk) underneath their name

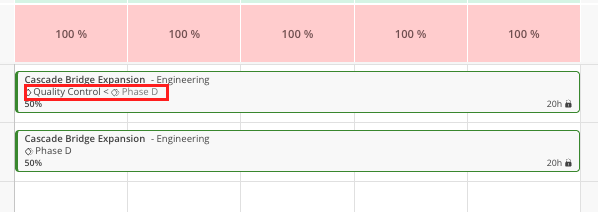
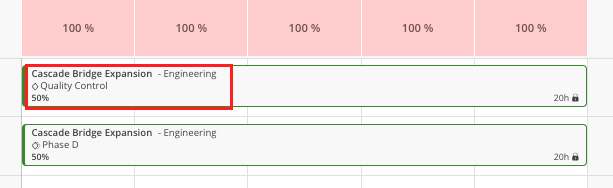
Parent of a Subphase - This allows you to show or hide the parent of the Subphase on a work plan
Toggled On
Toggled Off
Tentative Plans — Show or hide plans marked as tentative. Use this to toggle "what-if" scenarios on and off to quickly review capacity
Toggled On
Toggled Off
Archived Work Plans — Show or hide work plans that have been archived
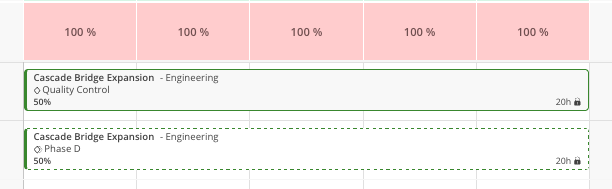
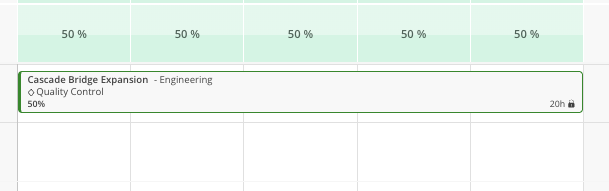
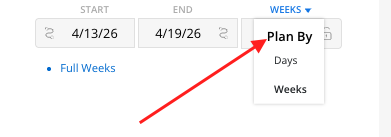
Default Planning Interval — When enabled, new work plans default to weekly scheduling (hours per week or % per week); with date selections also adjusting to Monday through Sunday Increments. If you plan in full-week blocks, this is a great option
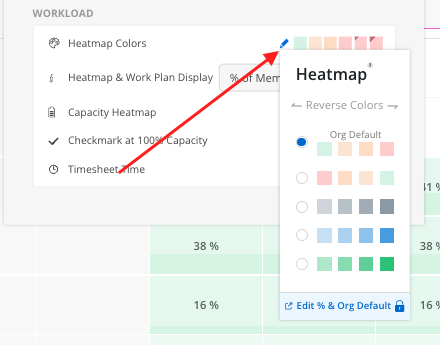
Heatmap Colors — While set to your Organizations Default, the colors can be adjusted to preference.
Select the pencil icon to adjust the color range or to reverse the color order. The Org Default will always remain at the top of the list.
Account Admins can select the option to Edit % & Org Default, which will open up the Organization Settings.
Heatmap & Work Plan Display — While set to your Organizations Default, this setting can be adjusted to show which values appear in your Workload Space. Choose which value by selecting from the drop down menu:
Planned Hours: Shows total hours planned in that period
Available Hours: Shows how many hours the member has available once planned hours are subtracted from their total capacity. Great for PM’s and Planners
% of Member’s Capacity: Shows what percentage of the member’s capacity is planned. Great for Leadership Meetings
% of Member’s Availability: Shows what percentage of the member’s availability is available to plan
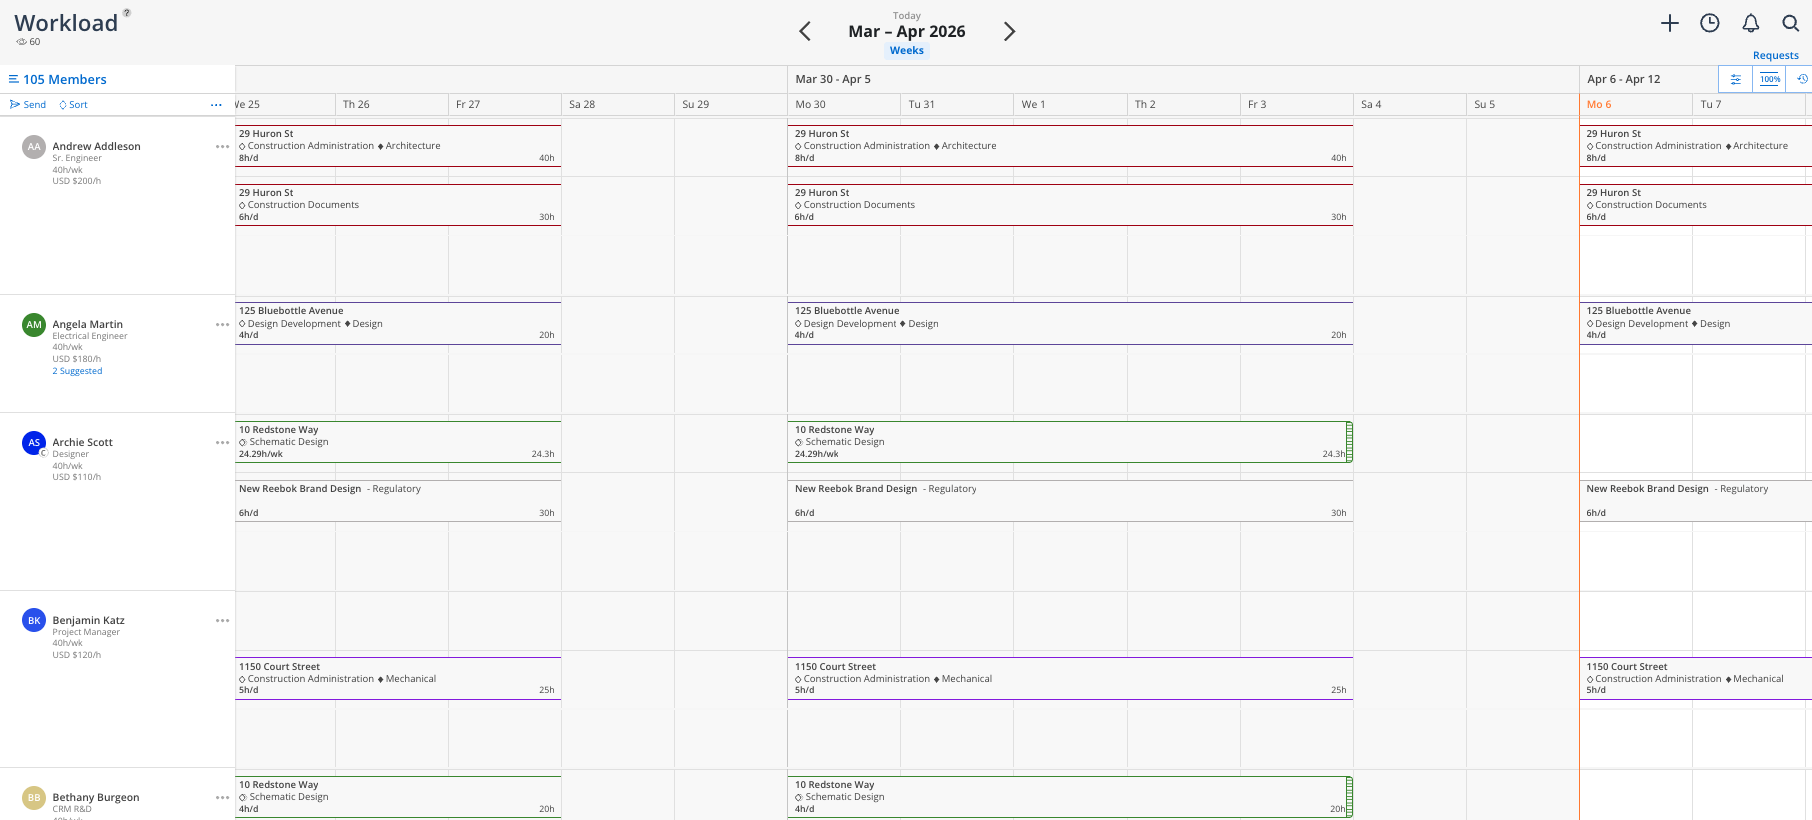
Capacity Heatmap — This option will toggle off the Heatmap - and the member’s capacity calculations -completely; showing instead a breakdown of all member assigned work plans:
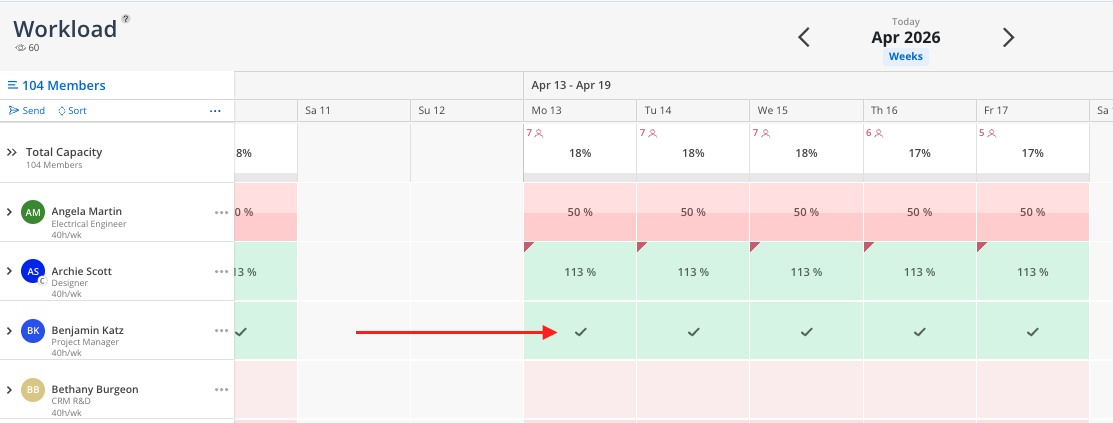
Checkmark at 100% Capacity — When enabled, any cell where the member is at or above 100% capacity displays a checkmark instead of a number. This provides a quick visual scan without needing to read percentages
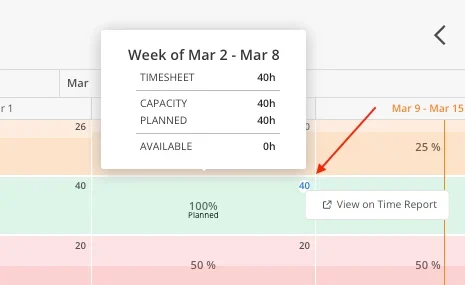
Timesheet Time — Show or hide logged timesheet hours in the top-left corner of a member's capacity cell and in the heatmap tooltip.
Condense rows for meetings — Toggle the 100% view to fit your full team on screen during weekly capacity meetings

Hide what you don't need — If everyone on your team has the same capacity and role, turn those toggles off to clean up visual clutter
Use tentative toggle strategically — Create tentative plans, then toggle them on and off to compare capacity with and without the proposed work
Match your role — Leadership tends to prefer % of capacity. PMs and planners often prefer available hours
Turn off timesheet time when planning — It can be distracting during planning sessions. Turn it back on when reviewing actuals vs. planned
Reverse the color wave if it suits your thinking — Some people intuitively think of green as "available" while others think of green as "fully planned"
