A work plan is a scheduled block of time that assigns a member to work on a specific project or phase. Work plans are the foundation of capacity planning in Mosaic. They appear in both the Workload and Planner spaces and directly impact the heat map, capacity calculations, and project budgets.
When you open a work plan, the modal displays:
Member — The team member assigned to this plan
Project — The project this plan is for (searchable by name or number)
Phase — The specific phase within the project (if applicable)
Hours/Percentage fields — How time is allocated, with a lock icon showing your constant
Start and End dates — The date range of the plan
Description — Optional text field for notes
Tentative checkbox — Marks the plan as tentative so it can be shown or hidden
Comments — Tag team members with @mentions; they receive email and in-app notifications
Scope and Tasks — Advanced options for more granular planning (covered in later training)
Activity Log — A record of all changes made to this plan
Click into a member's row in the Workload space to expand it.
Hover over any blank cell in the timeline and click the plus (+) icon.
Select the project by typing the name or number.
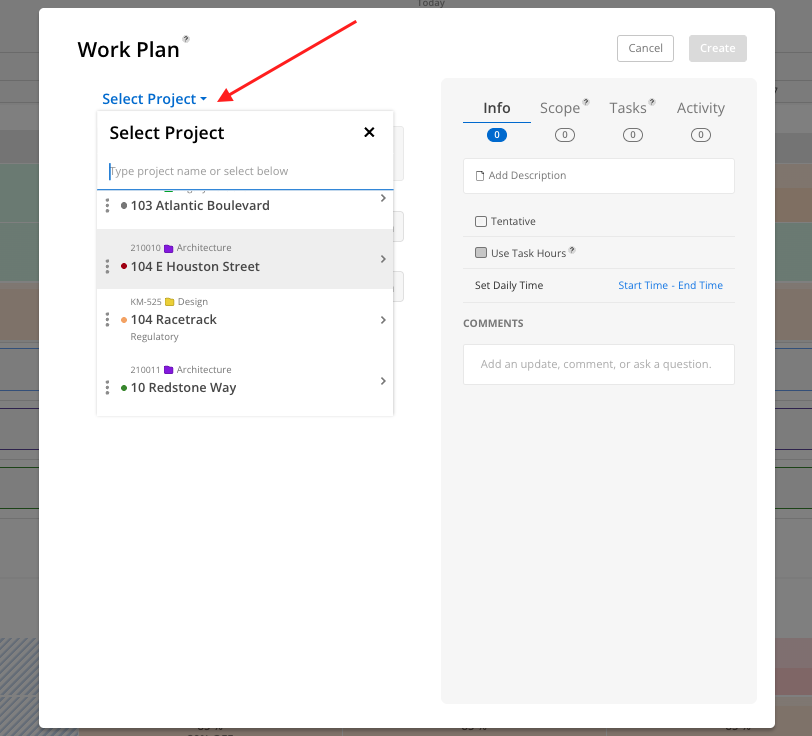
If prompted, confirm adding the member to the project.
Select the phase (if the project has multiple phases).
Choose how to schedule time:
Percentage of day or week — ex. 50% of their day
Hours per day or week — ex. 20 hours per week
Total hours — ex. 100 hours spread across the date range
Enter the amount. The lock icon appears on the field you type in — this becomes your constant.
Set the start date and end date using the calendar picker.
Optionally add a description, mark as tentative, or leave a comment.
Click Create.
The lock icon indicates which value stays constant when you change the dates.
If locked on hours per week (e.g., 20), changing the dates will change total hours but keep 20 hours/week
If locked on total hours (e.g., 100), extending the date range spreads those hours thinner across more weeks
You can move the lock to a different field at any time by clicking into that field
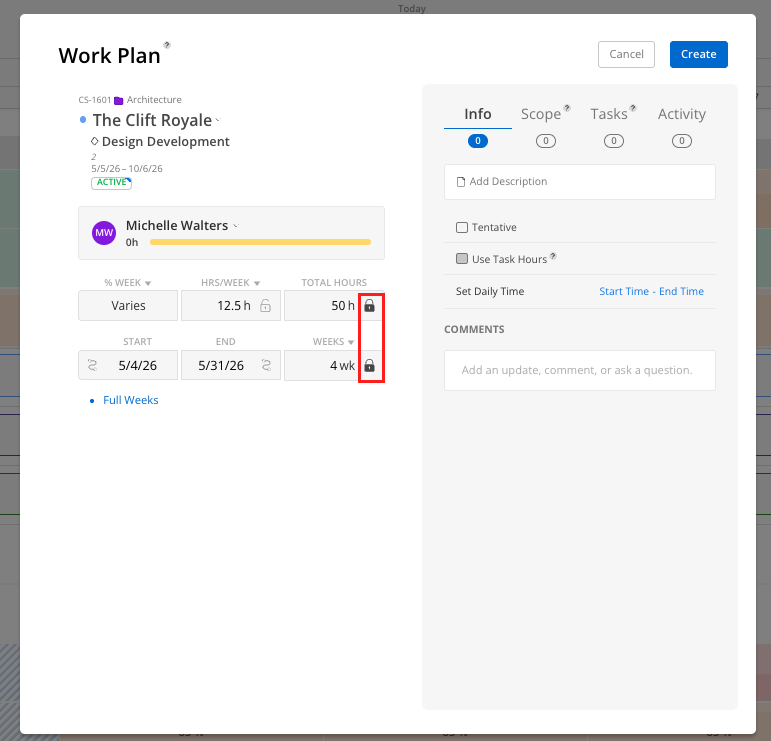
Percentage of day — Allocates a percentage of the member's daily capacity (this can be toggled to weekly)
Hours per day — Sets a fixed number of hours per day or week
Total hours — Allocates a lump sum of hours over the full date range
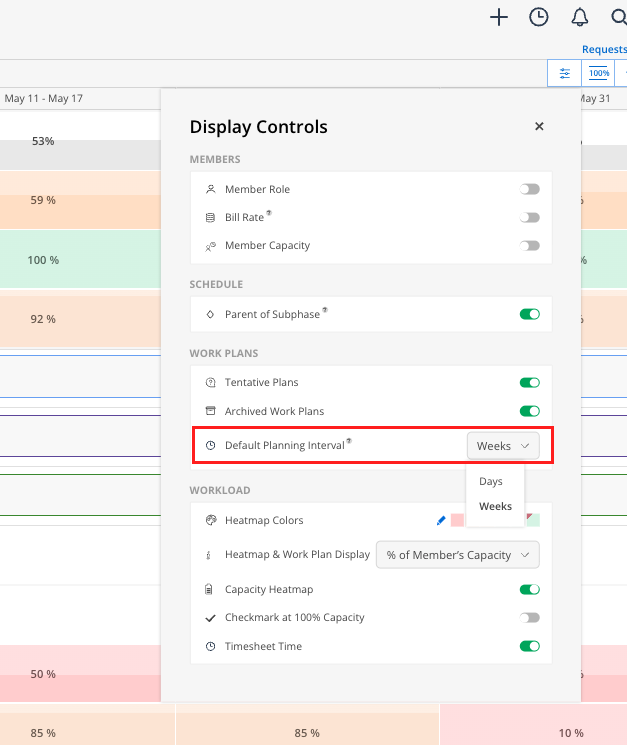
If your team typically plans in weekly increments, enable Default Full Week Planning in your workload settings. This pre-selects the weekly option and snaps dates to Monday–Sunday increments.
Start broad, refine later — Create big work plans first, then split them week by week as details become clear using the Split functionality
Use tentative plans to test capacity — Mark a plan as tentative to see impact without committing
The calendar shows capacity — When setting dates, the calendar picker shows gray fill indicating existing plans and red numbers when the member is at capacity
