While reviewing projects in Planner, you may have the need to filter the list of members to certain specifications. Our project-level filter allows you to do so, enabling a more focused view. You can group your list by either individual members, phases, or phase members. We’ll review the steps to do so below.
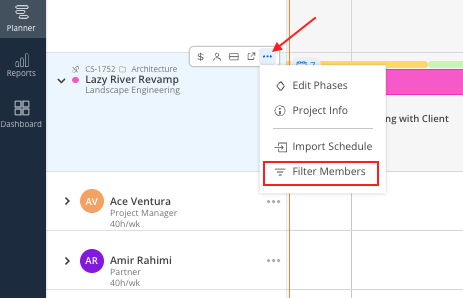
To filter, hover over the Project Name row to bring forward the Projects Action Bar. Select the three dots icon. Select Filter Members.
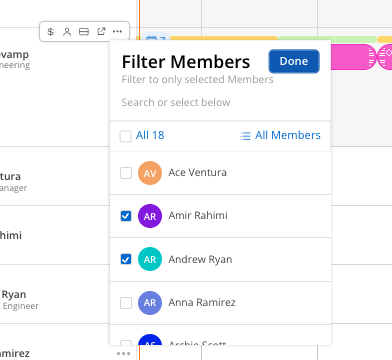
From here, a list of current project members will appear.
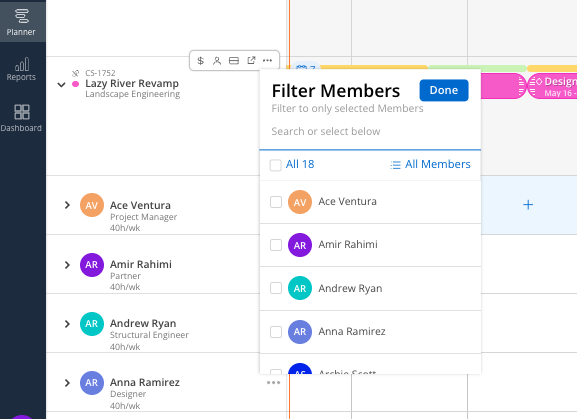
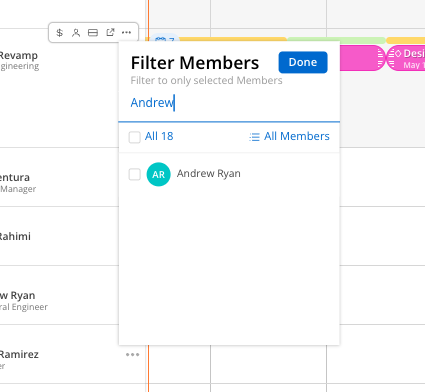
Select desired members by using the checkbox or by typing in their name. You can also select ‘All’ to automatically select all members.
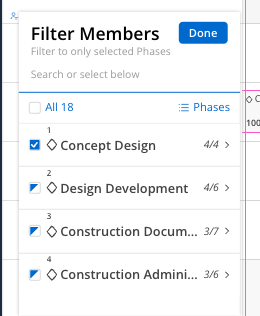
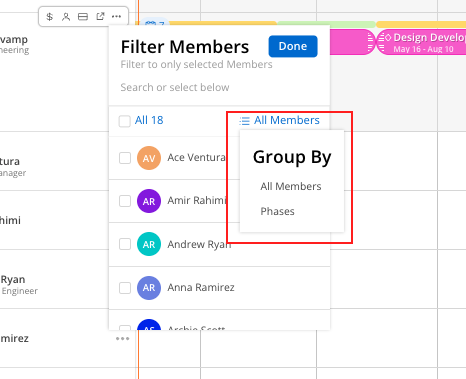
To change the grouping of project members, select All Members. From here, you can choose to group your list by Members (which is the default) or by Phases.
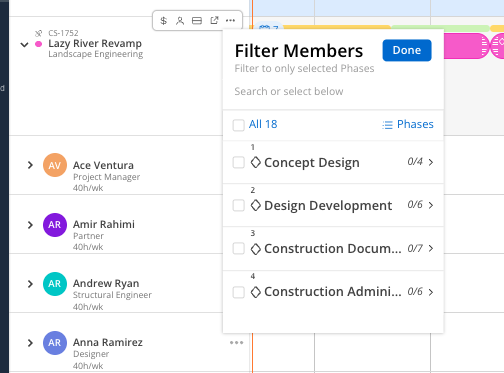
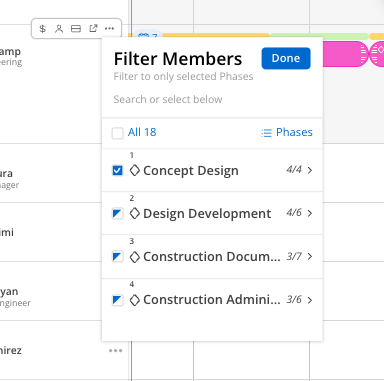
Grouping the list by Phases will show the member count of each phase of your project. You can select individual phases or multiple phases as needed.


Select Done once you’ve made the applicable selections.
When a Member filter is applied, you will notice a “X Hidden by Filters” indicator appears at the bottom of the Member list under each Project; as well as a count at the top of the Project Row.
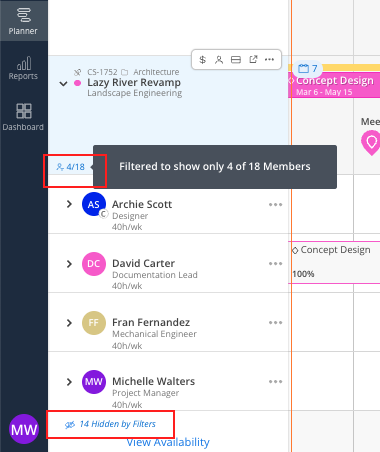
Selecting either of this indicators will open up the member list once more for you to filter as needed. These selections will automatically save.