Creating a project is a fundamental step in managing and organizing work within any team or organization. By setting up a project, tasks, resources, and timelines can be structured effectively, ensuring that everyone involved has a clear understanding of the goals, milestones, and responsibilities.

The ability to create new projects is controlled by permission settings. Once granted, users with the "Work Planner > Can Edit" permission, in either the Project Member or Project Manager role, will be able to create projects within any public portfolio.
Create a Project From Any Page
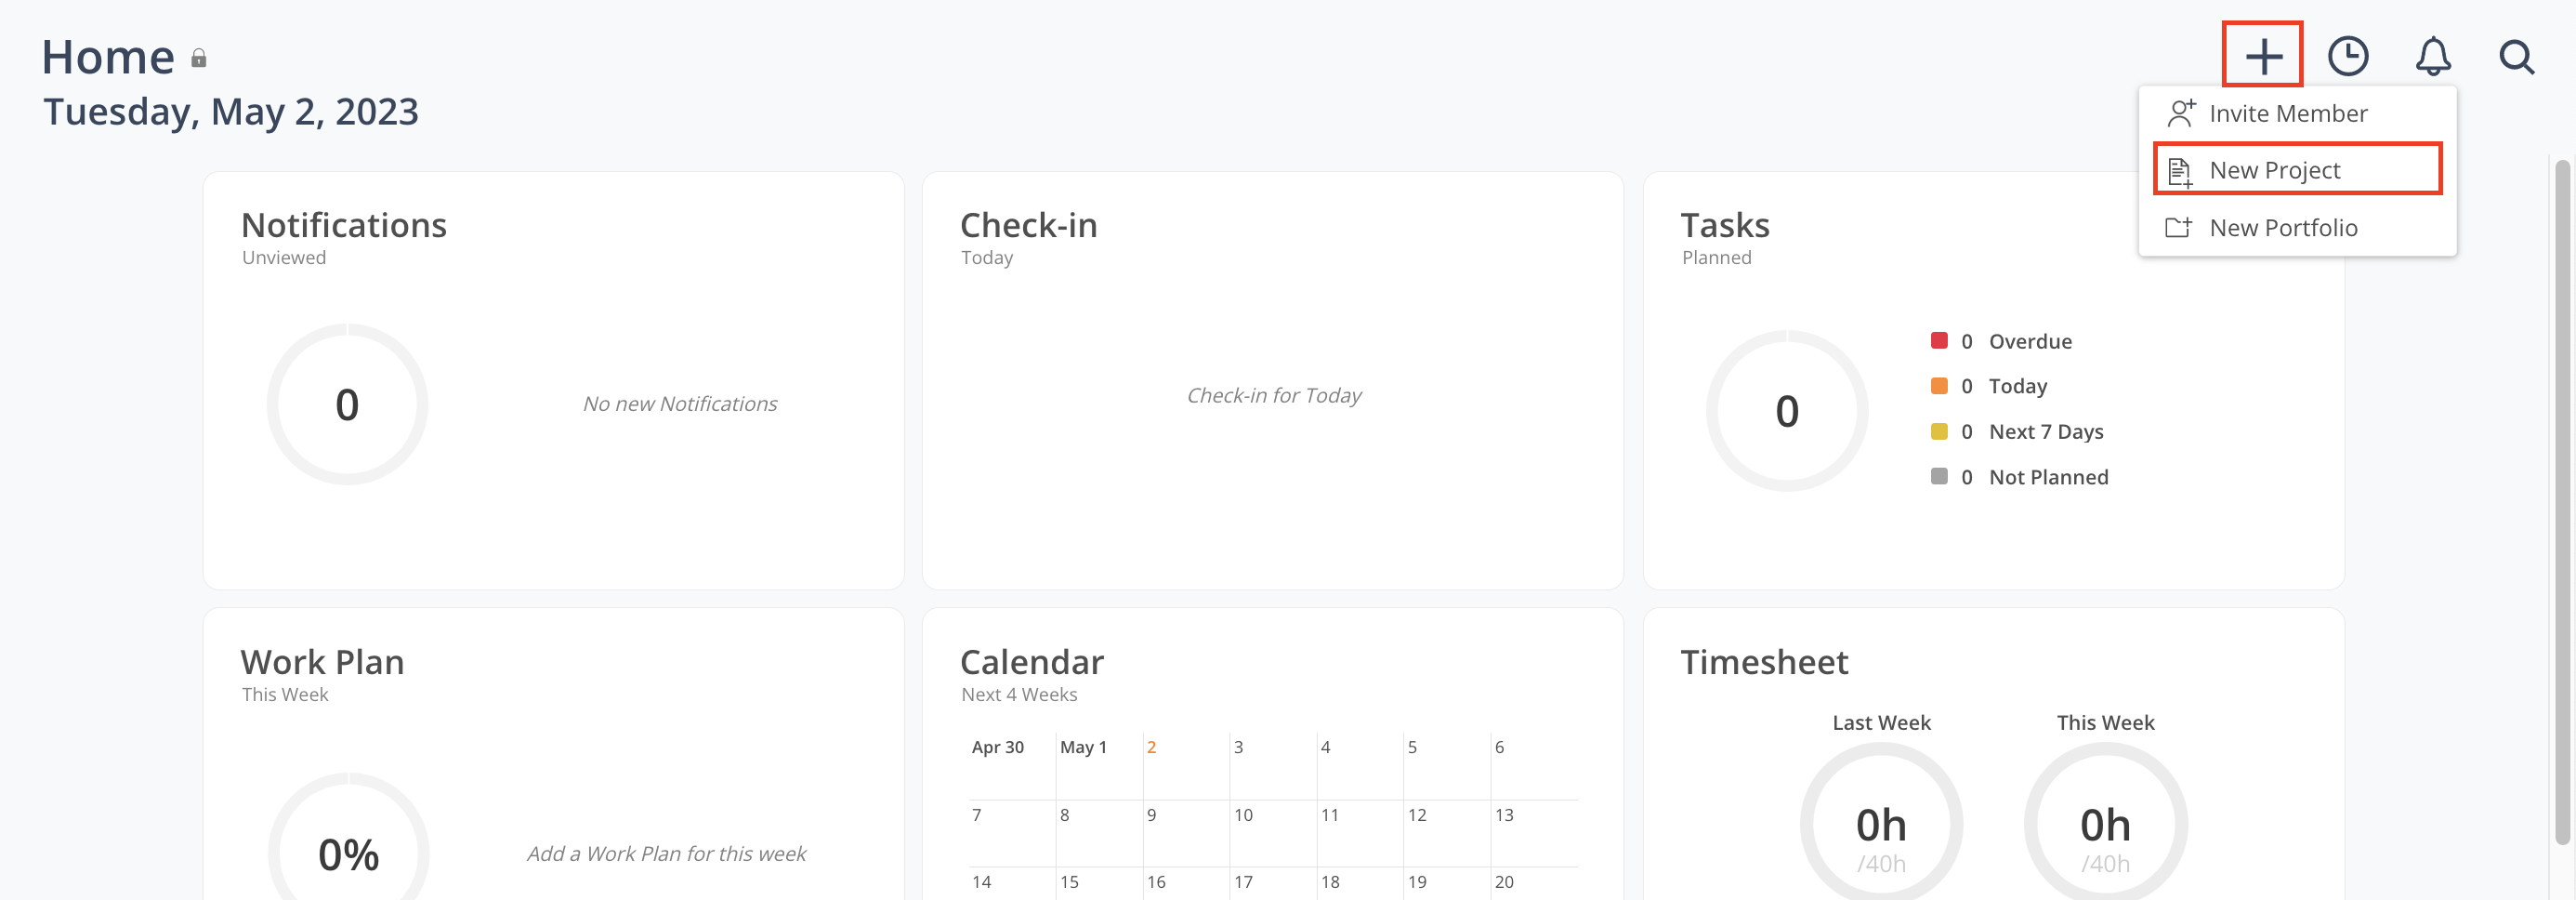
On any page, click the "+" in the top right-hand corner, and click "New Project".
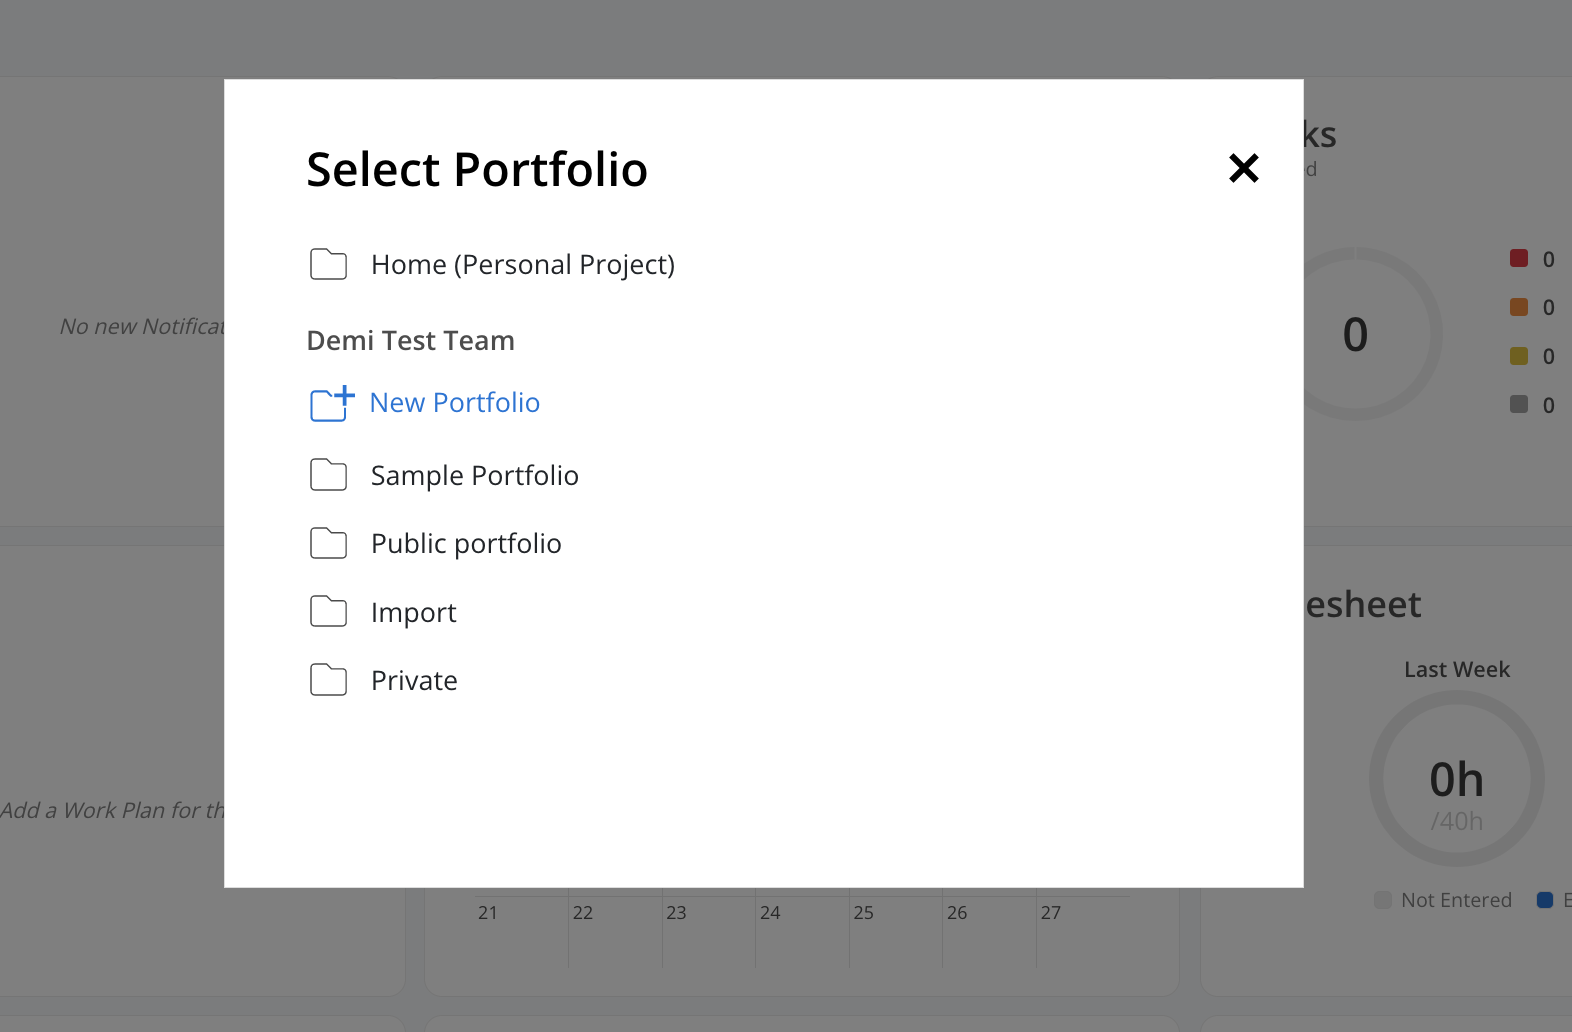
Select the Portfolio the Project will live in (or create a New Portfolio).

This step will be skipped if you are already on a project page. The new project will have the same portfolio as the current project that you are on, but you can always select a different portfolio.
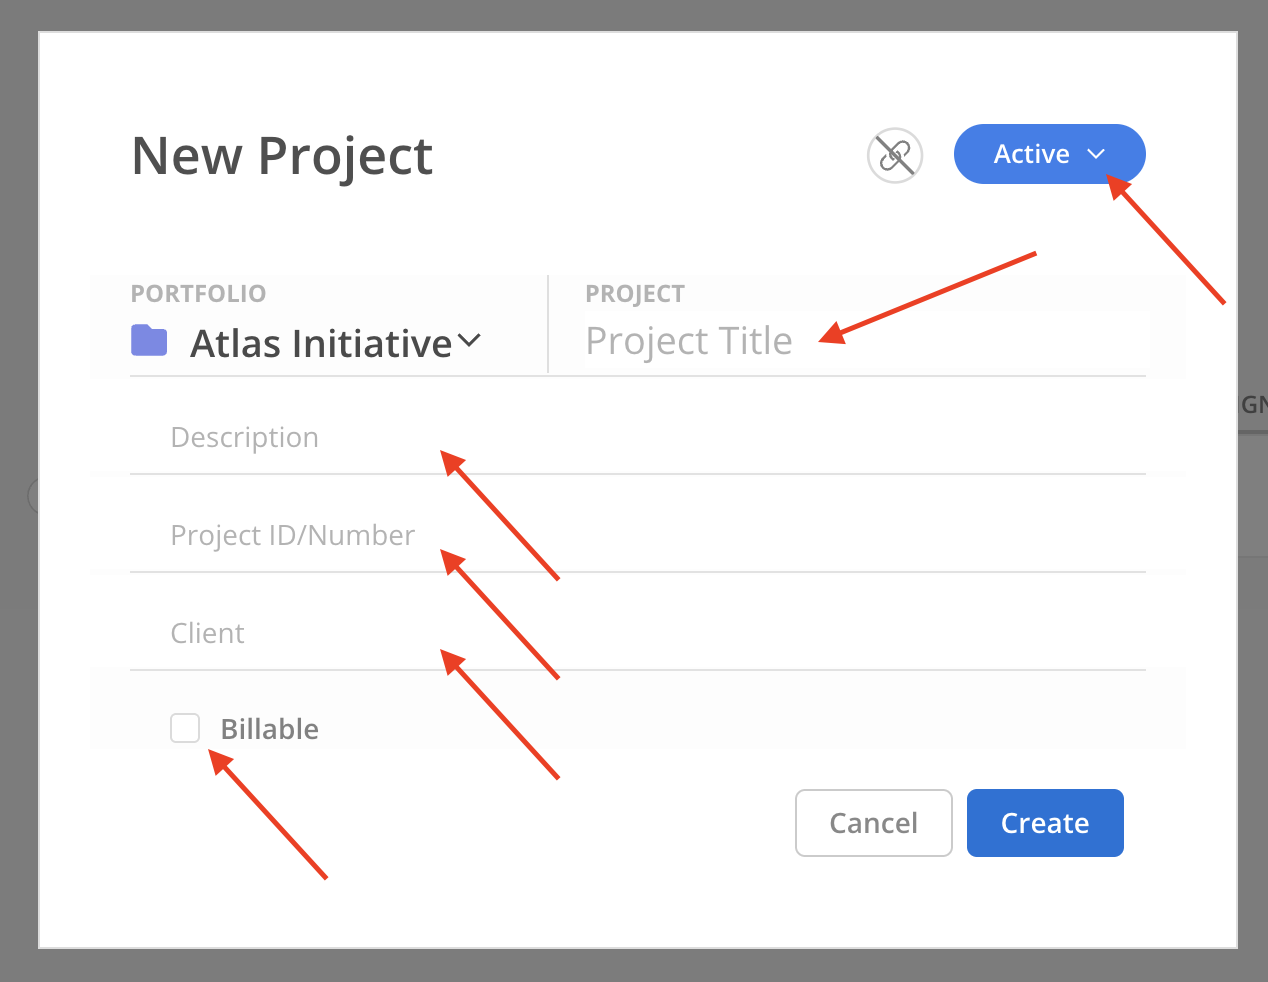
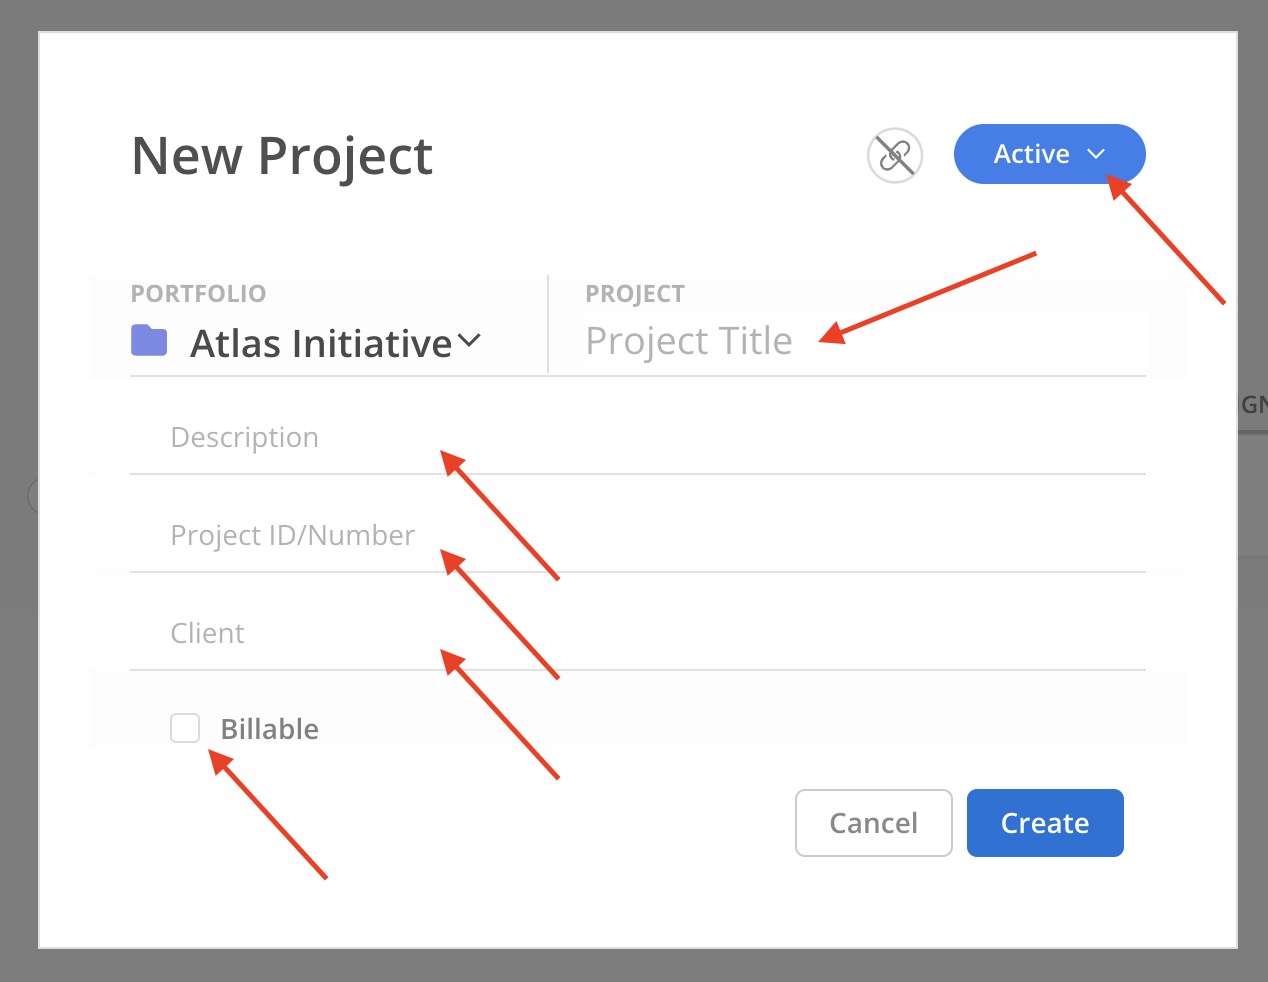
Enter the Project Title, Description, Client, Project ID/Number, and set project status (default is Active). Click the checkbox if the project is billable.

Only the Project Title is required to create the project; other information can be added or updated later.
Creating a Project in a Portfolio
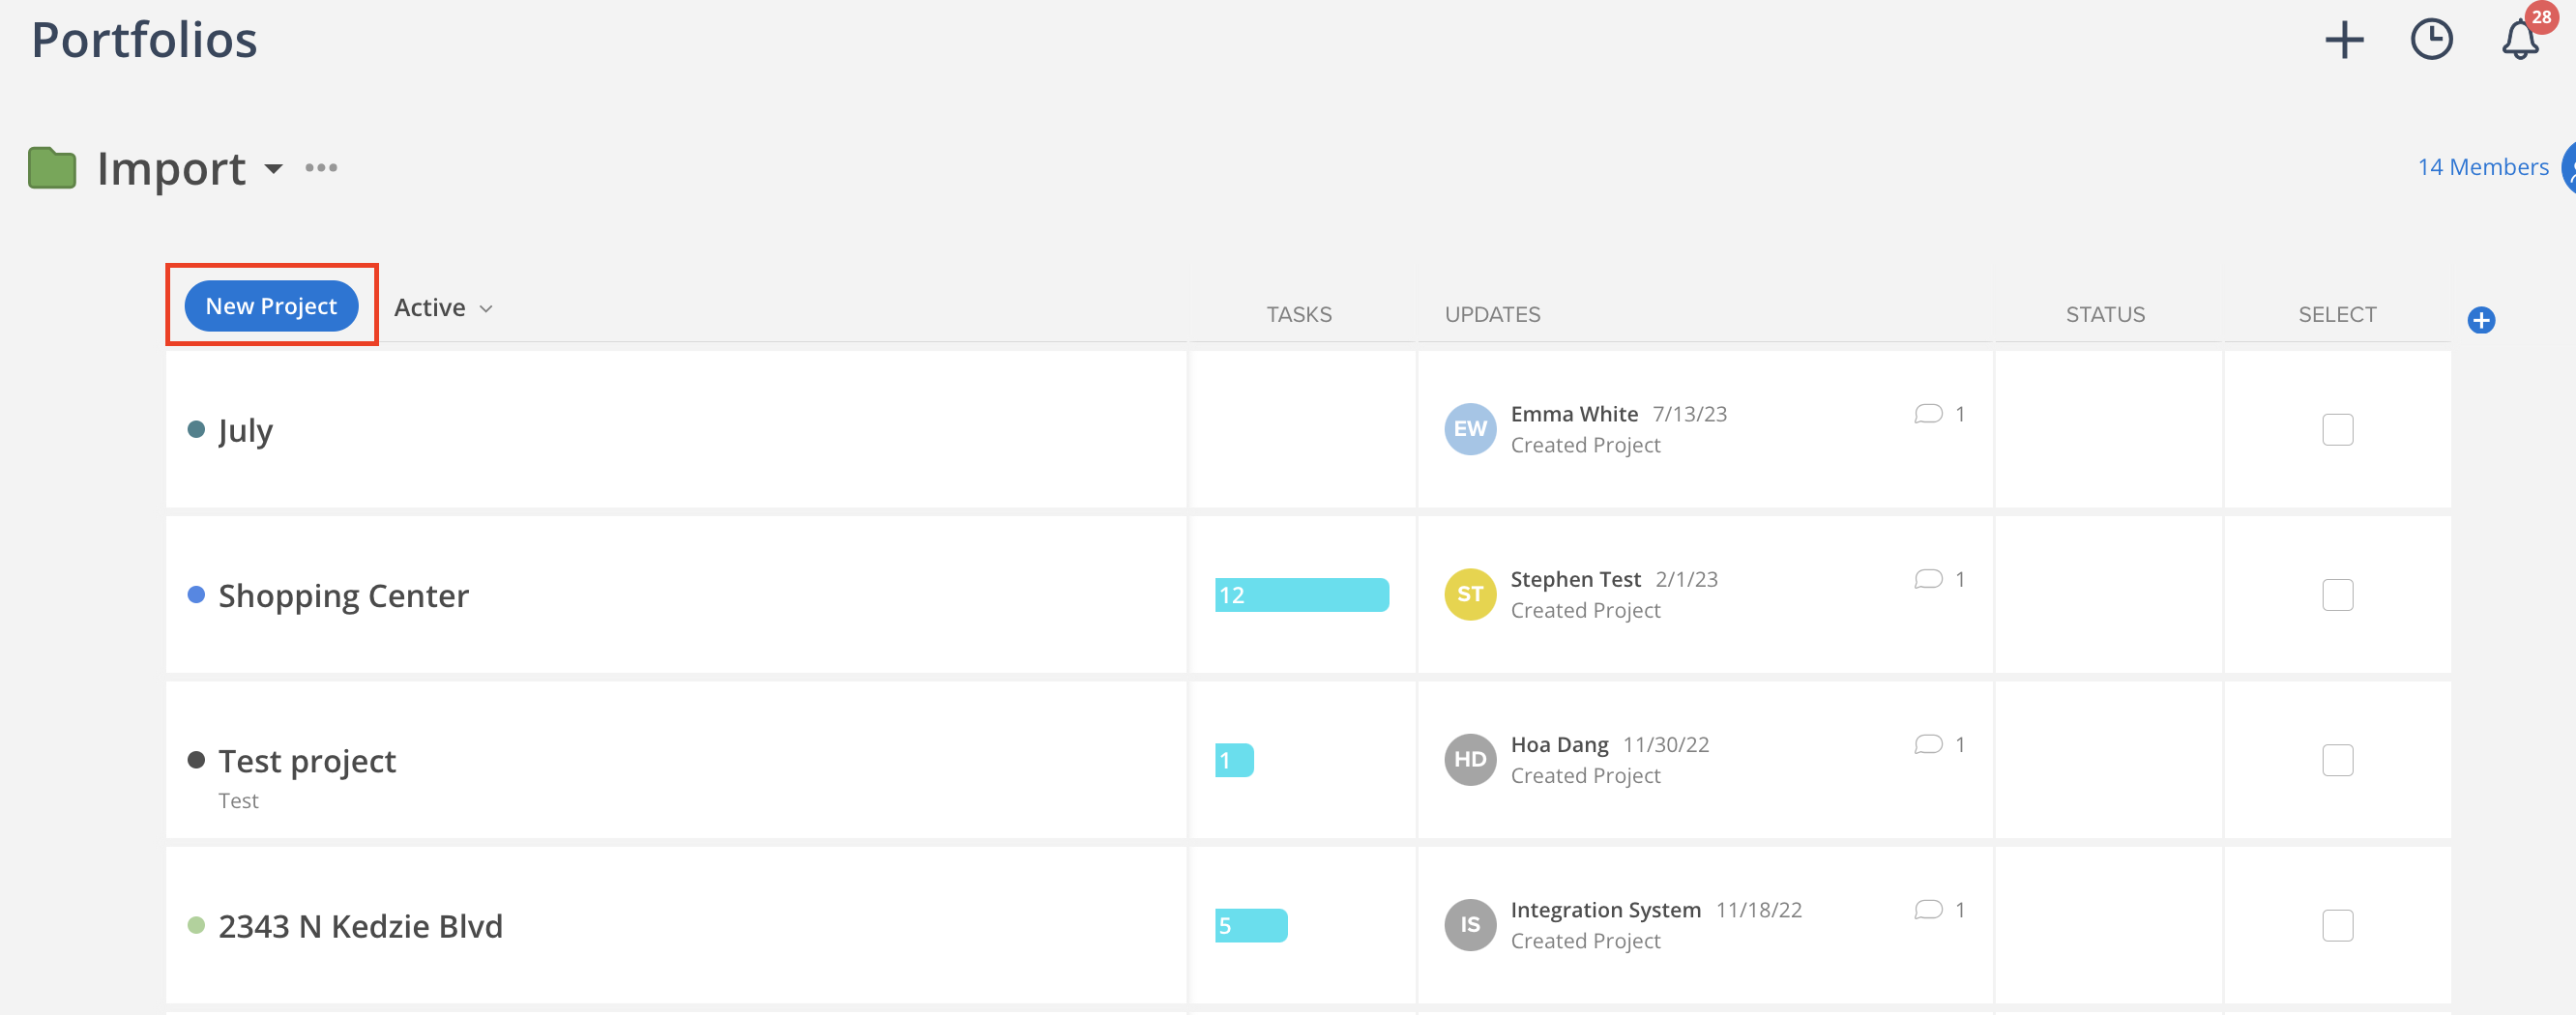
You can also create new Projects directly in the Portfolio. Just click the New Project button and fill out the Project information on the create Modal.

In one Portfolio, 2 Projects with the same name and same project number are not allowed.

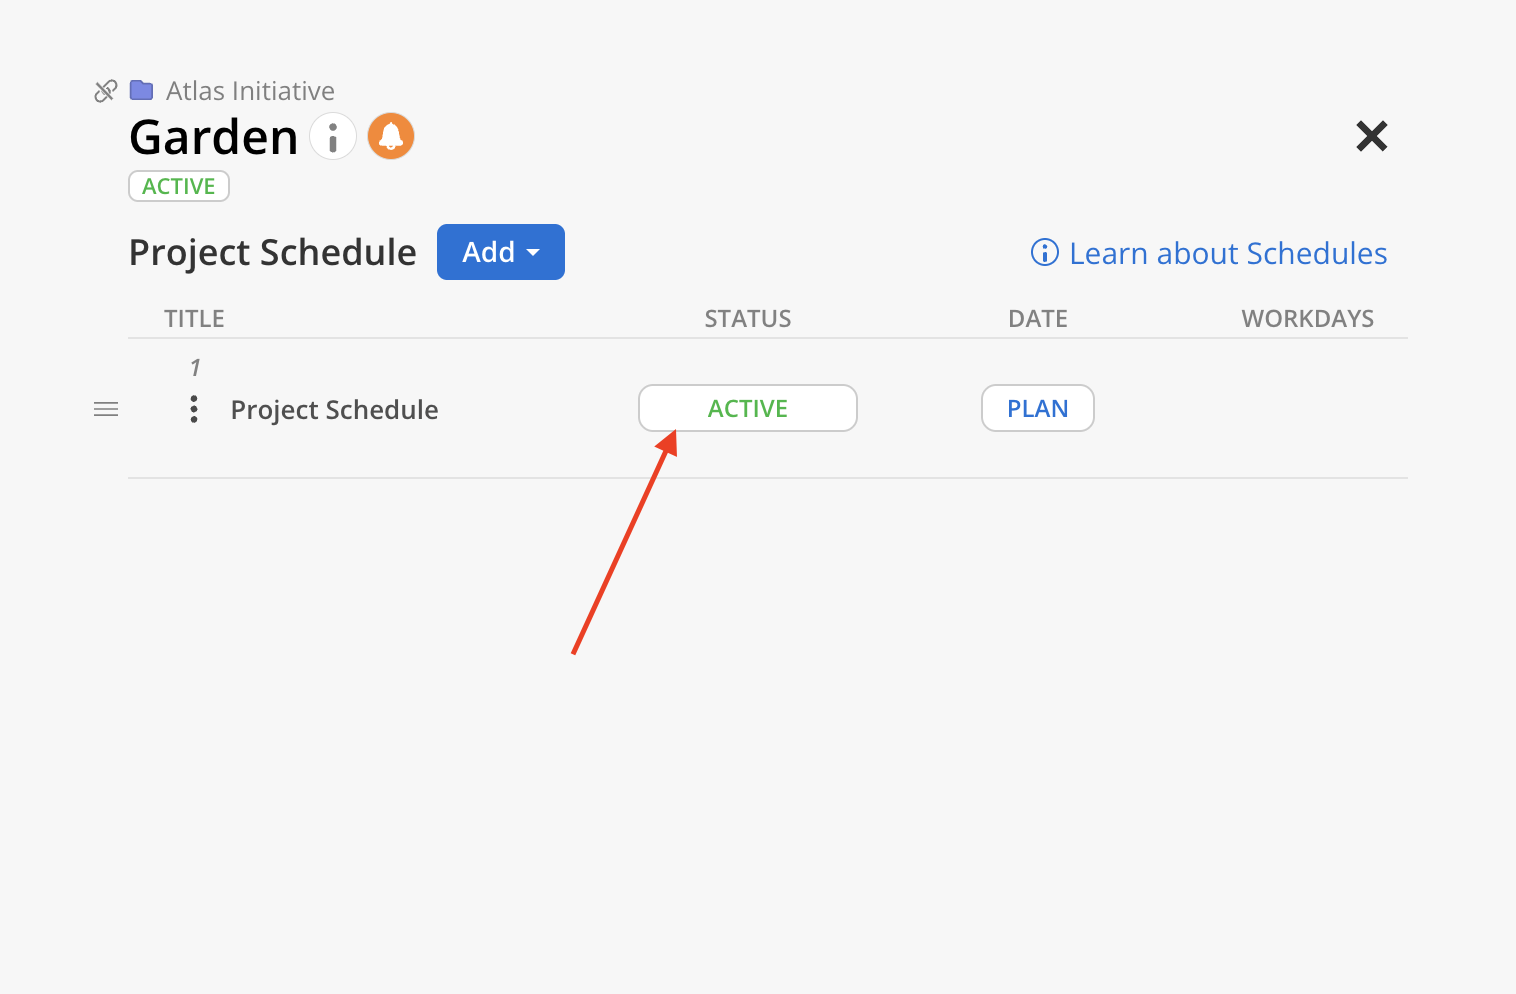
When creating a Project, the default Phase status is determined by the Project’s overall status. If the Project status is set to Proposal, the Phase status will default to Not Started; otherwise, the Phase will inherit the same status as the Project.


