If the import navigation is not visible, initializing the import feature on the import modal on any spaces will make it appear. (Example)
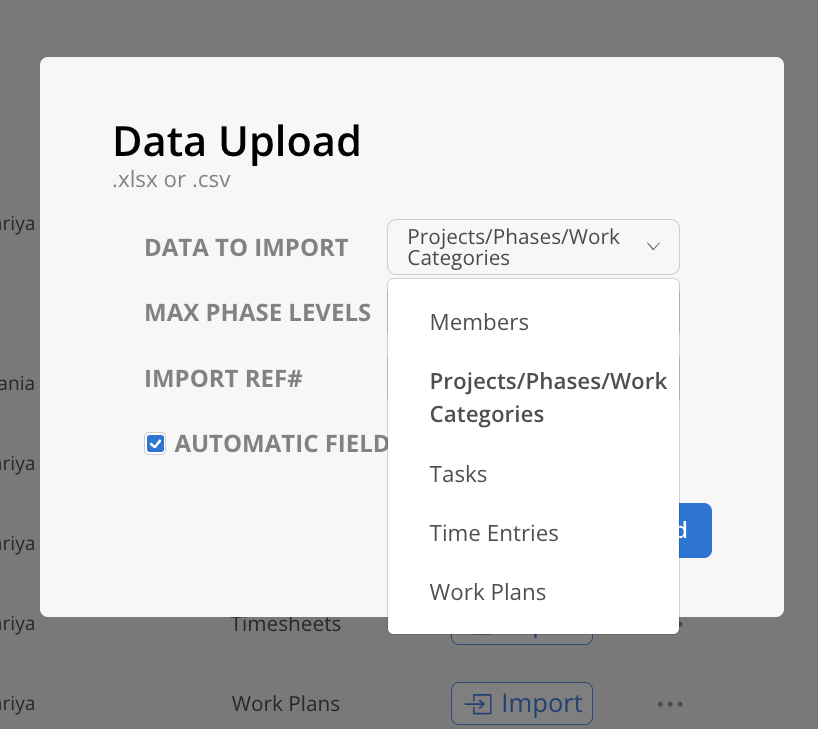
Members, Projects, Time Entries, Tasks and Work Plans can now be uploaded.
Click + Upload button on top of the Org Settings > Import tab.
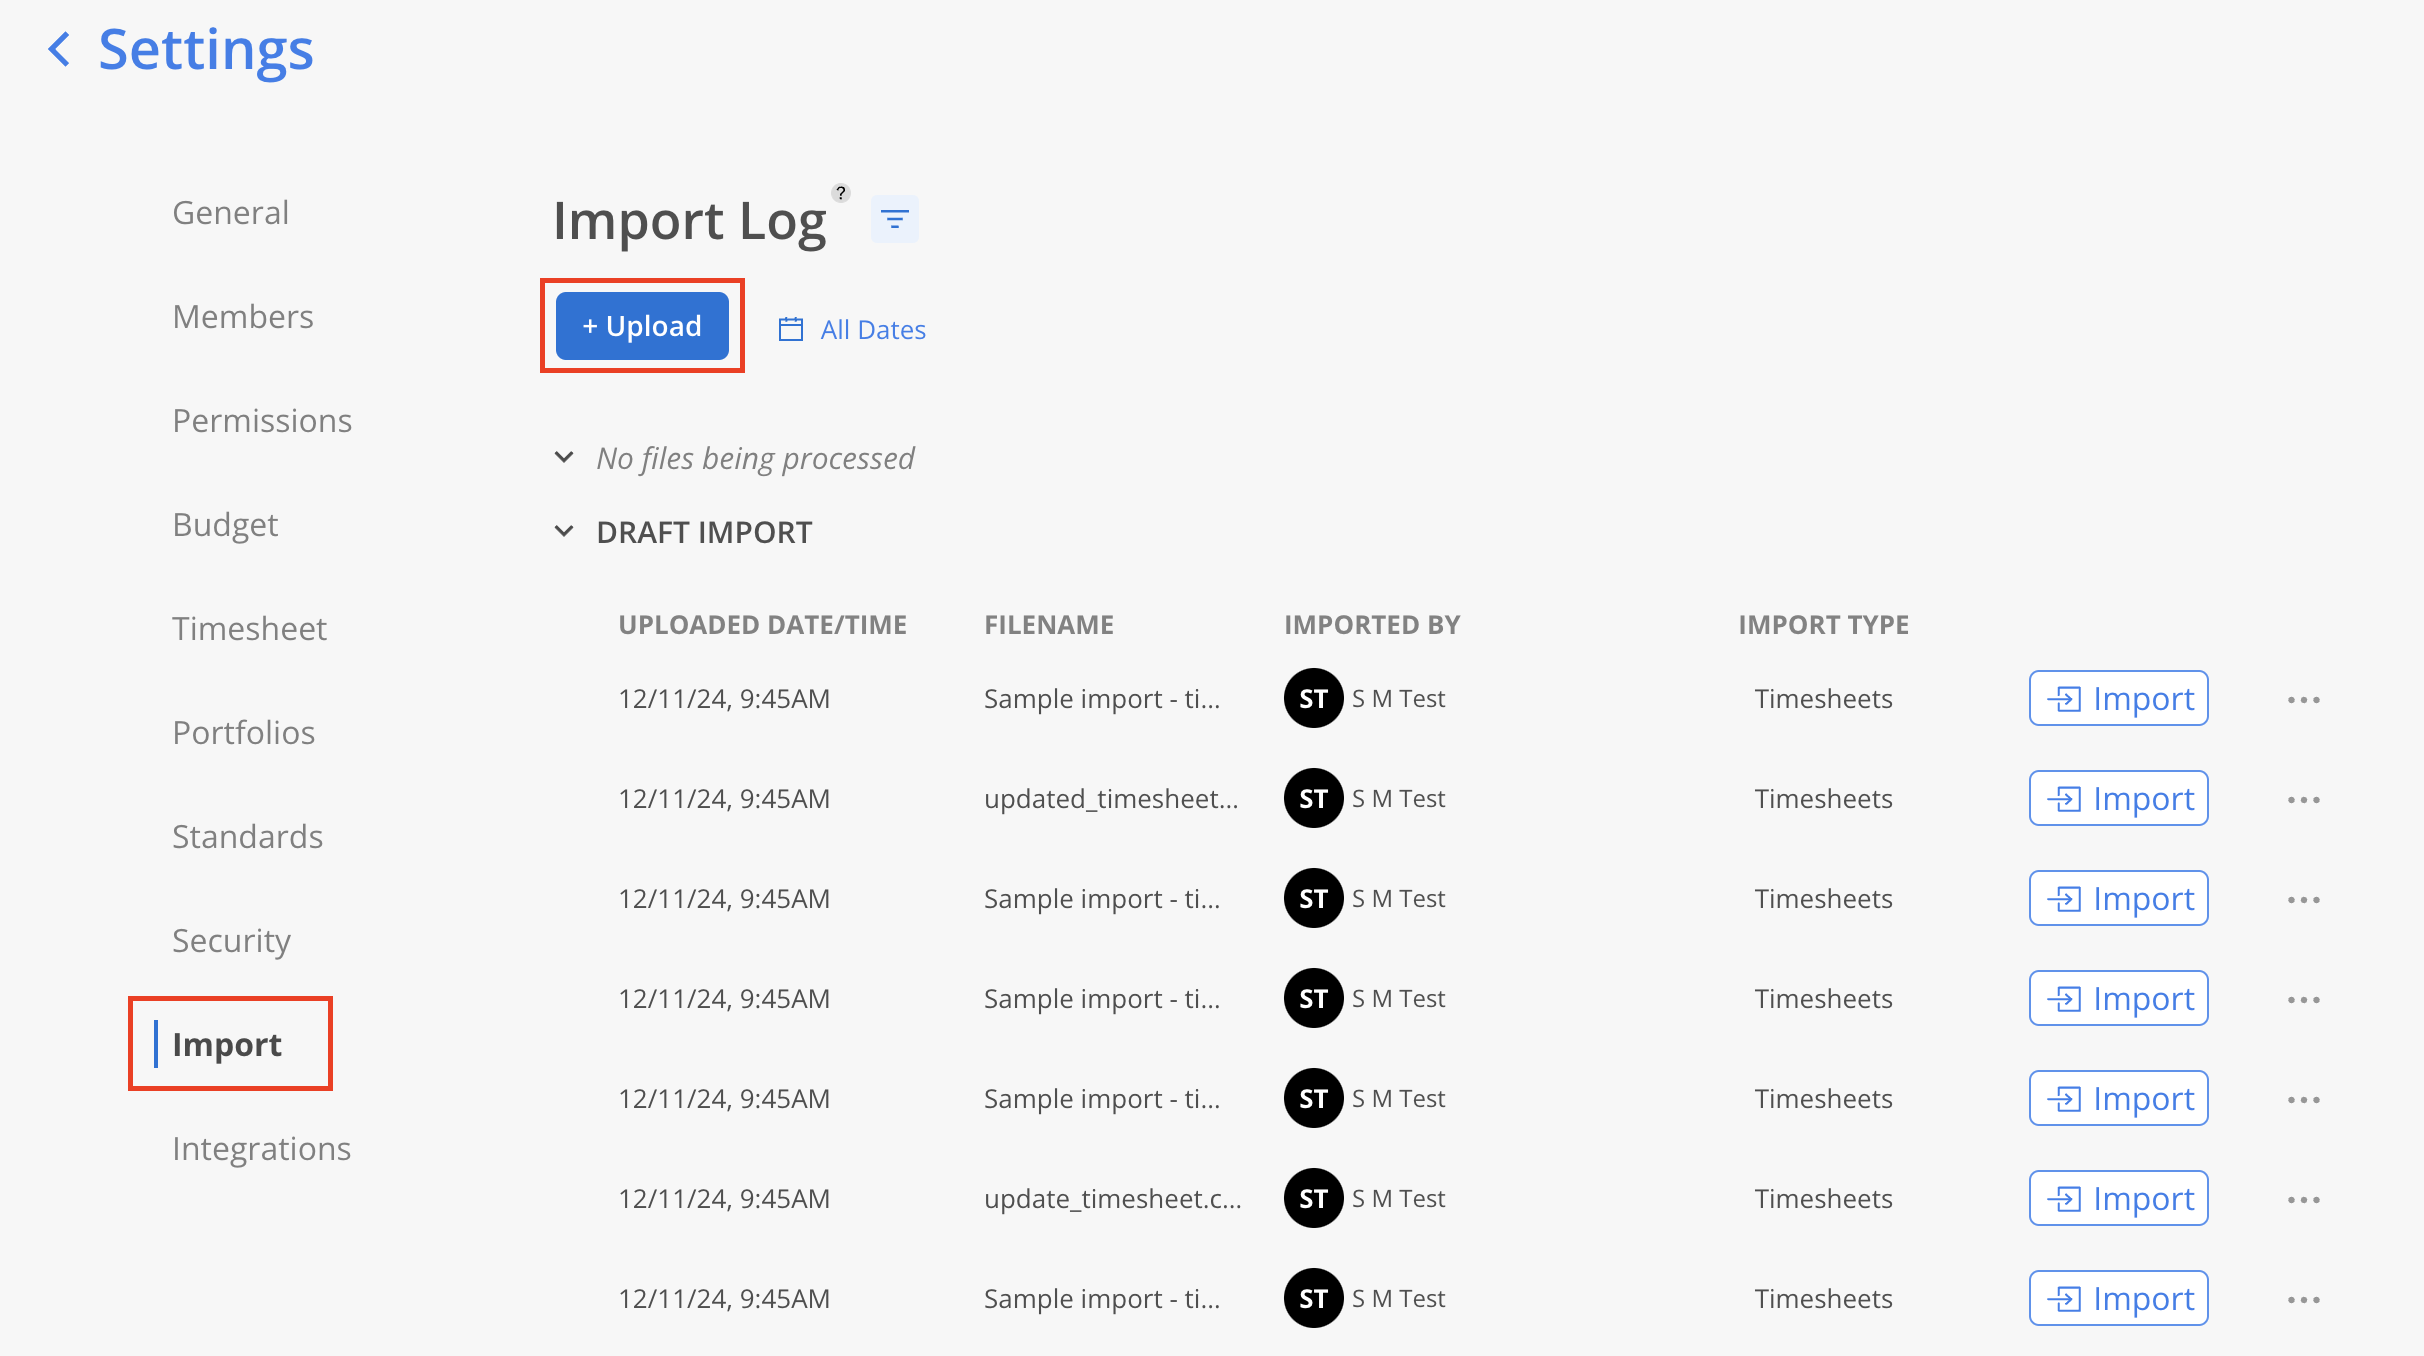
Select the data file you're importing.
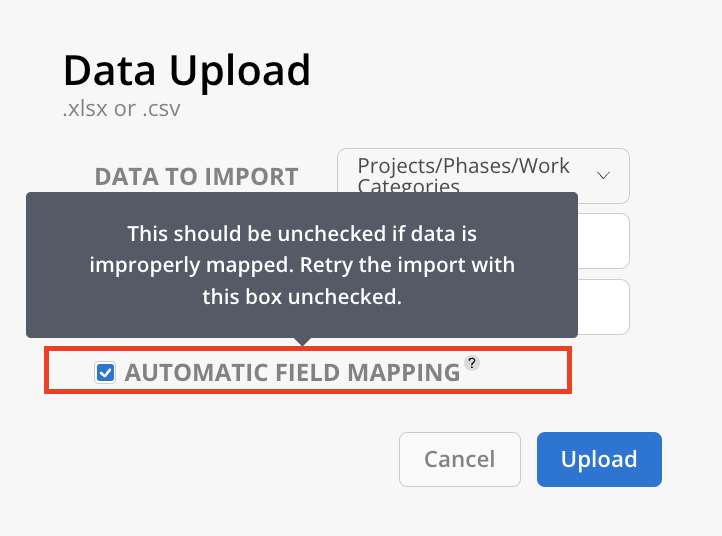
De-select the Automatic Field Mapping option to prevent columns from automatically mapping, thereby avoiding potential improper data imports.
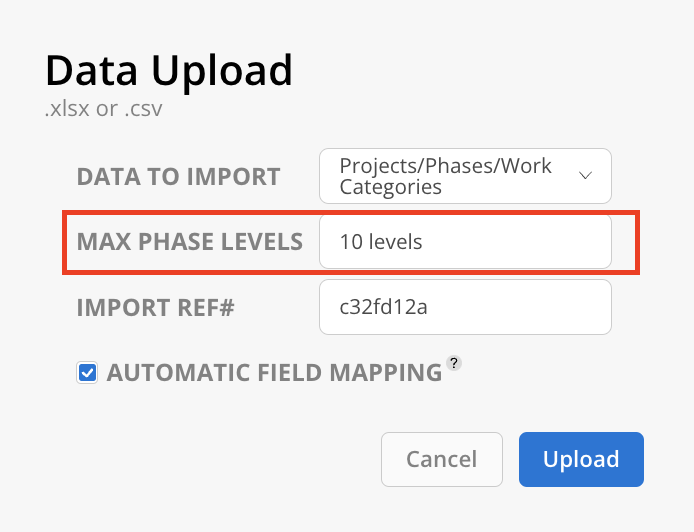
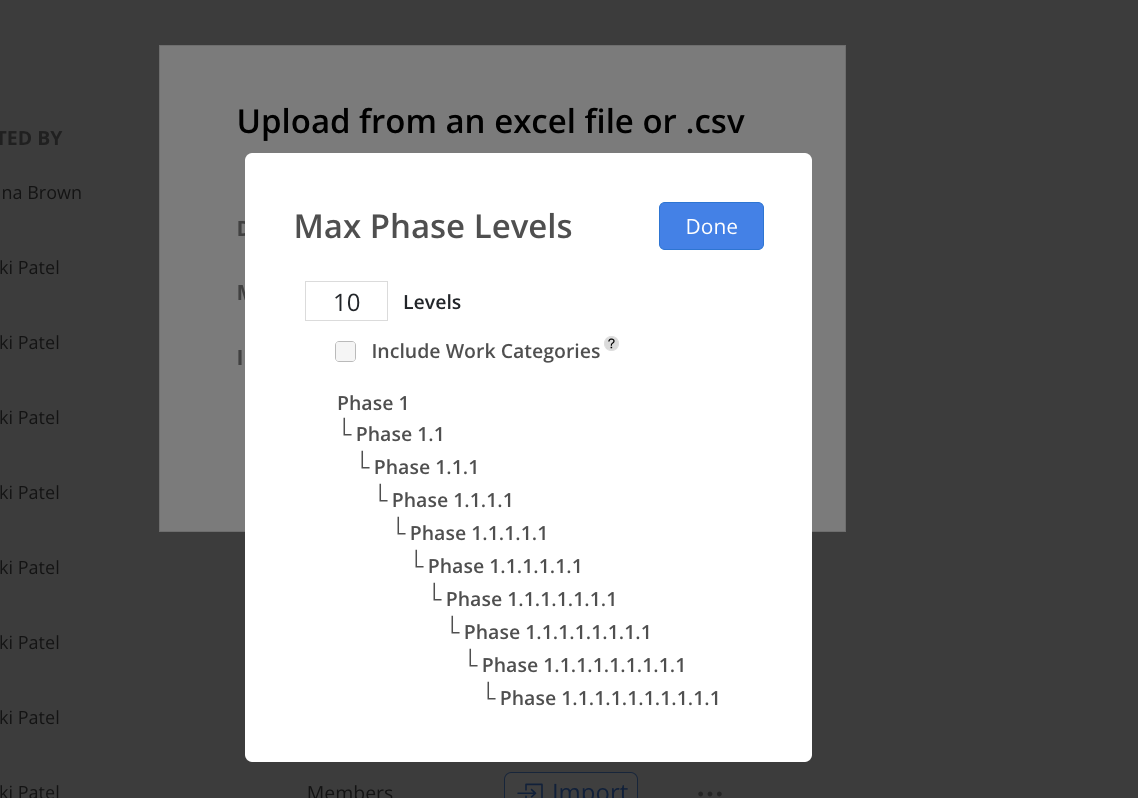
For applicable import data, select the max levels of Phases you have and include Work Category or not. The default max level is 10; the default is to not show Work Categories.
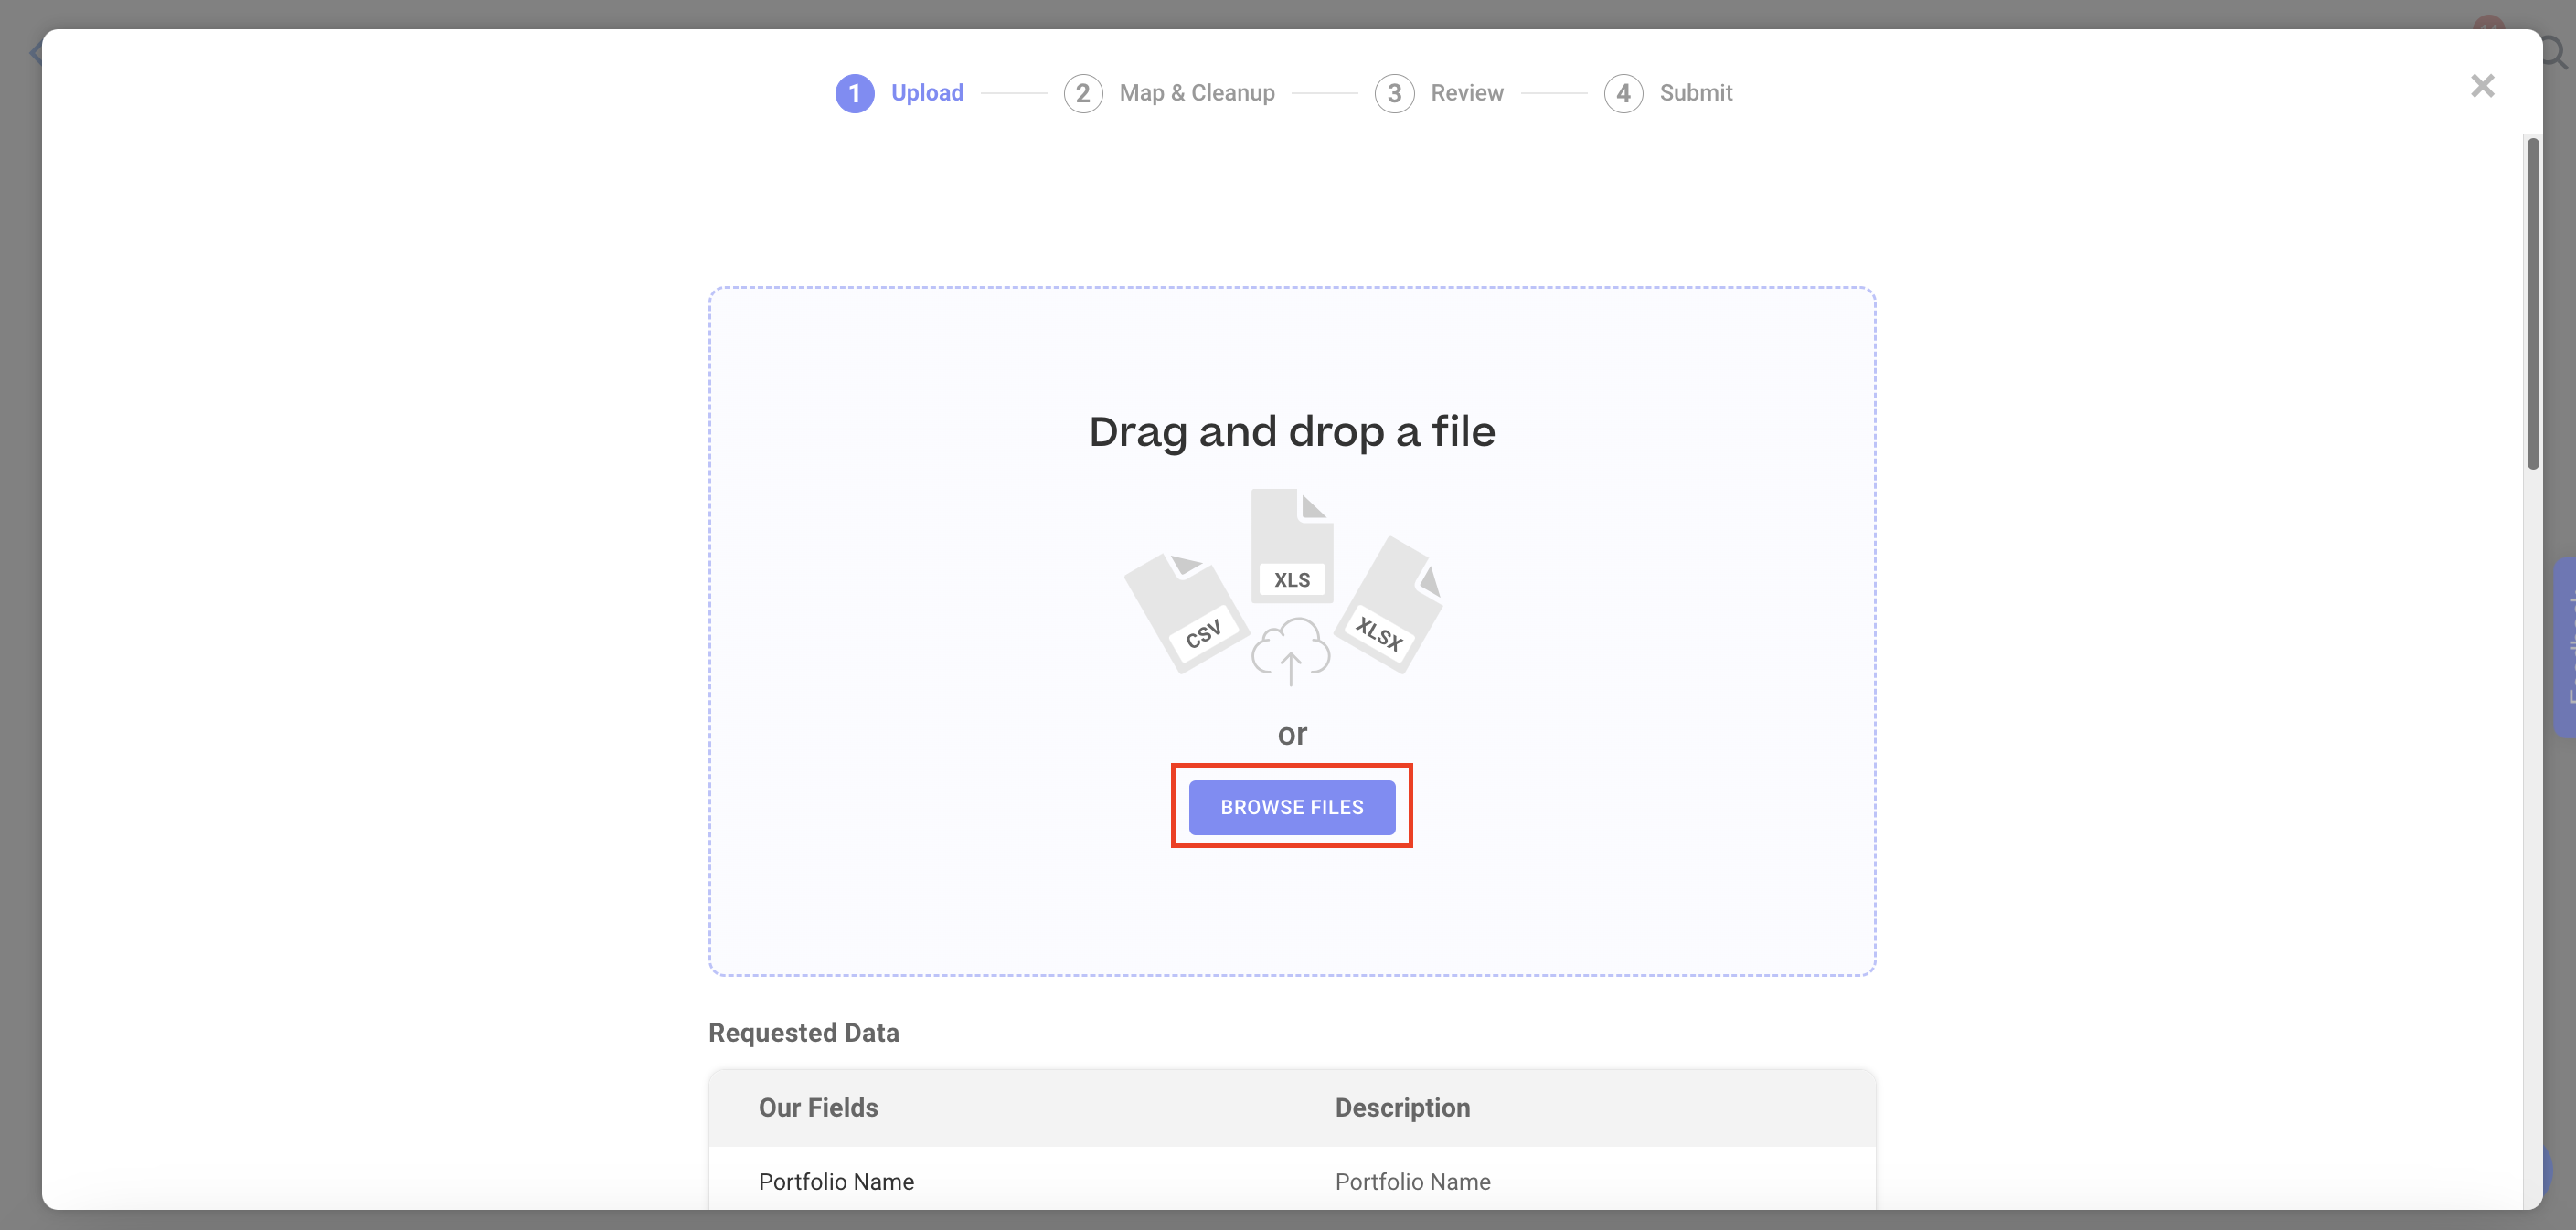
In the upload step, select the file for the import.
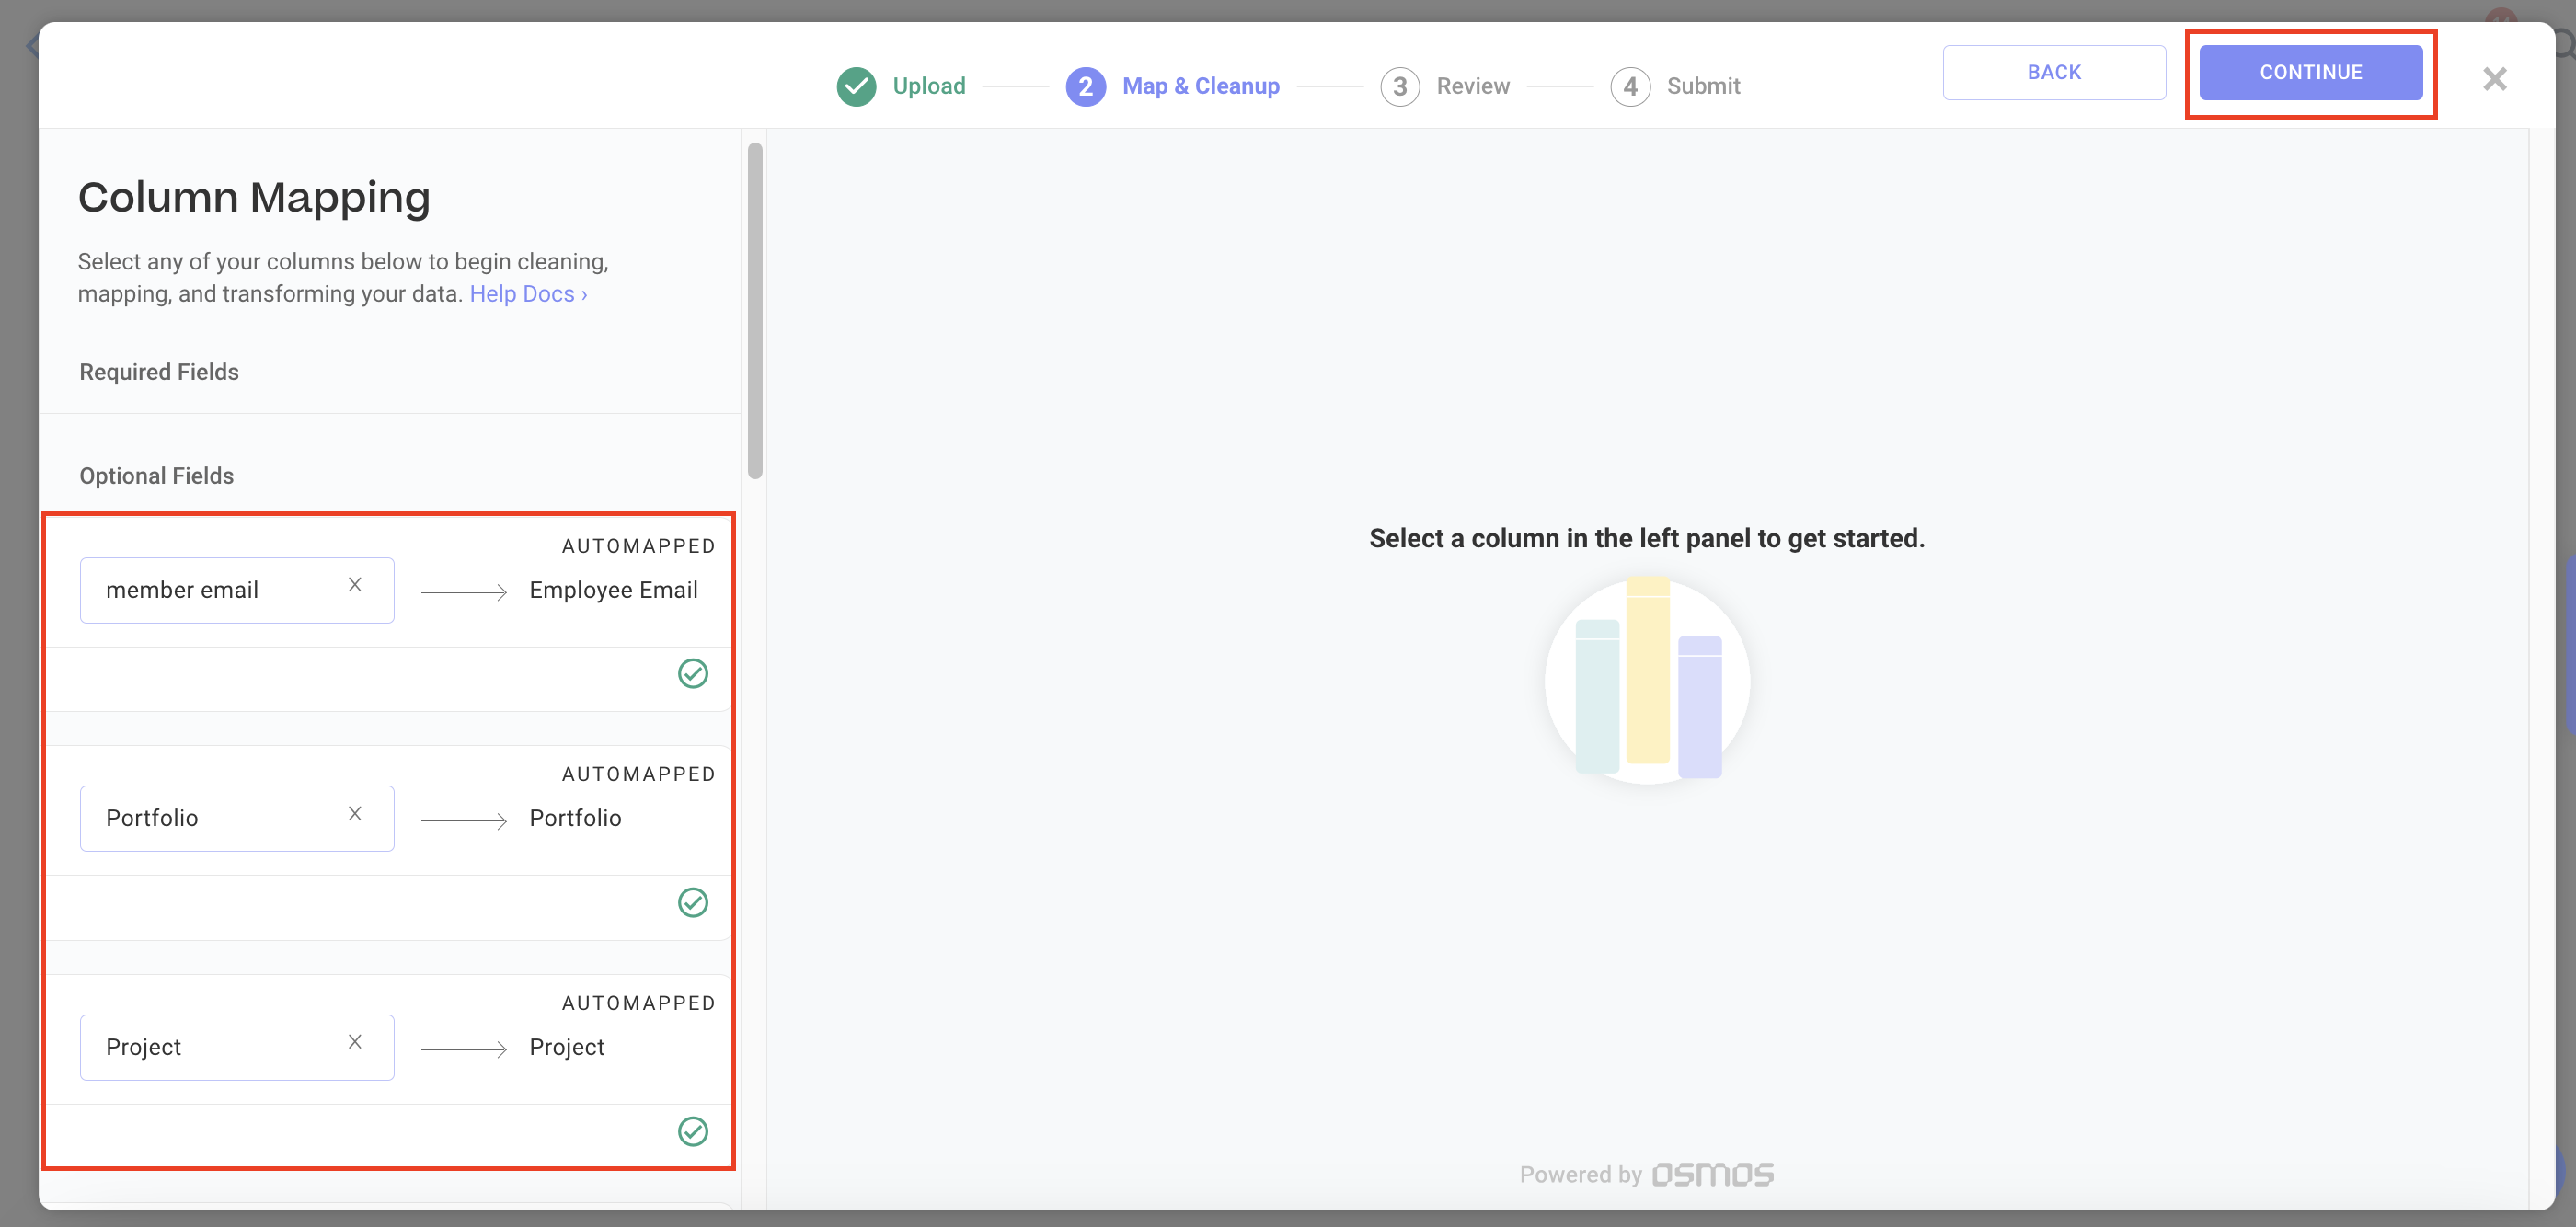
Once uploaded, in the map and cleanup step, make sure to connect each column on the left from the spreadsheet to the corresponding value on the right. So long as there is a matching value, the remaining entries in the column will automatically populate.
Click Continue button on the top once done.
In the review step, check all the rows once more before clicking subimt.

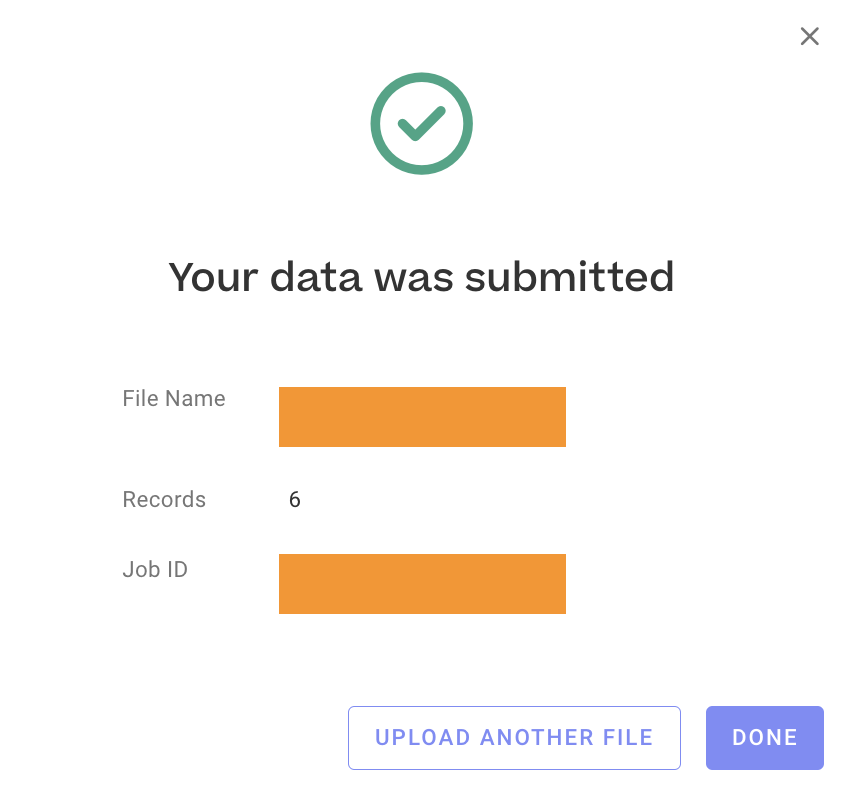
A confirmation modal will show up with the uploaded file name, record counts and the ID of the import once submitted successfully.
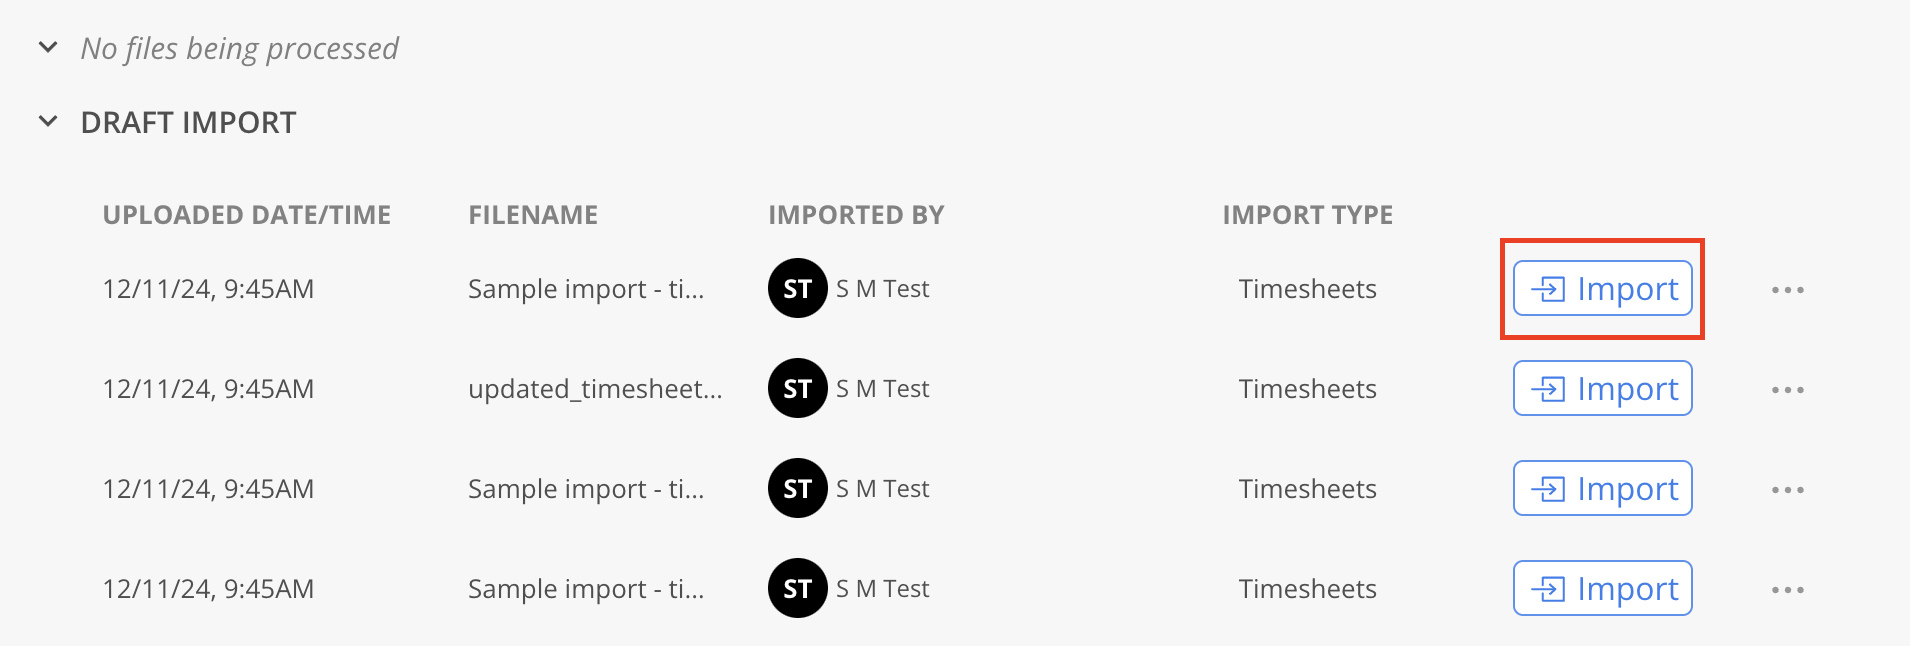
Click Import button next to the draft
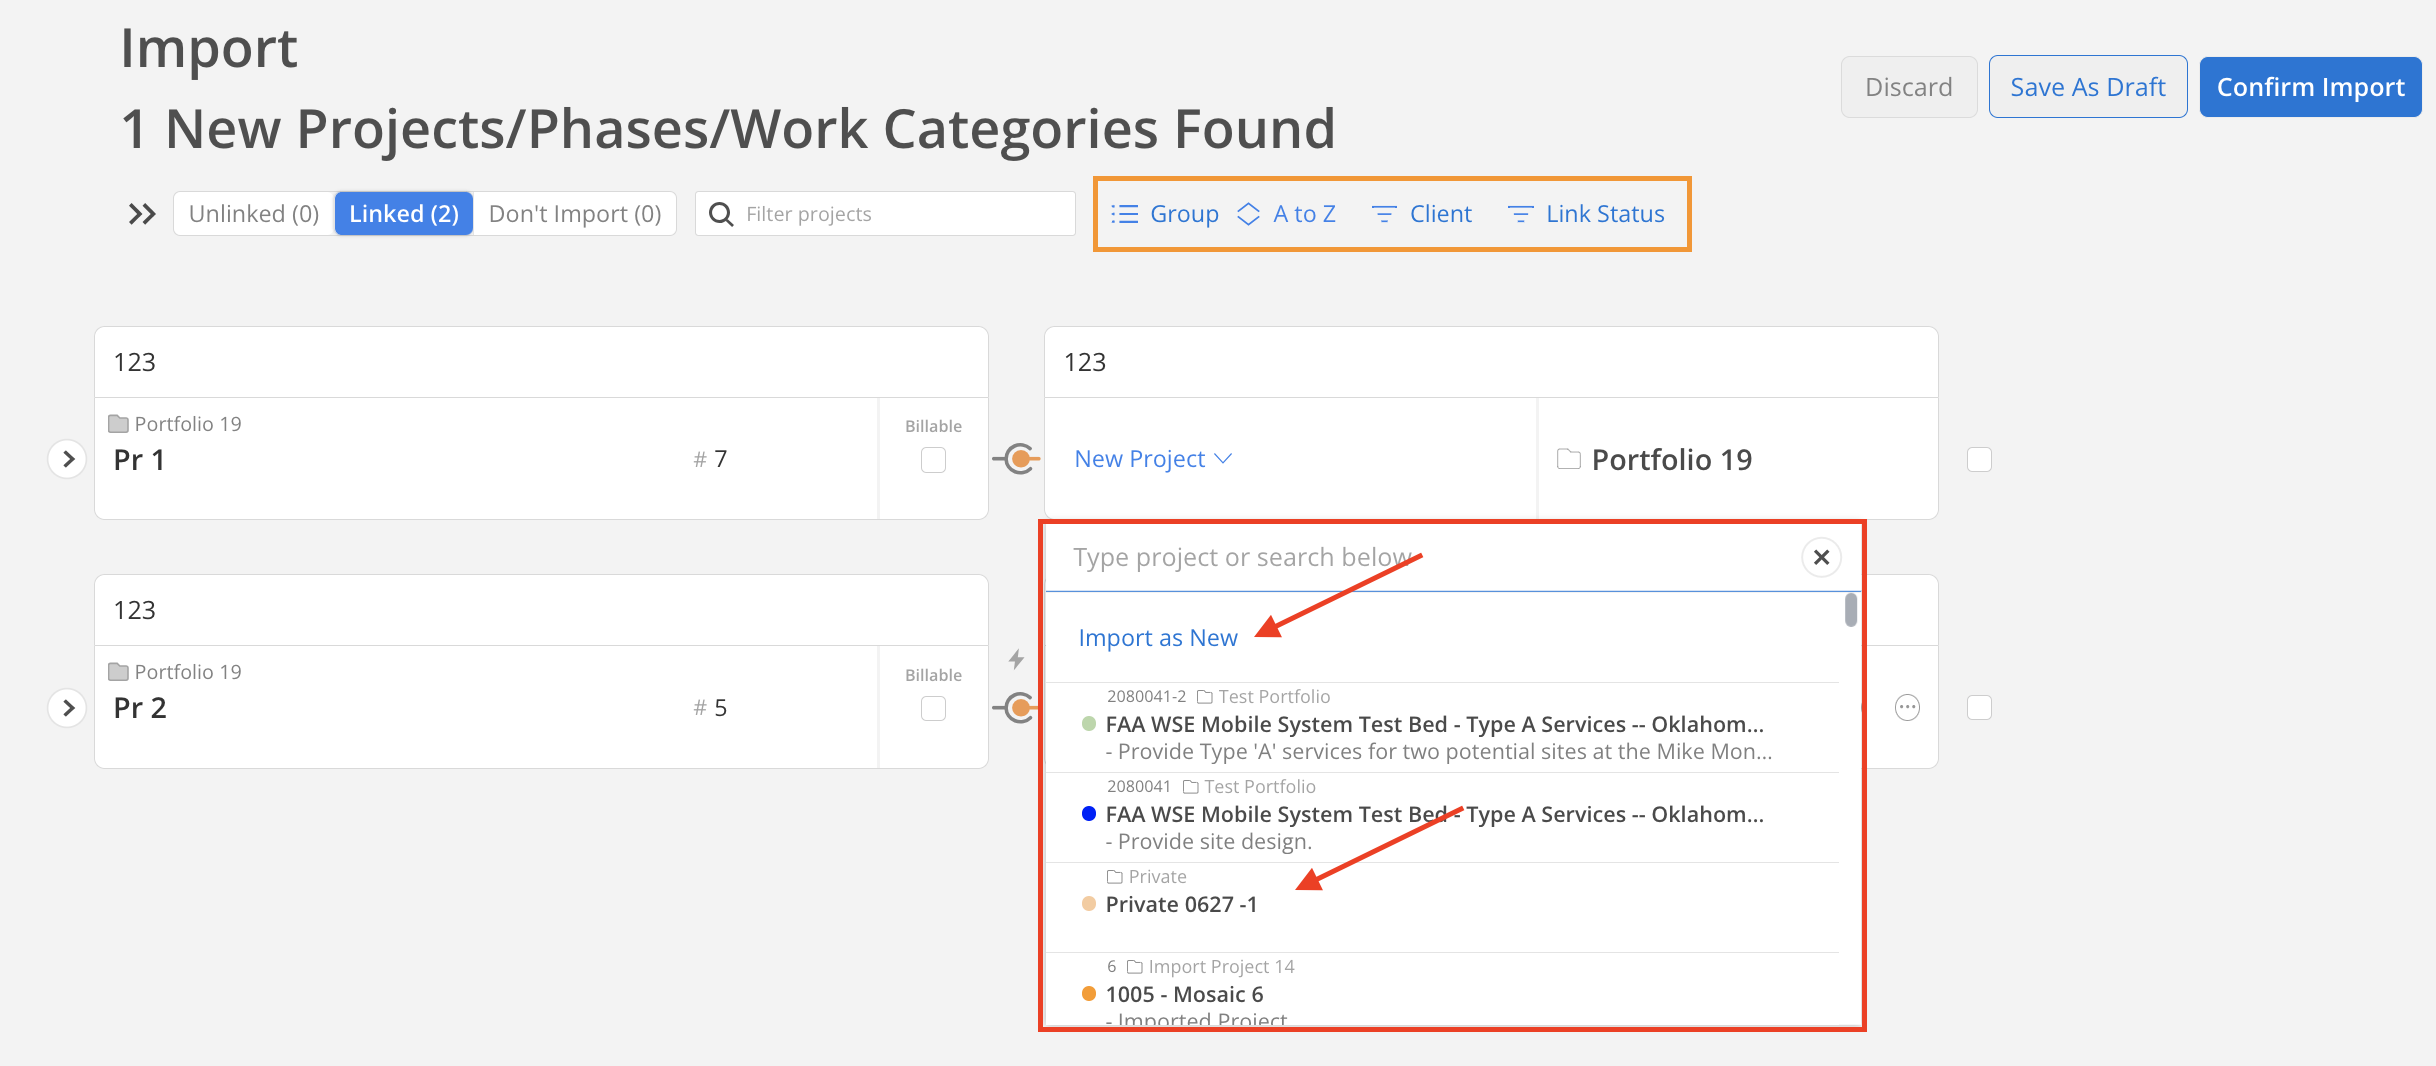
You can make changes to the import here. For example, for Projects, you can select to import the Project as a new Project or map the Project with an existing Project.
In this view, you can group the project by Client or None, sort the Projects in alphabetical order, by Project number, or by created date, and filter by Project Clients and Project linking status.
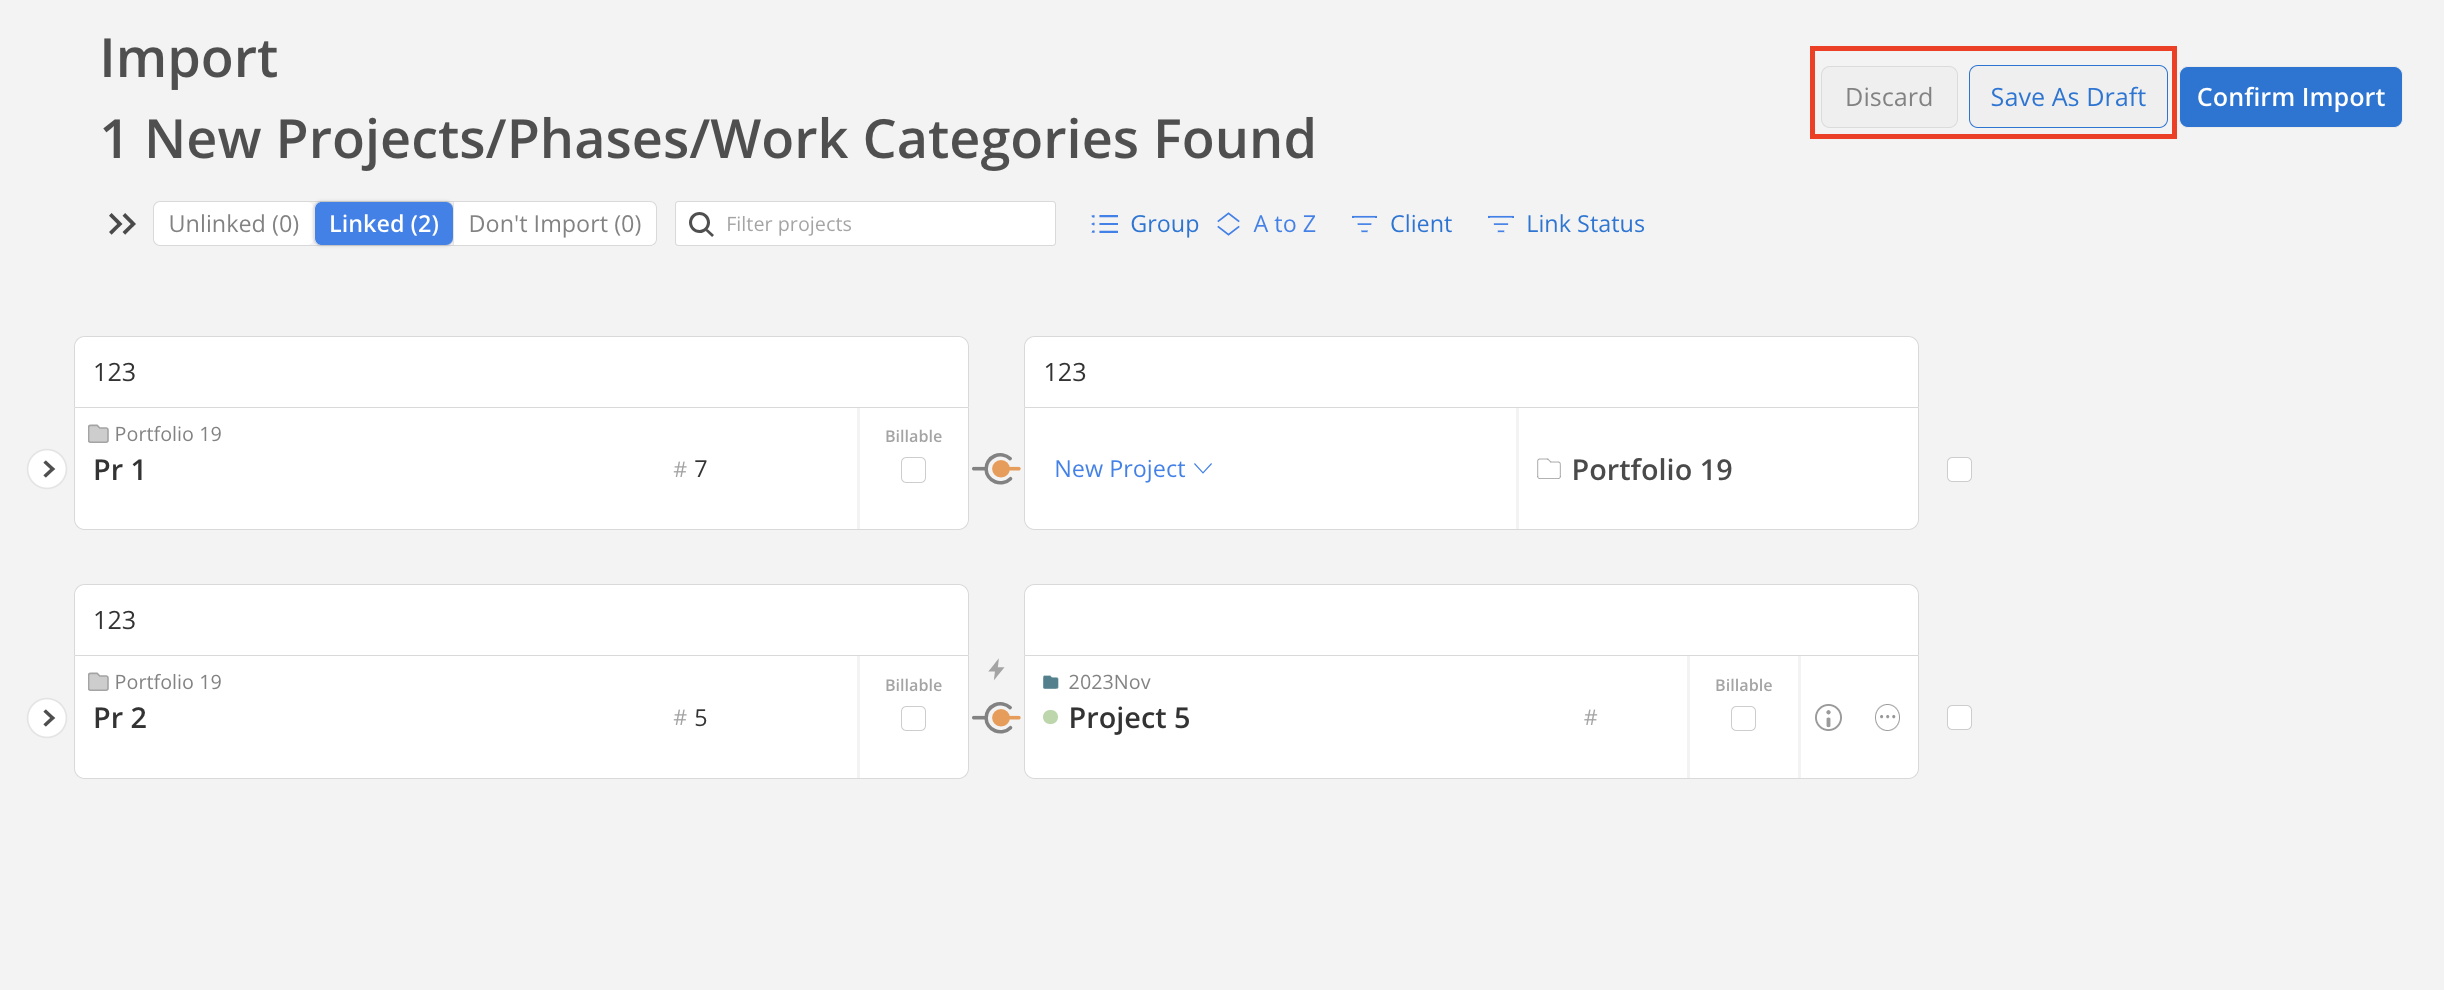
If you wish to save this for later, click Save As Draft.
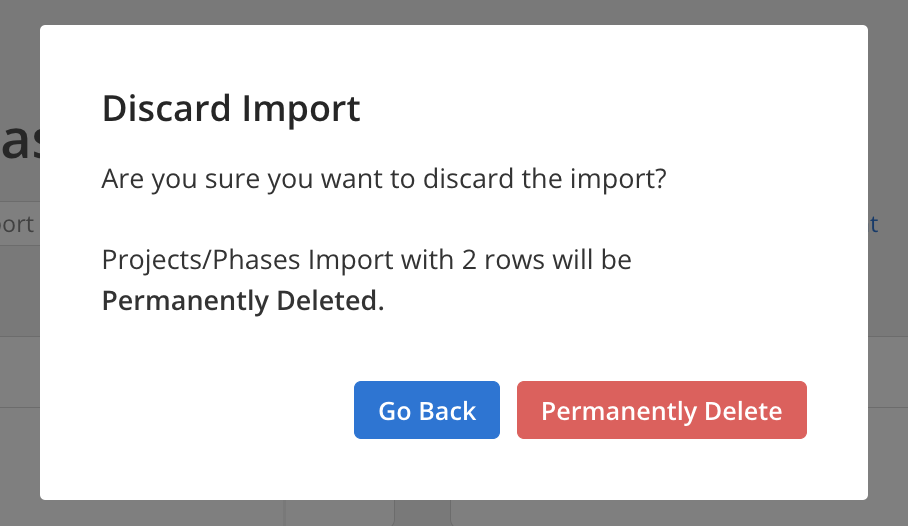
If you wish to delete the draft, you can click Discard. When click the Discard button, a confirmation modal will show.
When mapping the Project with an existing Project, if there are any phases not mapped, you will see a lightning bolt icon on the top.
Click the button to automatically map all Phases.

The button will be disabled if all Phases are mapped.

Once everything looks good, and you want to import them, click Confirm Import.
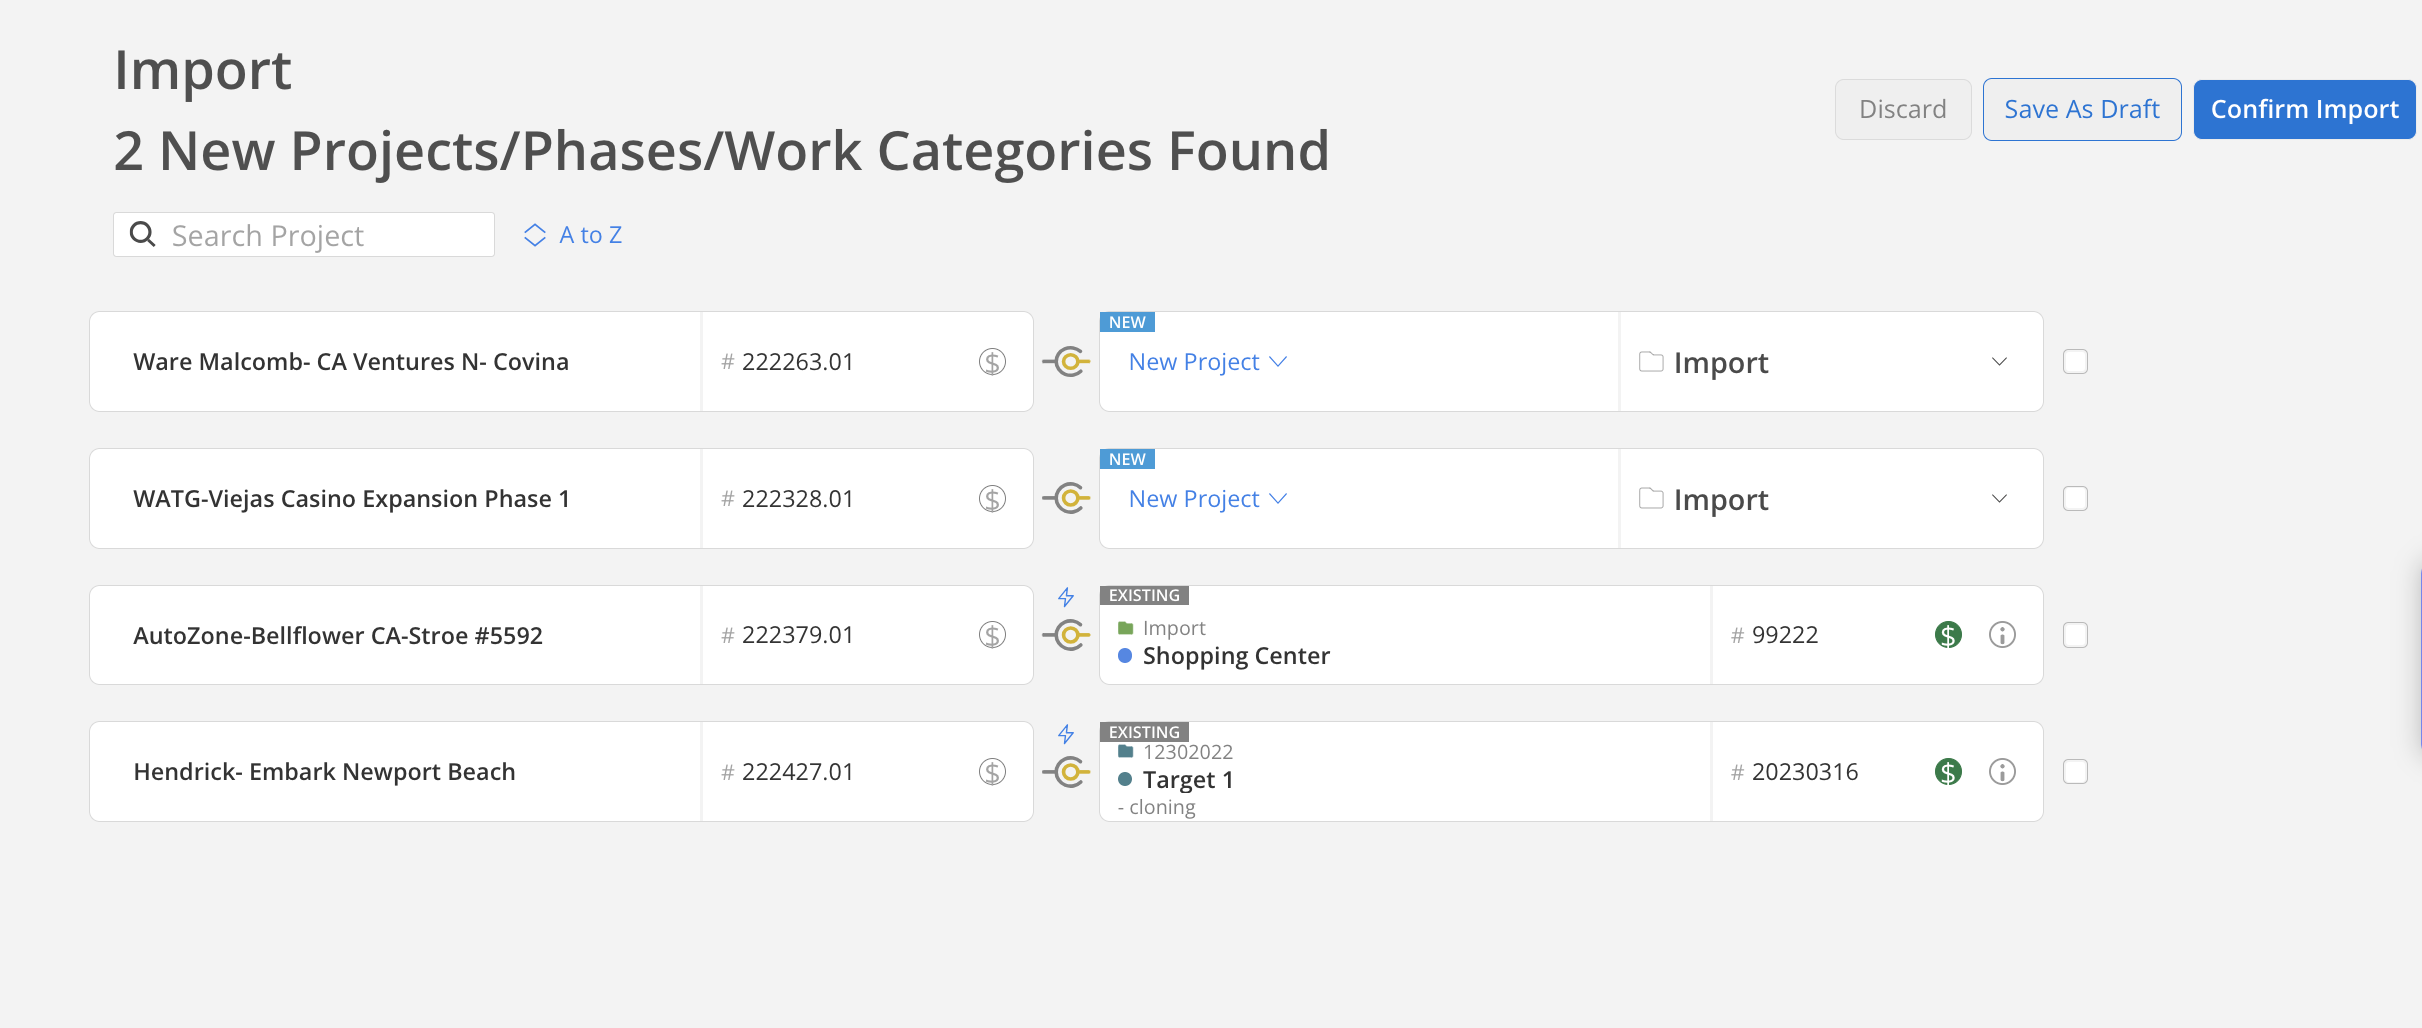
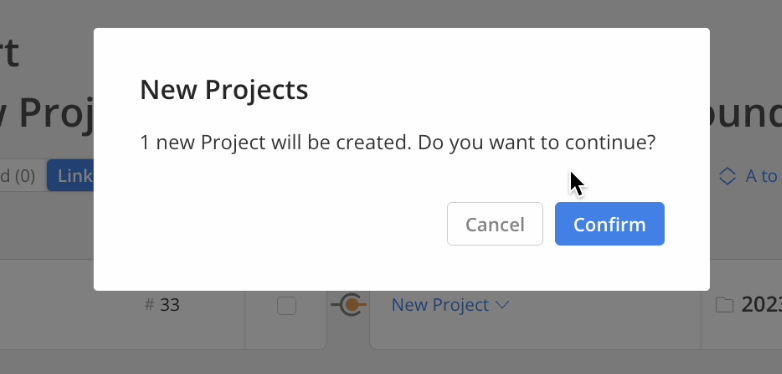
The auto-linking process is typically very fast, allowing for a seamless experience. However, on occasion, there might be issues that cause the phase to get stuck in the auto-linking phase.

If this occurs, you can simply click on the three dots located on that phase on the left side and select the option to cancel auto-match for this phase.
Once auto-linking is cancelled, you have the choice to manually link the phase or import it as a new phase.

Do not worry, you can still manually link with the existing phase or import the phase as new.

To manually link an existing Phase, on the right side, click on the three dots on the Phase/Subphase that you want to link. Click Link w/Exisiting Phase.

Select a Phase/Suphase from the left side to link with. The Phase/Suphase will show hollow green dot and Link on the right side if it can be linked.

If there's a change of mind and the uploaded import needs to be deleted before importing it into Mosaic, it can be removed while still in the draft by clicking on the three-dot icon next to the completed import record and selecting Delete Import.
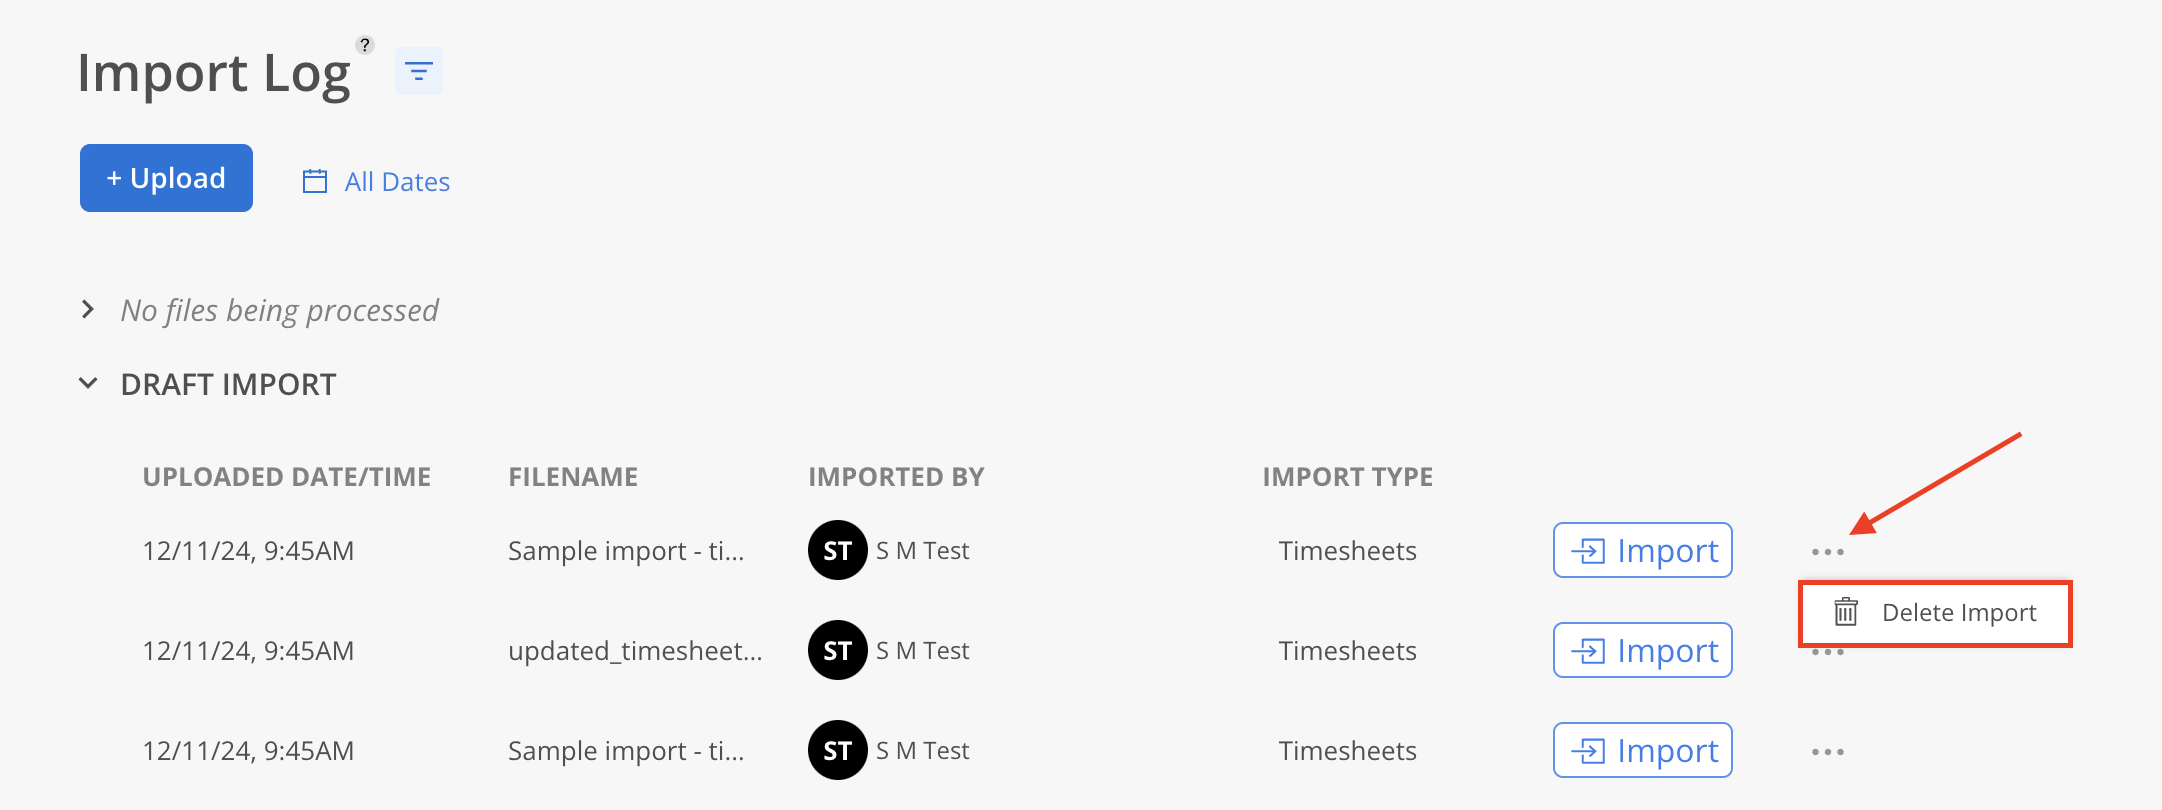
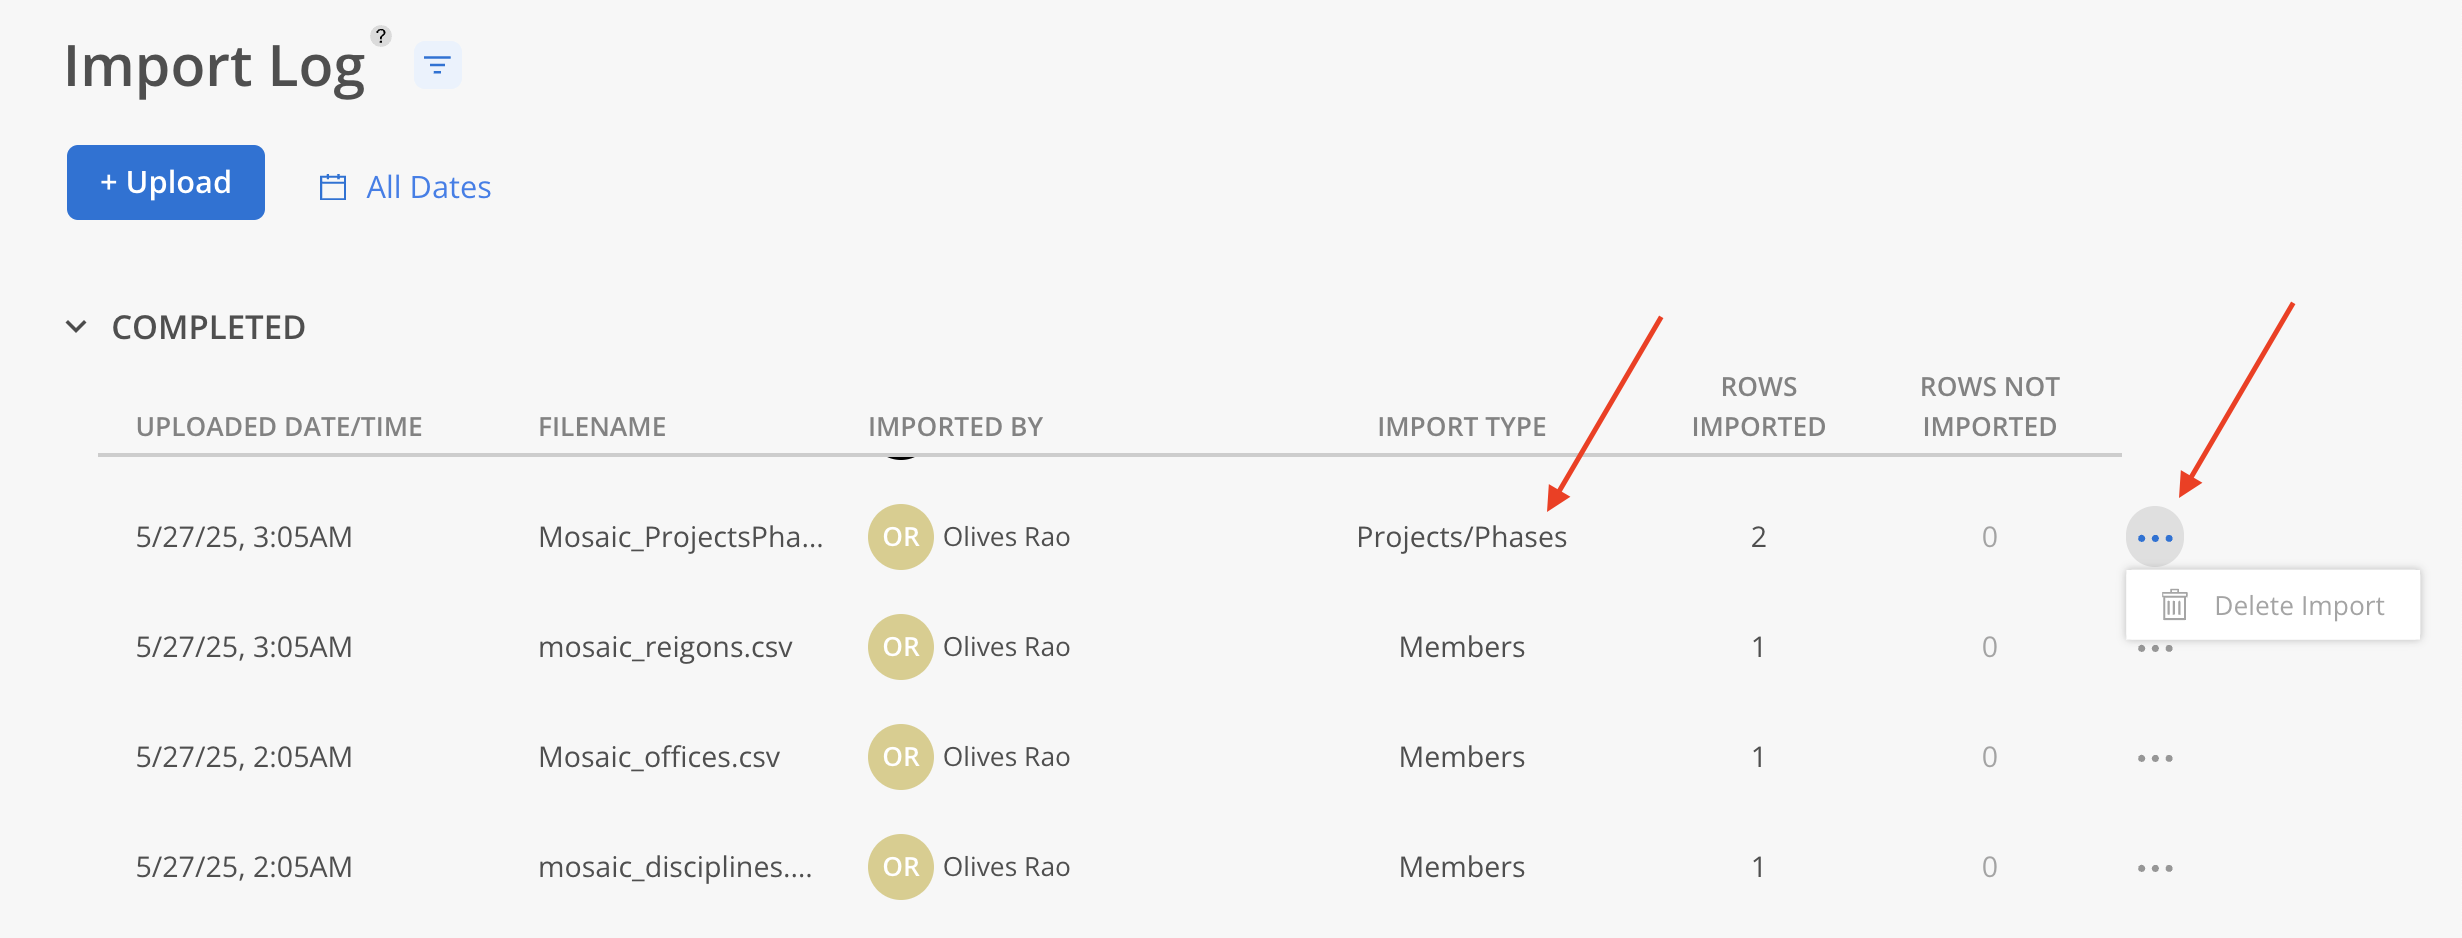
Completed imports can also be deleted. It's important to note that not any type of import can be removed.
Click on the link to view a video walkthrough